Some of the cuttings of choujubai which I cut and sticked in the soil last year (spring in 2017) have leaves now and some of them have their stem getting longer. So I decided to replant them to small pots. I cut 15~20 of the branches but only 5 of them have leaves.
Current situation
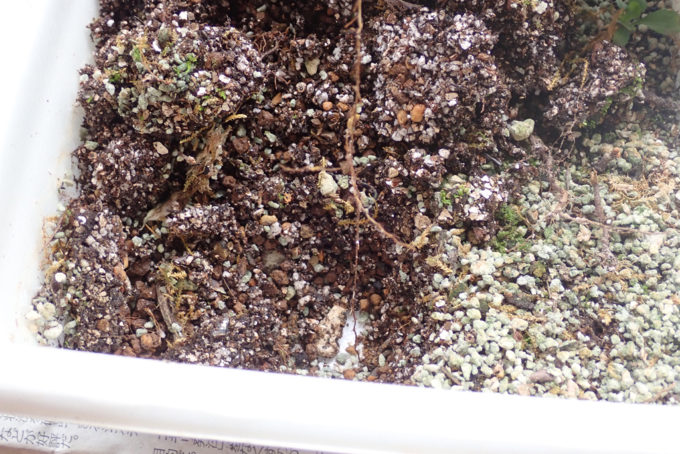
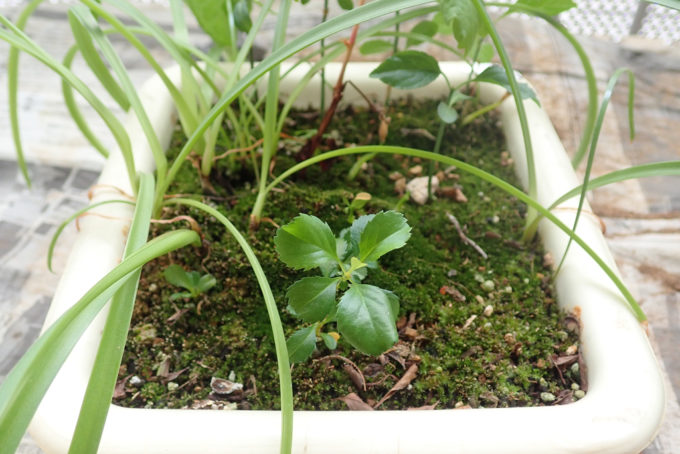
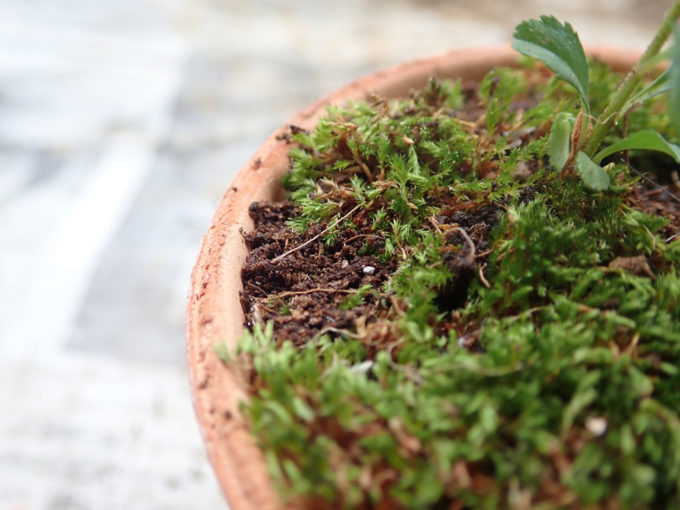
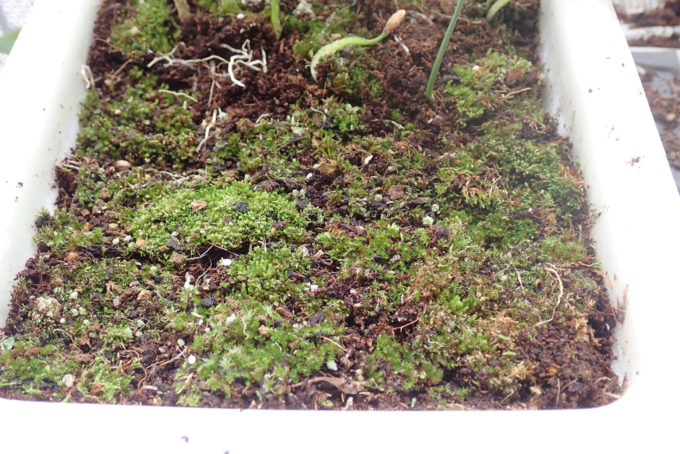
Current situation of choujubai is below;
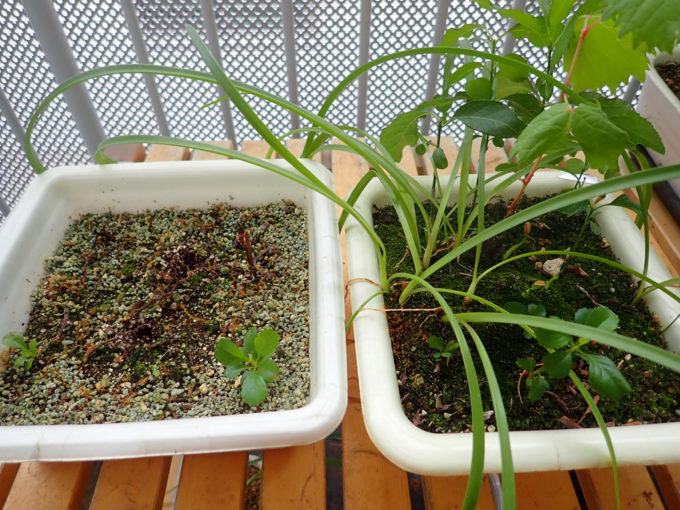 Two in the left, 3 in the right.
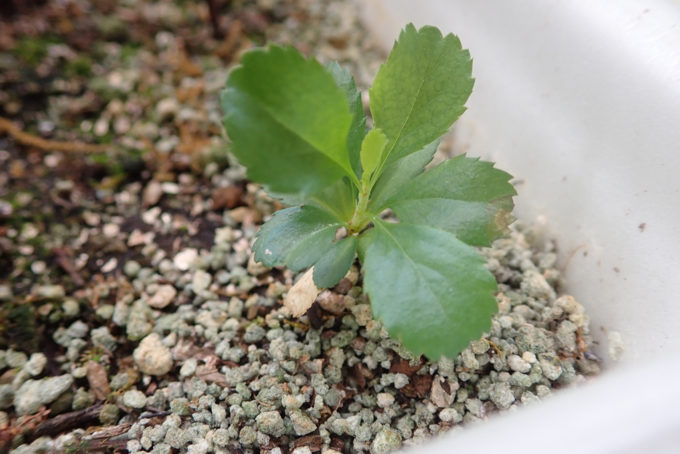
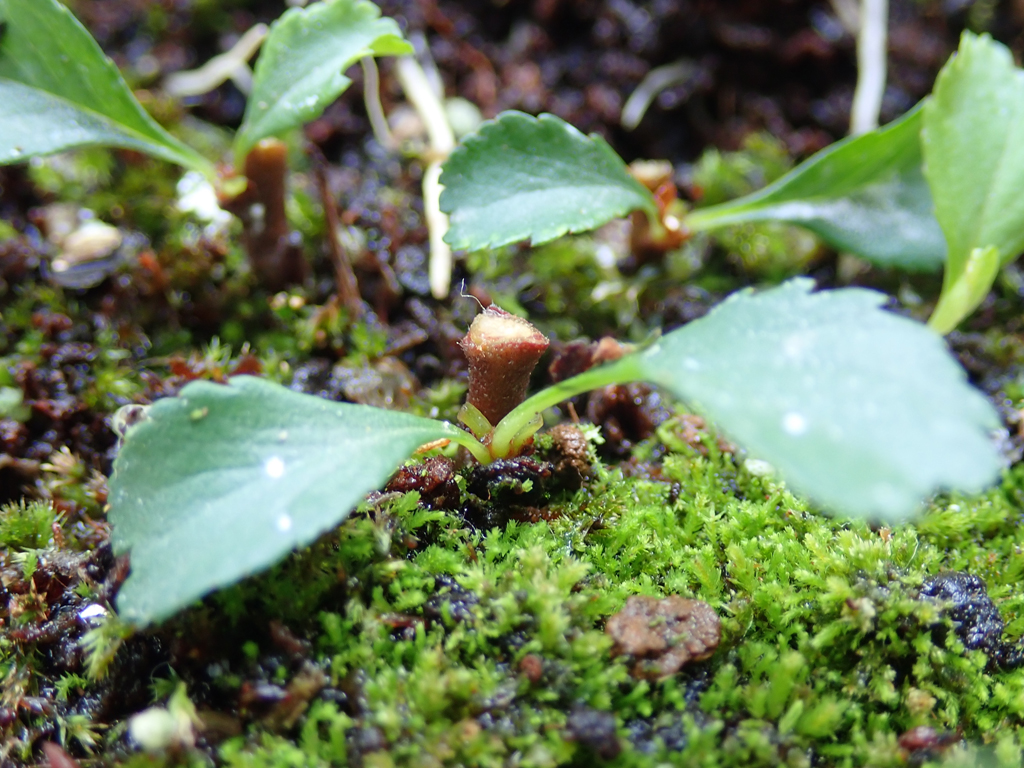
 Two in the left. You see the stem of first one is growing.
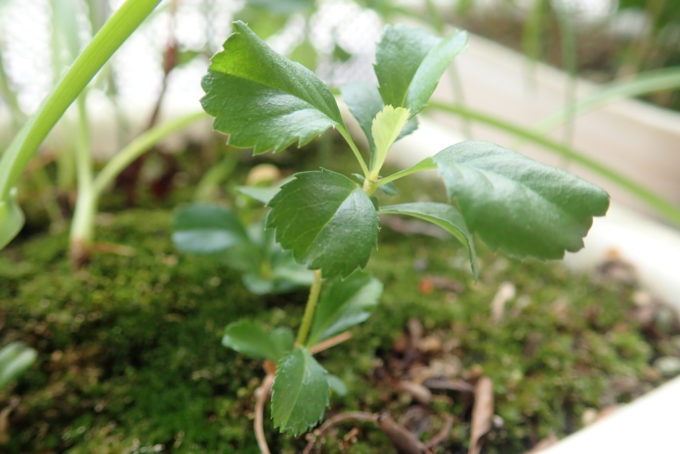
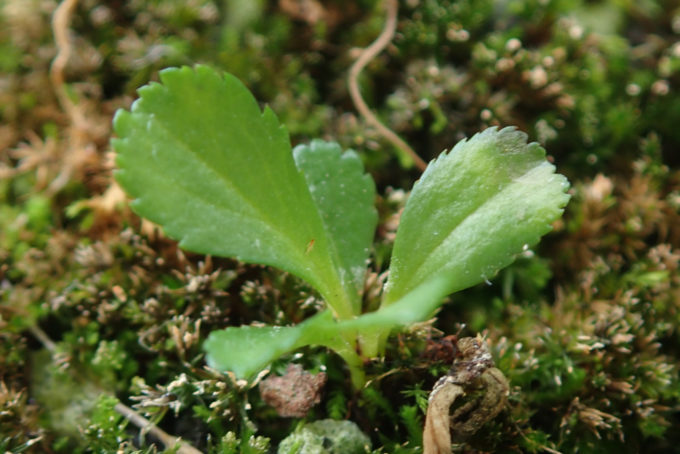
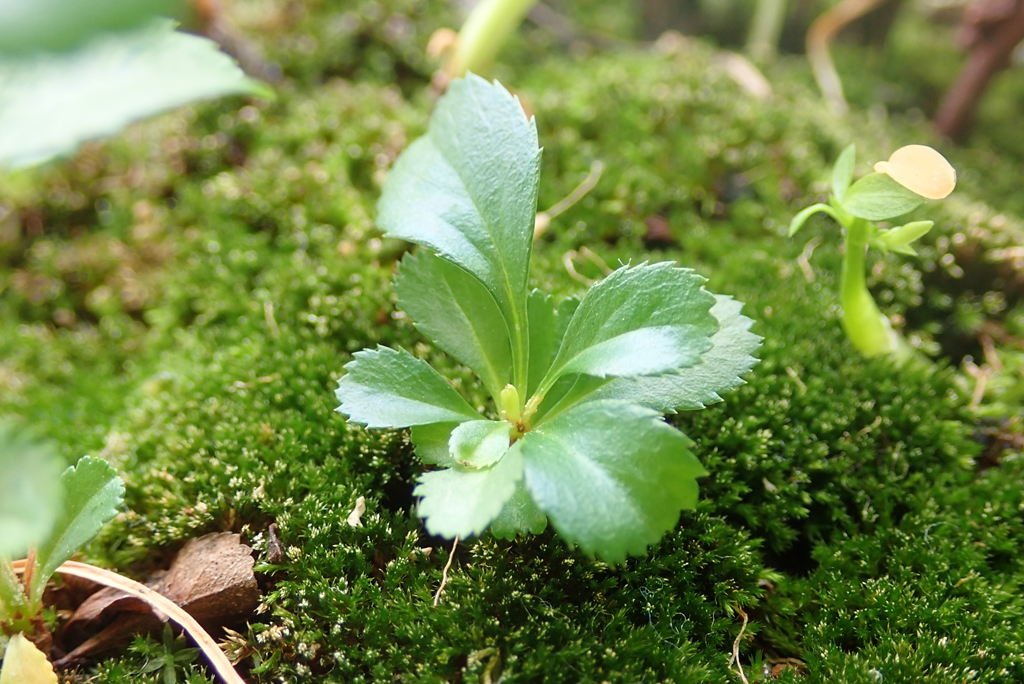
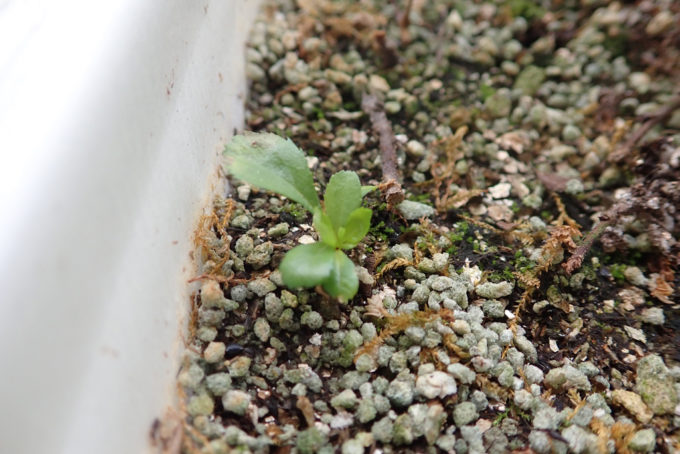
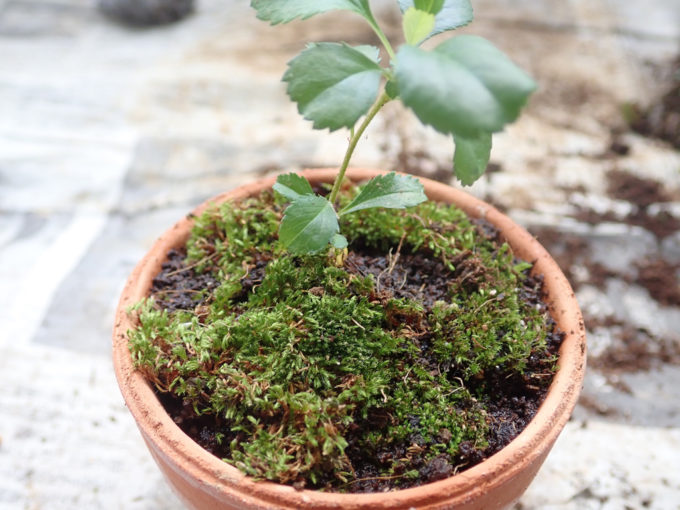
 These are three in the right. First one is also growing, stem is now getting longer.
This time I’ll replant these five. I believe all of them have roots, so by replanting into the soil I usually use, the roots can have enough air (oxygen) and grows much faster. The other reason is to reduce and save space on the rack.
How to replant Choujubai
Now, let’s work..
Preparation
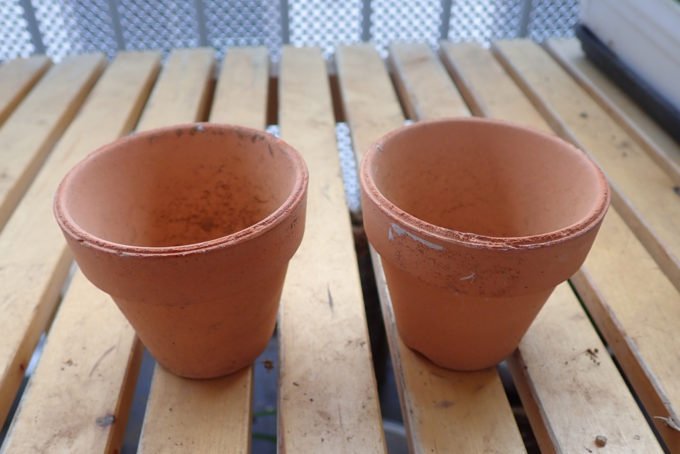
Nothing difficult. First of all prepare the new pots.
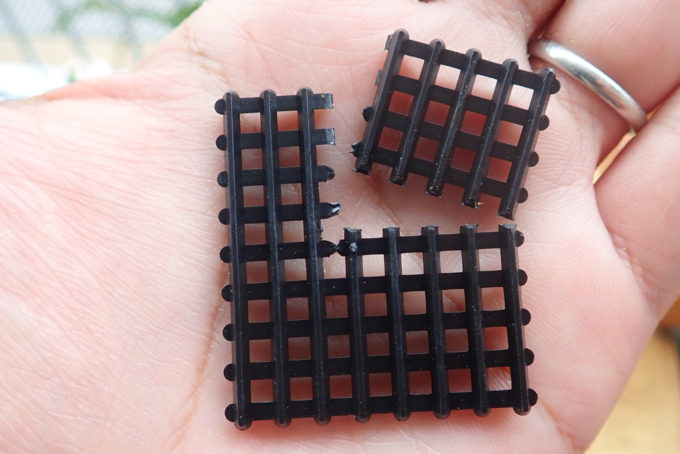 Cut a plastic net into just right size.
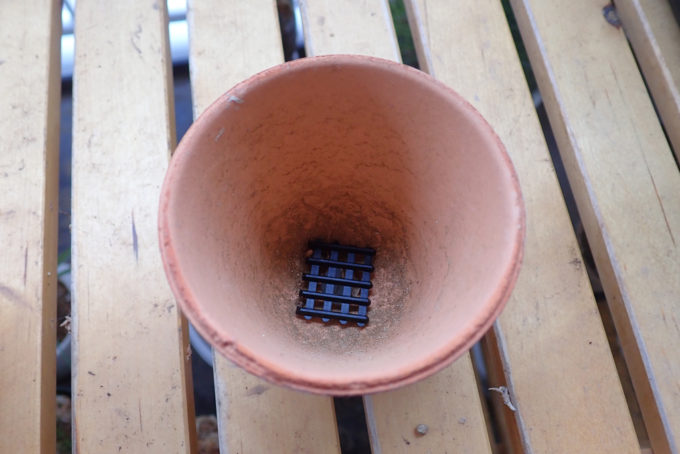 The size is to fit into this terra-cotta pot. Maybe the smallest one.
 I prepared two of them.
Dig out the cutting of Choujubai
First, dig out two choujubai, which have their stem longer. I’ll replant each into single pot.
First one
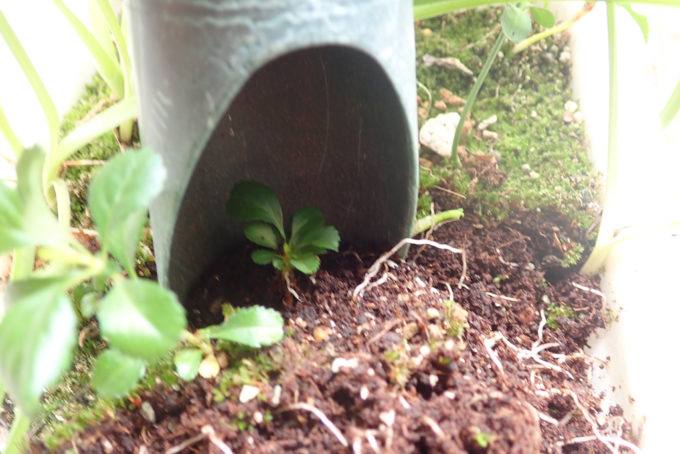
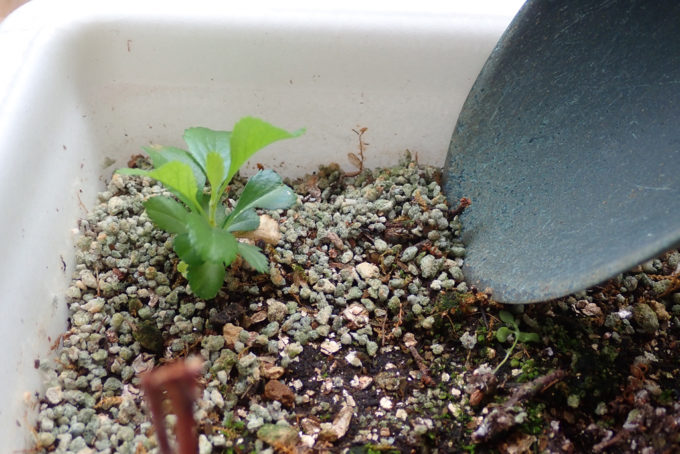 Using a trowel, dig the choujubai. I tried to be careful not to harm its roots.
 From other side..
 Found a root..
 One very thin root is growing..
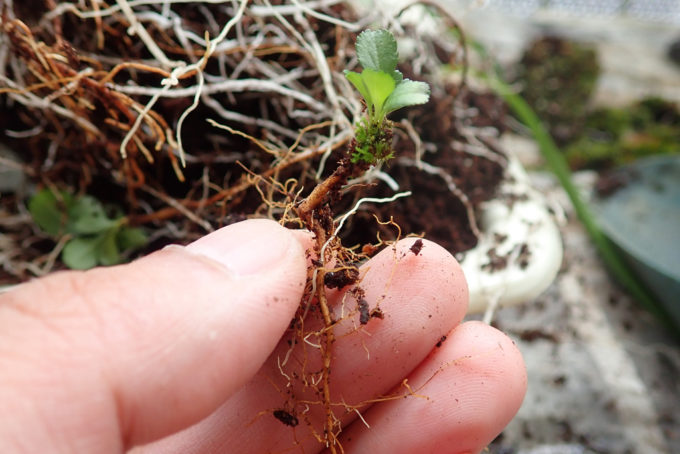
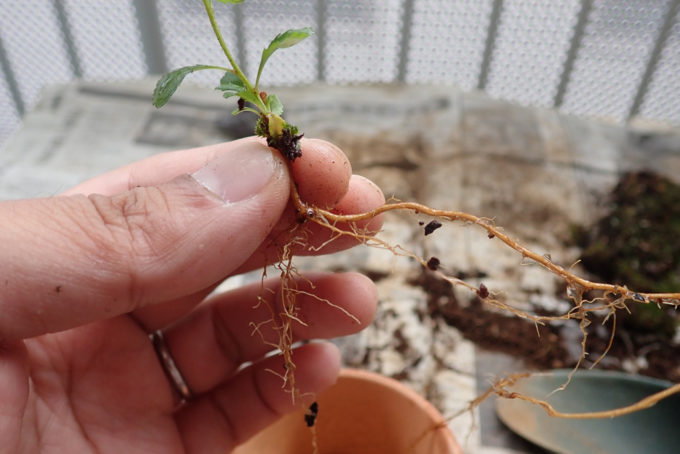
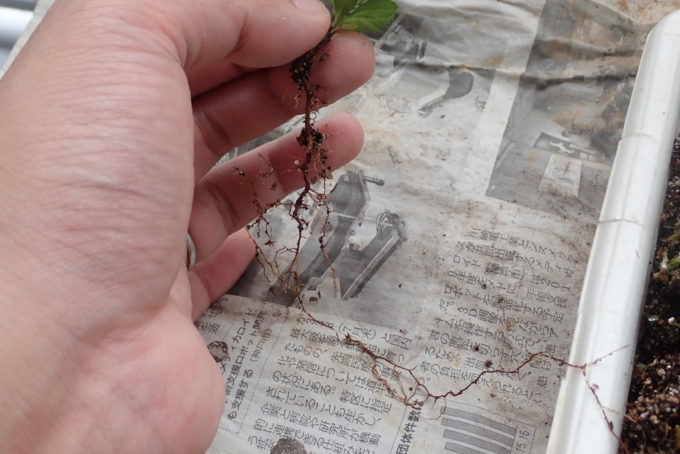 I successfully digged out the choujubai, not cutting the roots. Long but thin..
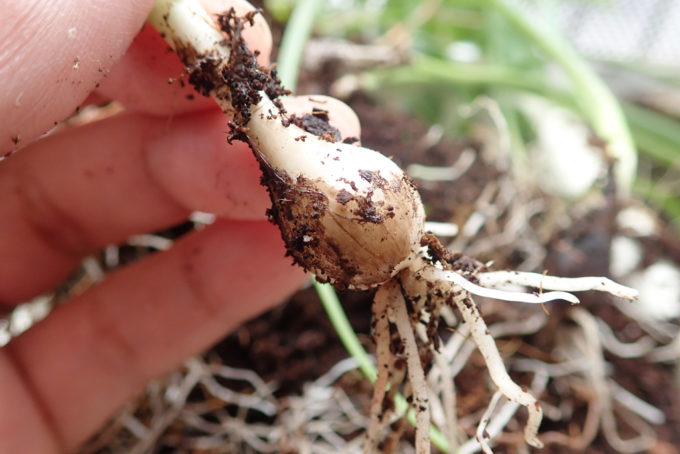
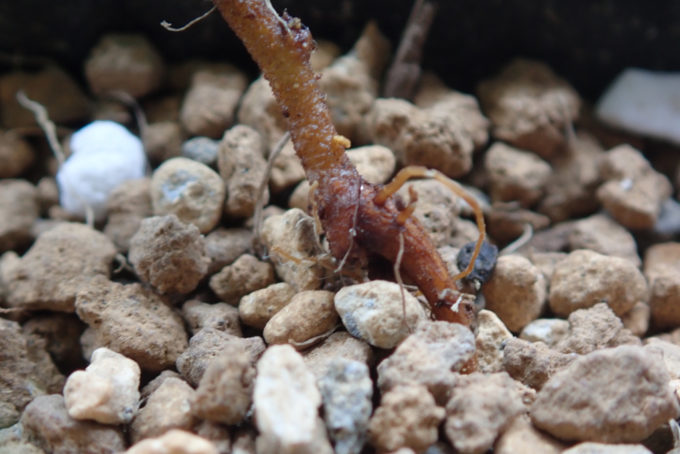
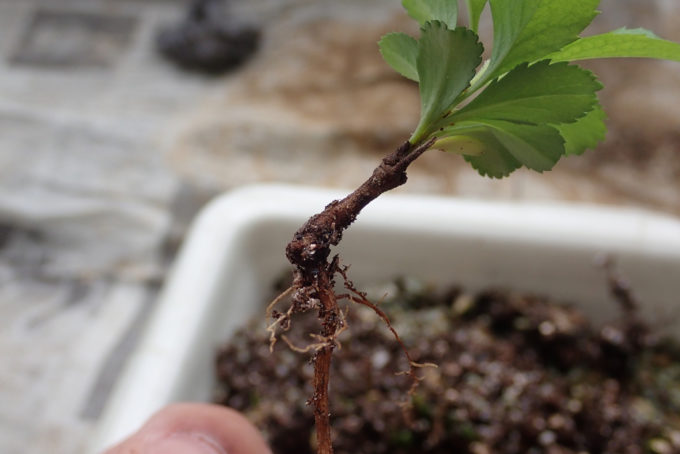 This is the base. Only one root is growing. It is called “Katane”, direct translation is “one side root”. I expected the roots growing to every direction, so it is actually a bit disappointed..

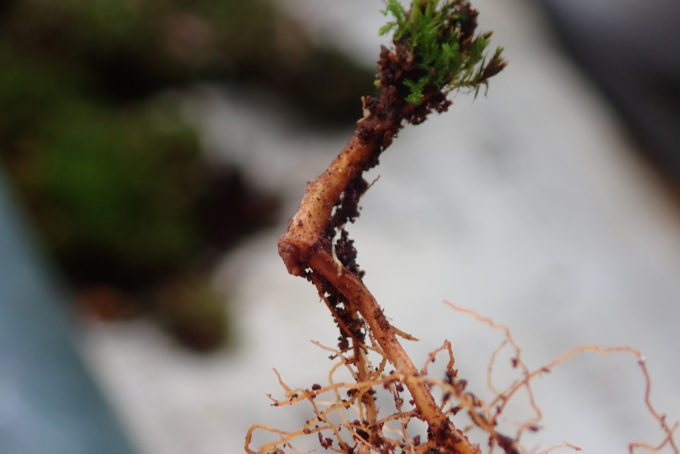
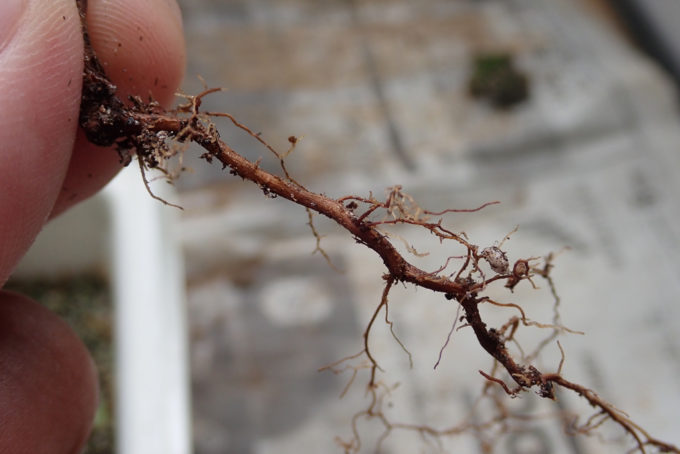 The root looks like this. It is quite straight.. Maybe I can make it to “Neagari” shape in the future using this part as a stem.
2nd~4th ones
Next..
 This one.
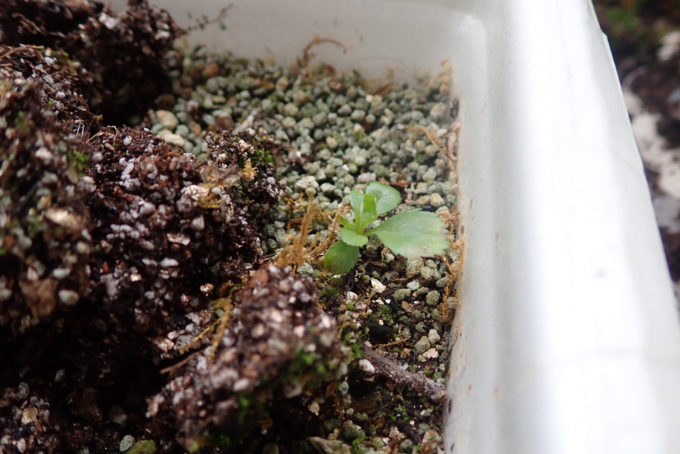
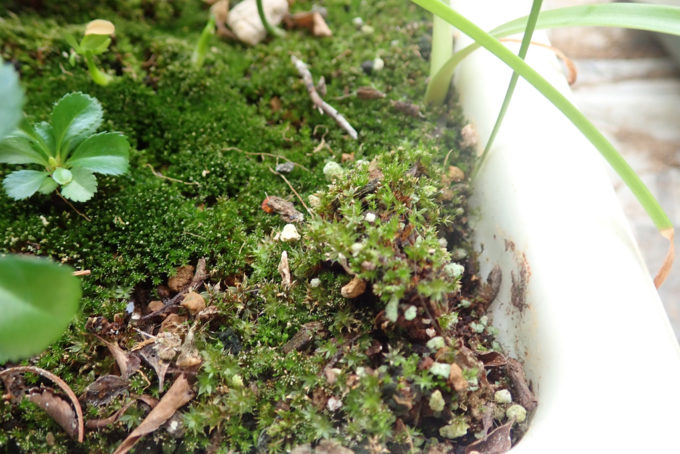 By the way the moss is growing nicely, so I want to keep them.
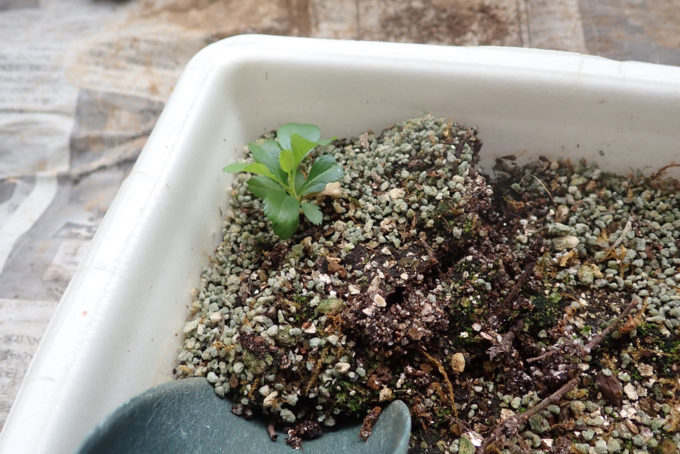
 Starting digging from the edge..
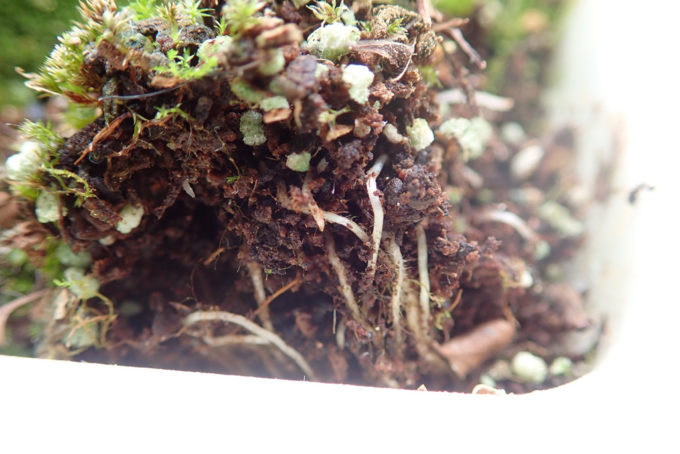
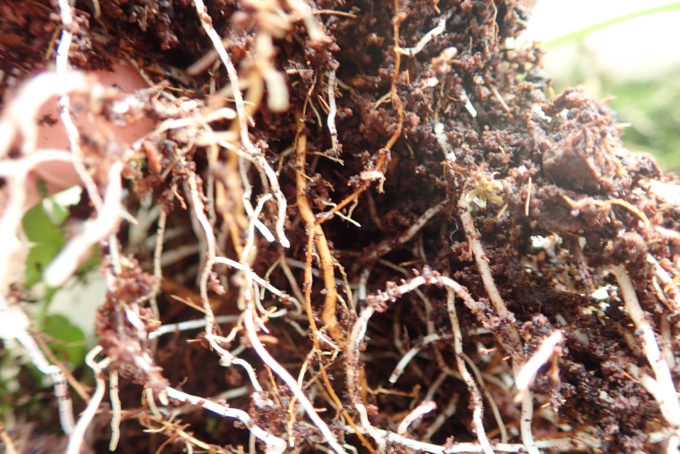
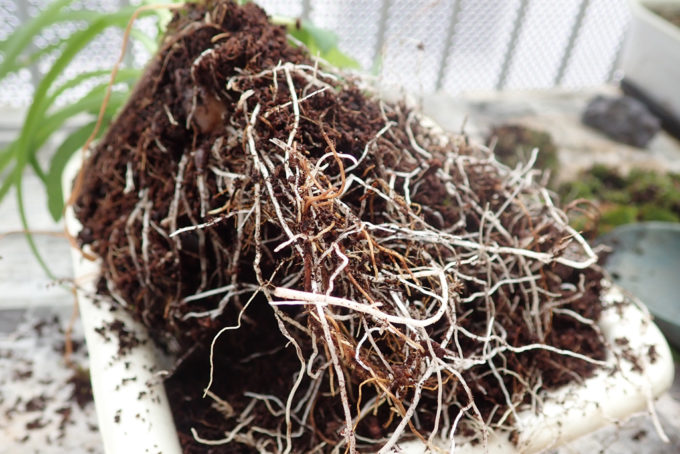
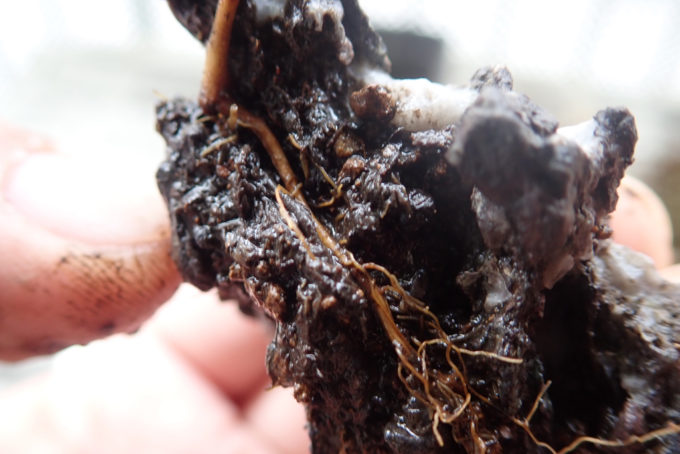
 Huge amount of the roots..! They are not the ones of choujubai. The roots are very thick and strong, growing all over the plastic pot. I’m not sure what are they from..
 Remove the moss on the surface as big as possible.
 Now I abondaned some of the roots and sticked the trowel as cutting the roots.
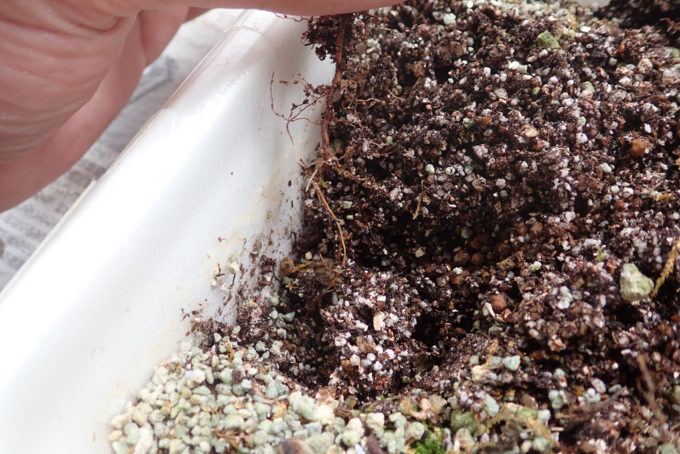
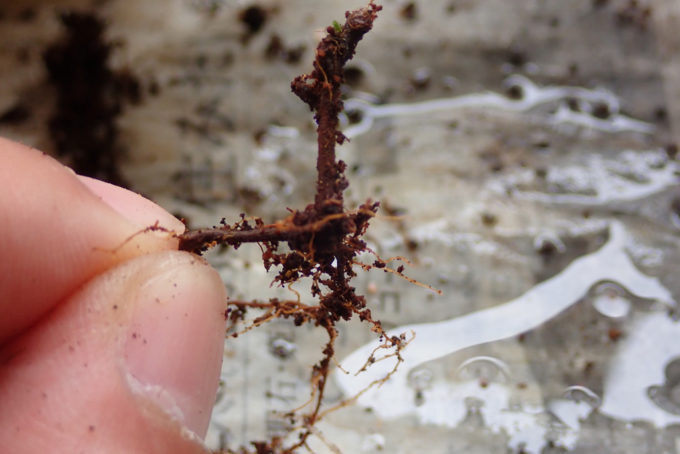
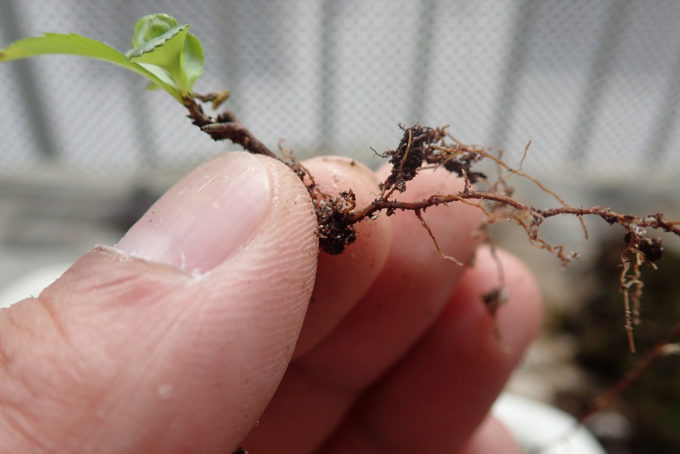
 Thin, brown one seems the root of choujubai. the white ones all around are something different..
 I found a piece of dead choujubai. It had very nice root (Katane, though). It was a pity that this one has withered.
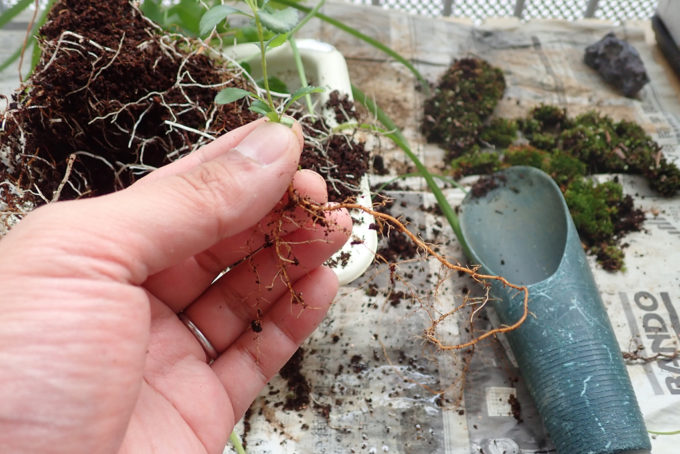 Finally I digged it out. The root is very long but very thin..
2本目、と思ったのですが、土が全部固まって抜けてきてしまったので、ここに植わっている他の2本も掘り出しました。
 Dogged out the other one in the same pot.
 It also had Katane, but two roots are growing as V-shape.
Another one. It has one, straight root.
 Thanks to the white roots, I could turn the soil downside up.
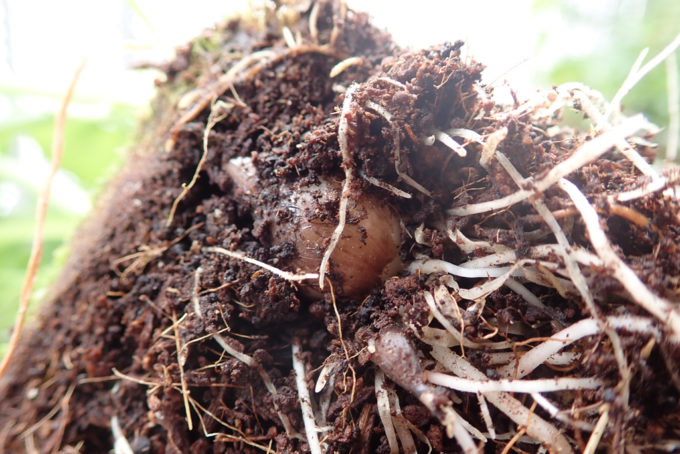
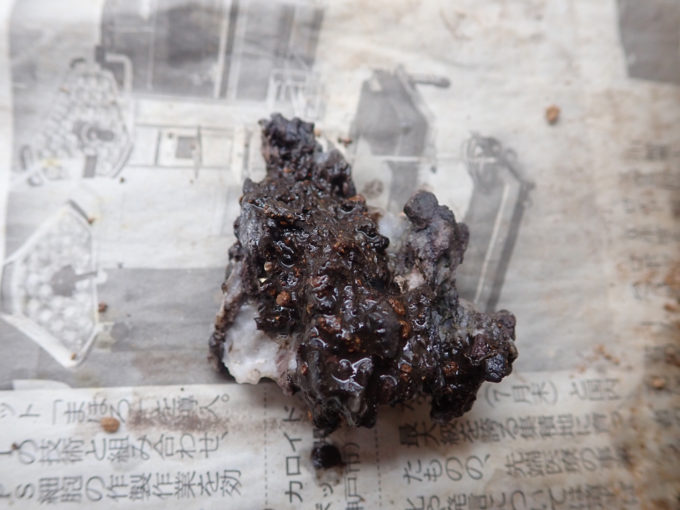
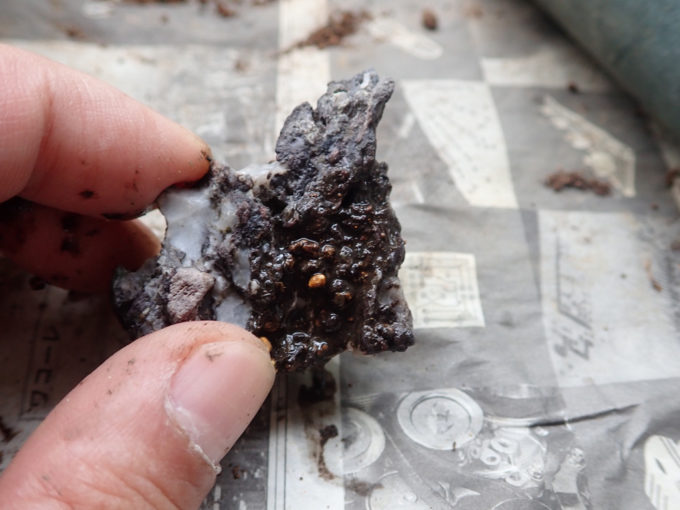
 I found the one! From this ball growing the white roots. I don’t know that it is, but I decided to throw them away since they are too strong.
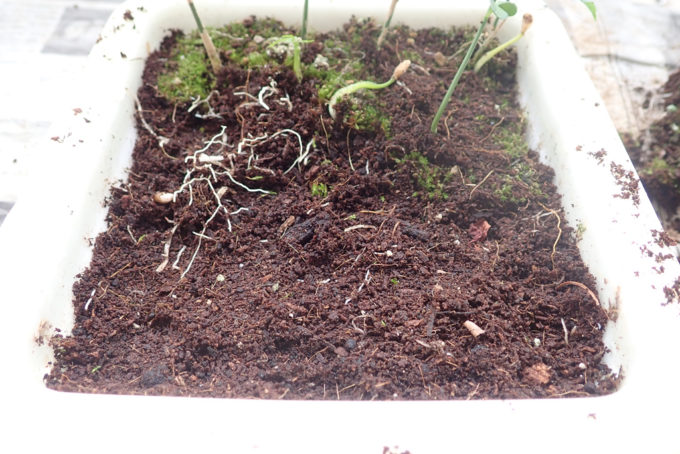 After digging out the choujubai (and the balls), I returned the soil back, since the soil was so soft and the condition seemed very good.
Last one
 This is the last one.
 Digged it out. This one also has Katane.
Planting into the pot
I put the choujubai digged out in the water so that the roots don’t get dried.
 Fitst, this one. The one which has longest root. It has one thin, long root.
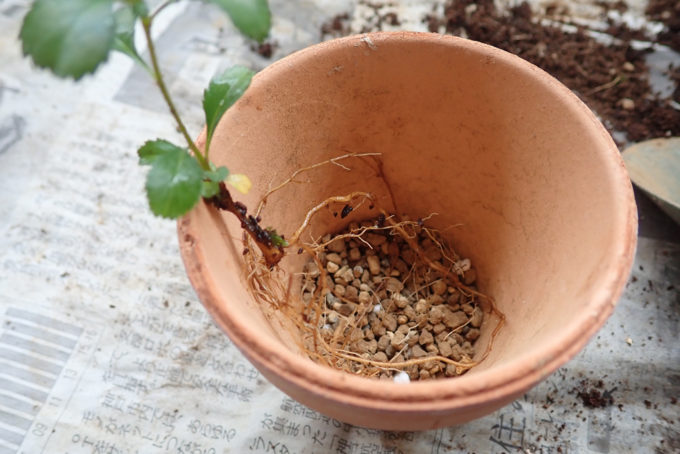 Put few soil in the bottom of the pot and form the root. I tried to shape the root randomly like “8” shape.
 During adding the soil, I put a bit of basal fertilizer.
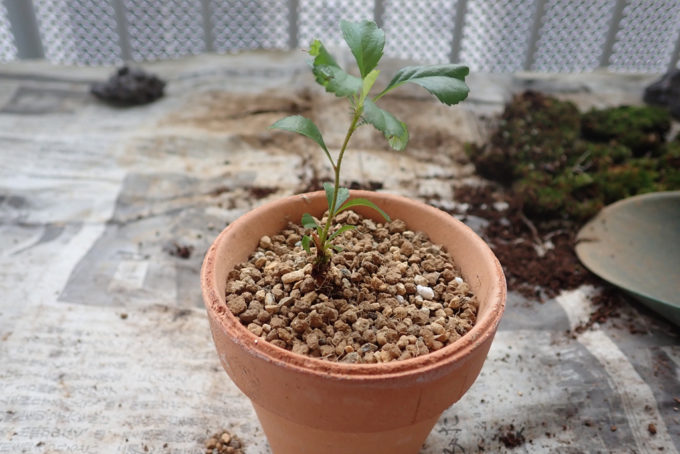 Add soil keeping the position of choujubai carefully, and done. Though the root is thin, base of the root was not soft. Hope the root and the choujubai gets stable in few weeks.
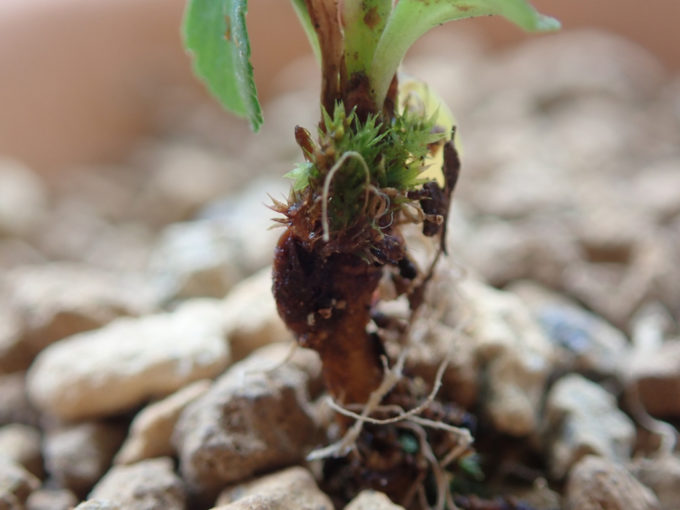 This is the base part.
Put the pot in the water and make the soil absorb enough amount of water. When the soil absorbs water, it gets more stable and keeps the tree at the position.
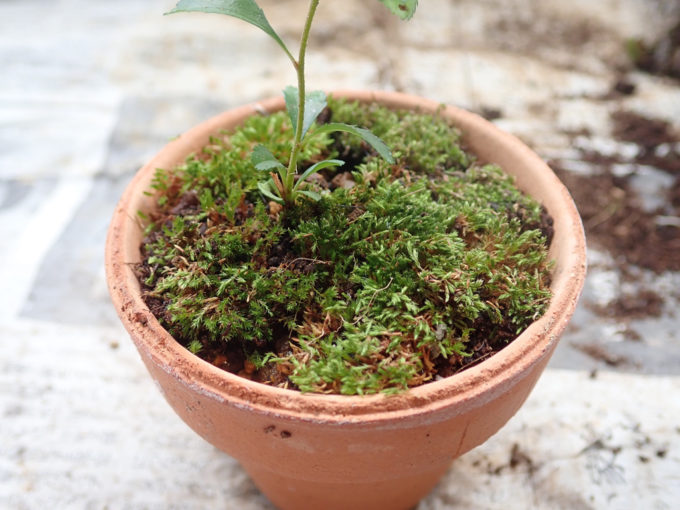 I put some of the moss I removed. It is not for dressing, but to keep the moss alive.
 Put the soil in the gap between the moss and pot.
 Tried to make NO gap in order to keep the moss wet.
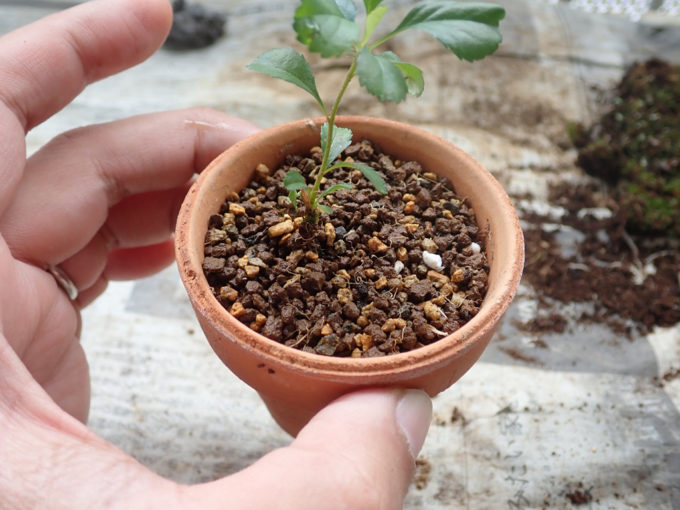
 Done! I hope the tree and moss get stable in few weeks.
I planted the other one with growing stem in the pot with the same procedure.
Making Ishitsuki bonsai of choujubai
I remembered that one of the choujubai has V-shape roots.
I saw something like this before.. It looks quite similar to the one I did “Ishitsuki (Root over rock) shape”. I fitted this root to a rock I have..
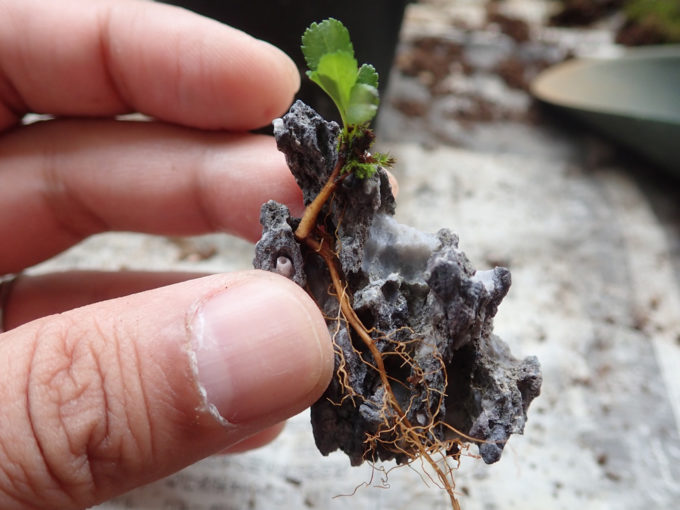
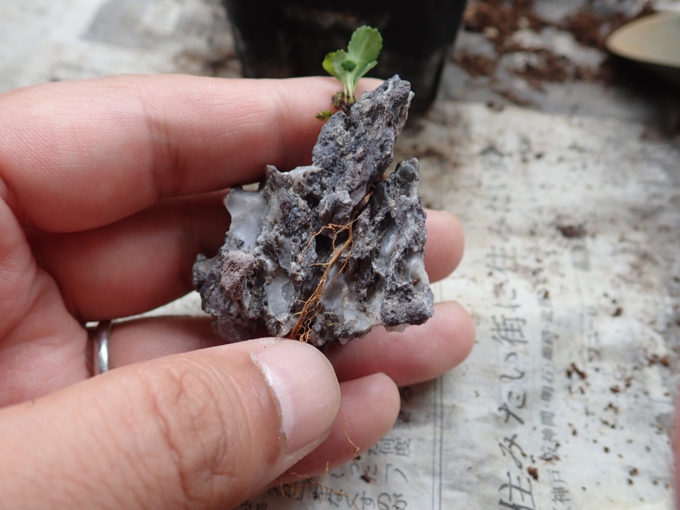
The surface and back. It looks like the roots are fitting good.
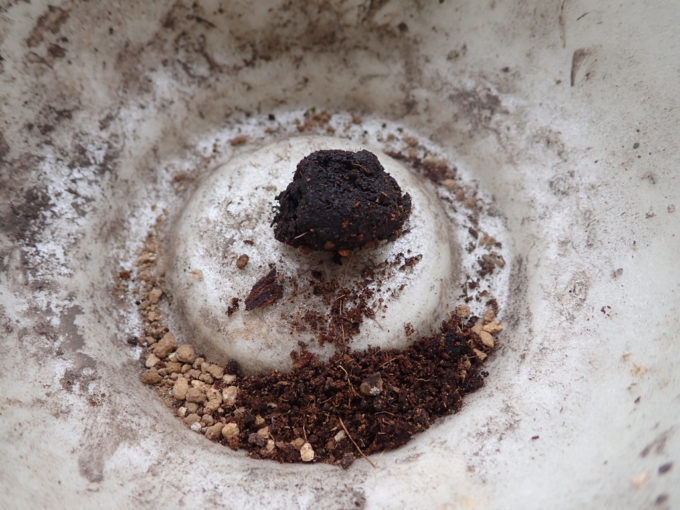 I didn’t plan to make Ishituki bonsai, so I prepared the Keto-soil in a fluster. Looks like the amount is not much, but actually it was far more than enough. I added few soft soil and small pieces of the soil for Bonsai, then add water and mix it up well.
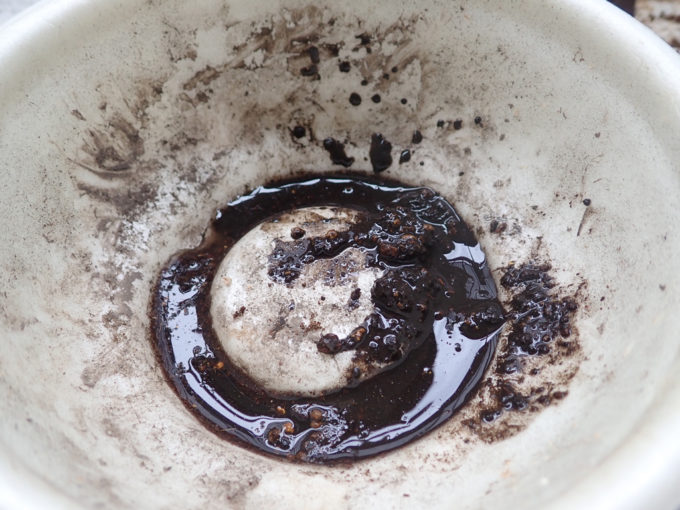 I added too much water.. I couldn’t wait the water eveporated since it started to rain.. So I go with this. Due to the strong wind I got totally soaked..
 Put the Keto soil along the gap (crack) of the rock. Using a piece of wire (or tooth pick or whatever), put the Keto soil deep into the gap and make a way for the root.
 Same at the back side.
 Decide the position of the tree and roots, put them in the gap. Then push it into the rock.
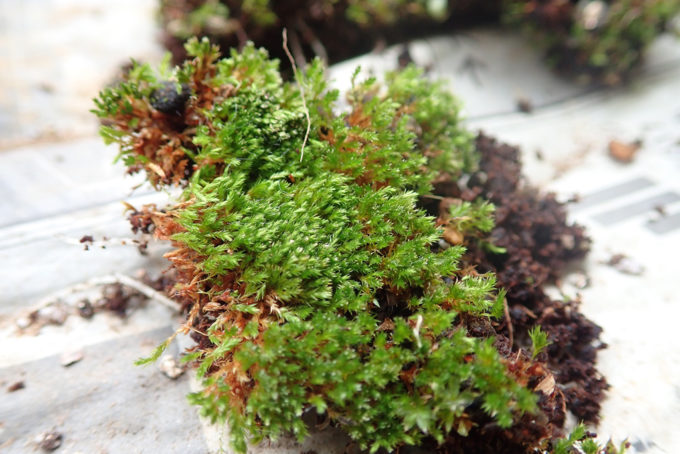
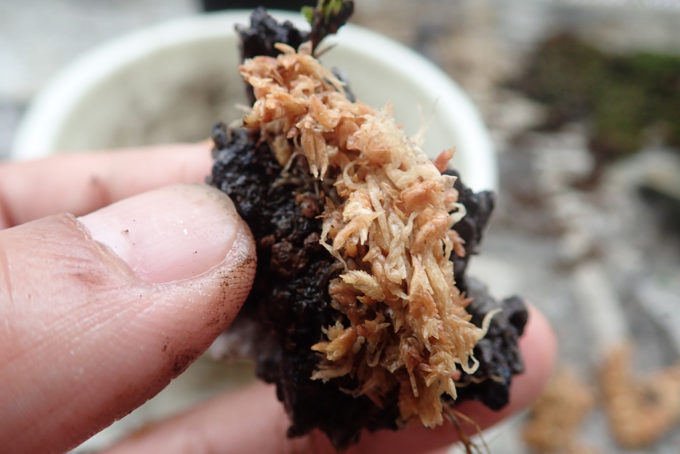 Cover the roots with sphagnum moss, which absorbed a lot of water. Put the moss along the gap so that the moss pushes and keeps the roots at the good position.
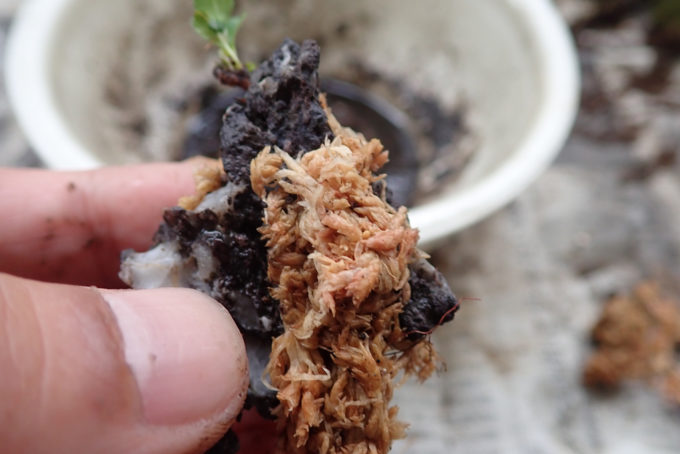 Same at back side.
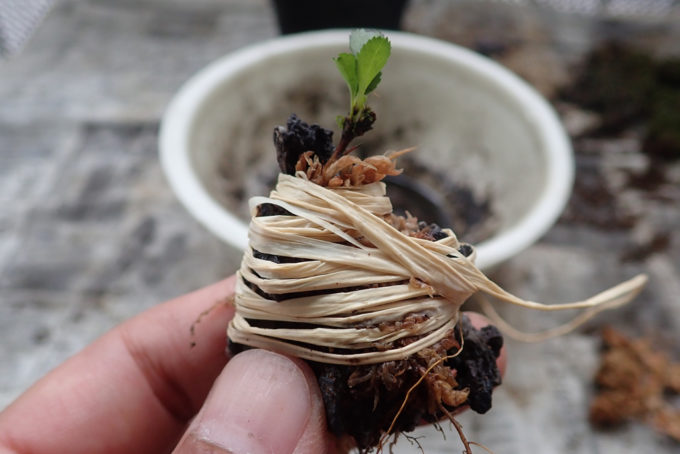 Fix the moss by raffia. I turned the raffia from the bottom so that I can remove it from the top later.
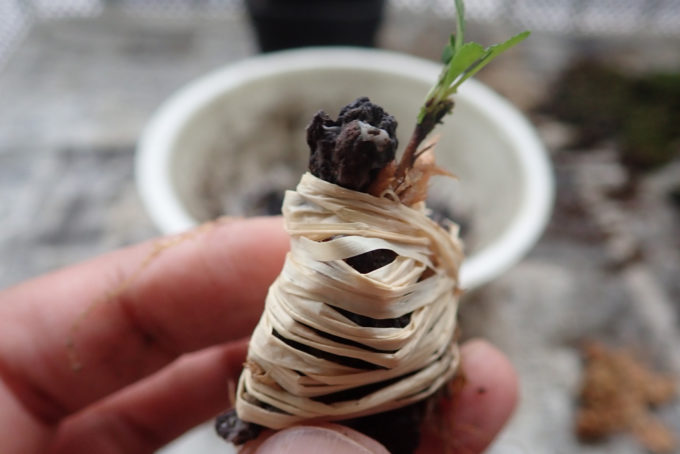 I turned the raffia where the root runs. Raffia is not only for fixing the sphagnum moss, but I feel like it keeps water inside more or less.
Plant the Ishitsuki shape of choujubai
Now, put the rest of choujubai in the plastic pot.
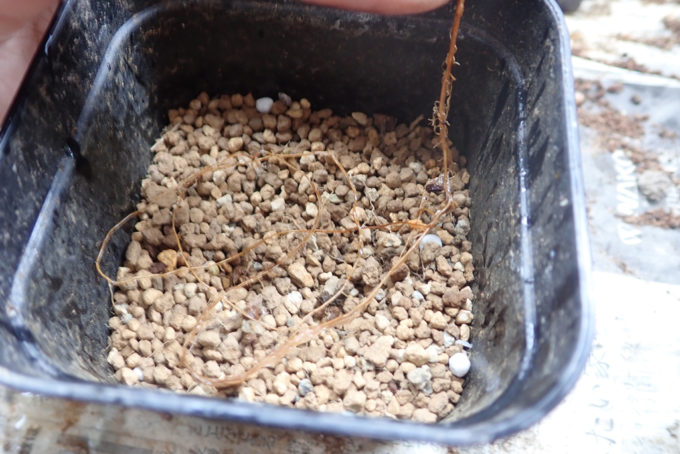 The roots are thin but long, so I trid to shape it randomly.
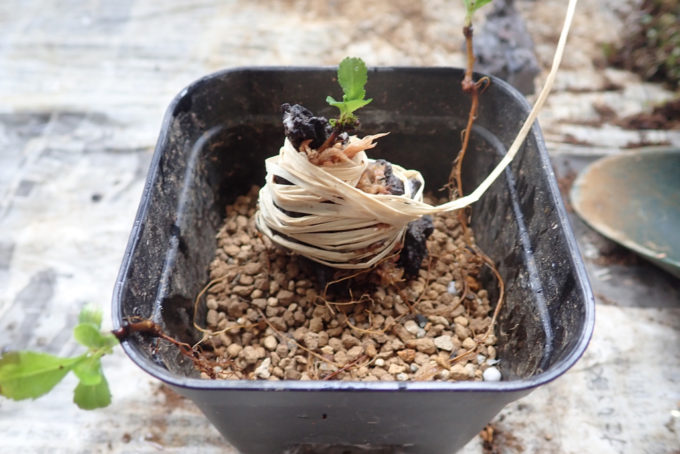 Put some soil on the root, then I put the Ishitsuki on the soil. After that put mor soil slowly and decided the position of each choujubai.
根元はもう硬くなってきているので、いい位置に置くのに多少苦労しました。斜めになってもいいので出来るだけ根は全て用土の下に隠れるように気をつけました。
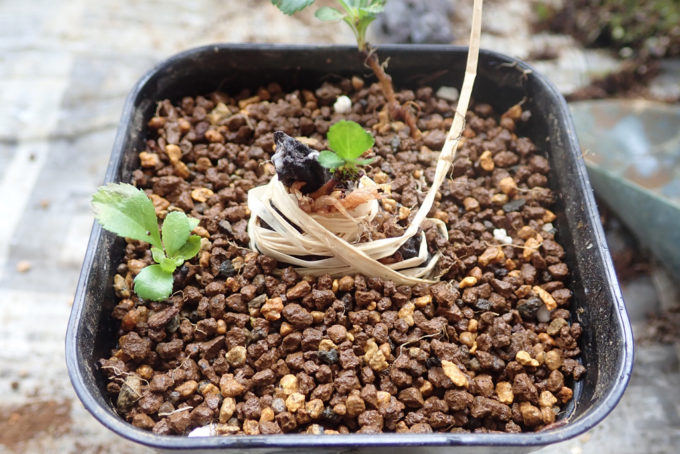
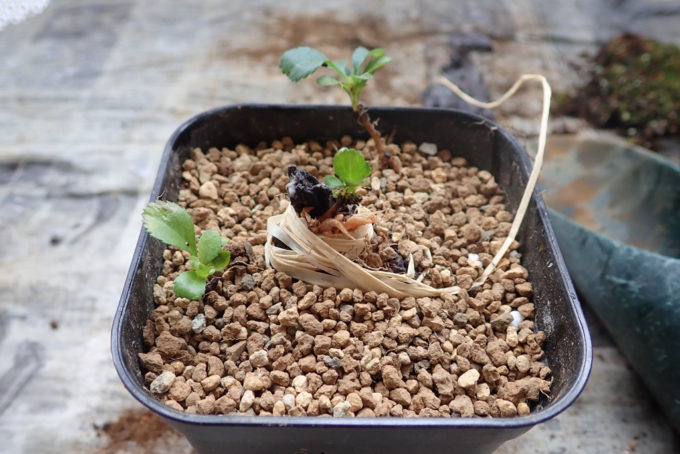 Done.
Done.
 Closer look of the base.
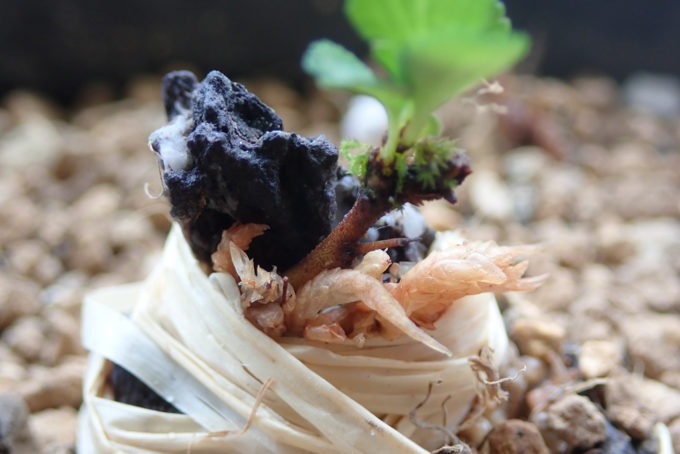 This is the closer look of Ishitsuki shape. I hurried too much and fell a lot of leaves… Hope it grows steadily.
 This is the third one.
 Put the pot in the water so that the soil absorbs a lot of water.
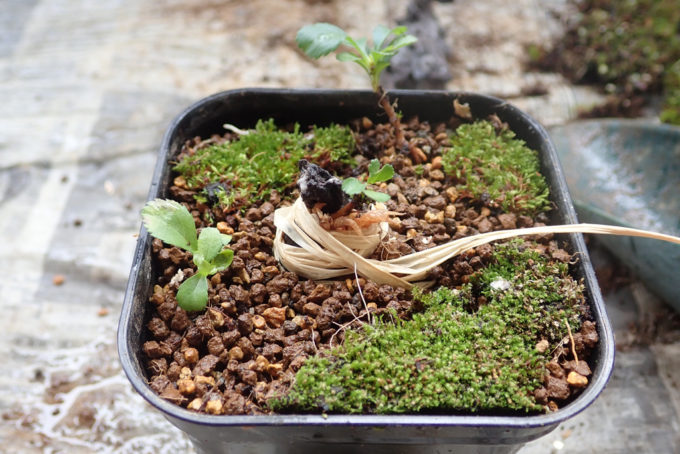 I put some moss on surface and done!
Cleaning up
 I put the moss back in the plastic cup. It looks not beautiful, but once the moss gets stable and starts growing again, it will be better. Sometime in the future I can use it for dressing up my bonsai.
How to manage them later
I’ll just water and fertilize them till the end of autumn~end of the year. Then, I’ll wire them or do something according to the situation. So far what I need to do is to give them vigor so that they will grow steadily.
It is a lot of fun to play with choujubai, but they grow much more slowly than Sarusuberi.. so I have to be patient.


コメント