I removed the wire on crape myrtle, which I wired and formed on July 7th, 2017 – around 11month ago. At the same time I replanted it to change its planting angle.
Current situation
It looked like this.
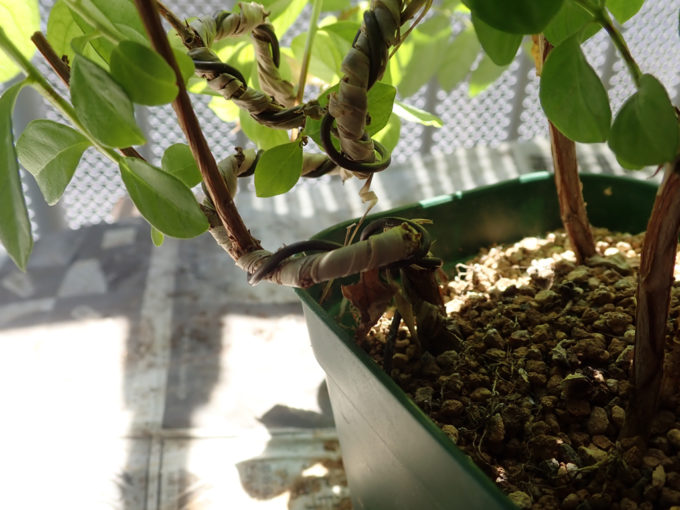 In order to avoid the wire bites into the trunk, I covered the trunk by raffia before I form it by wire. I used 1.5mm diameter aluminum wire.
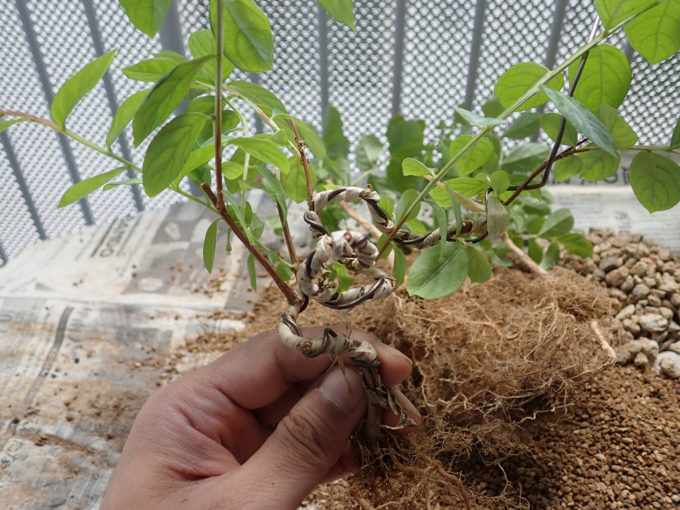 Put it out from the pot. Well formed and the trunk runs like snake.
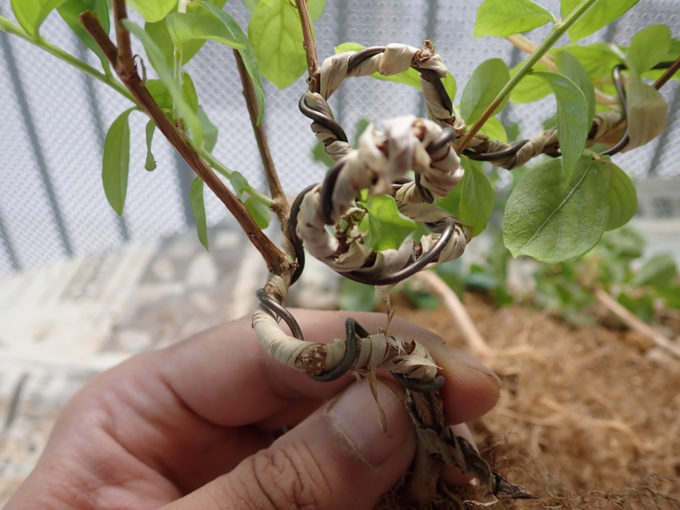 I hope the form is already fixed.
How to remove the wire and replant
Remove the wire
Now, remove the wire.
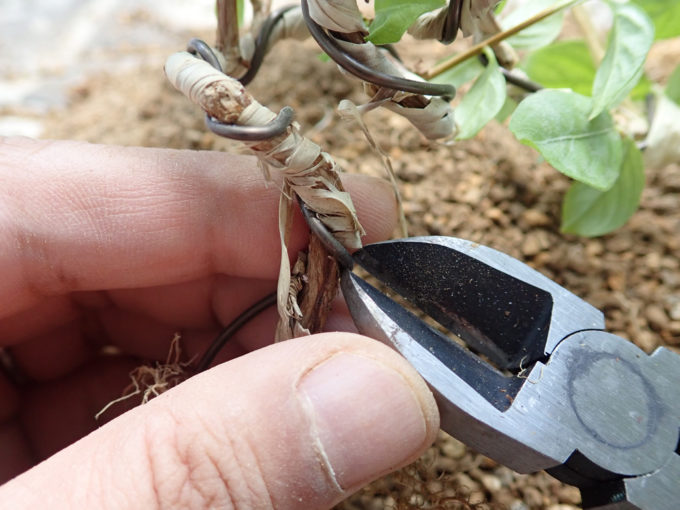 Cut the wire by nipper, not harming the surface of the trunk. The wire is not biting trunk, it was not difficult to do it.
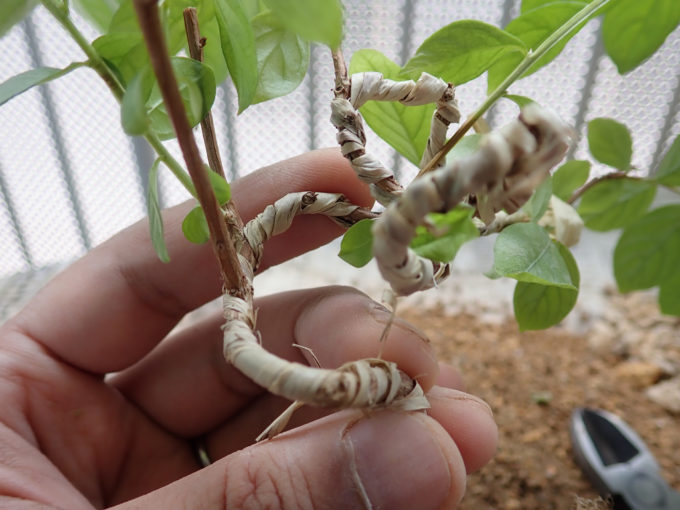 Once the wire is removed, now remove raffia. I rewinded it where I could, or I cut it apart.
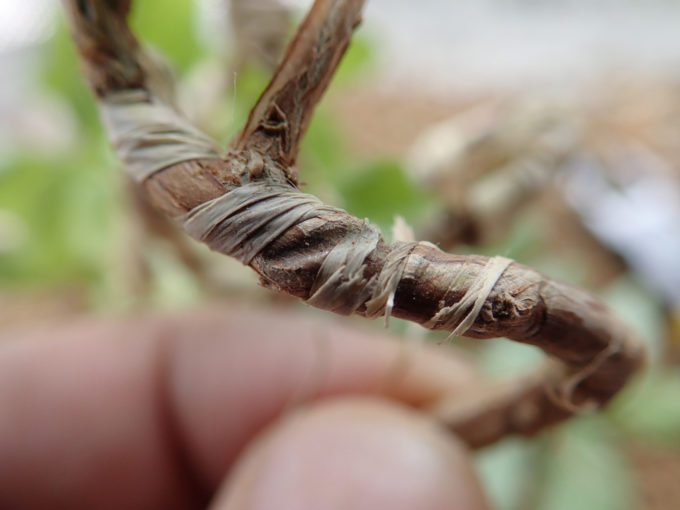 Almost one year passed, so some part of raffia is tattered.
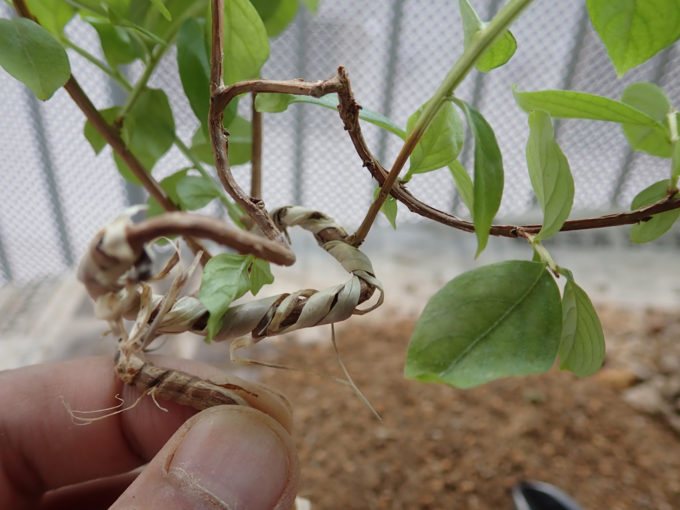 Some parts of raffia is still fine, so it was easy to remove.
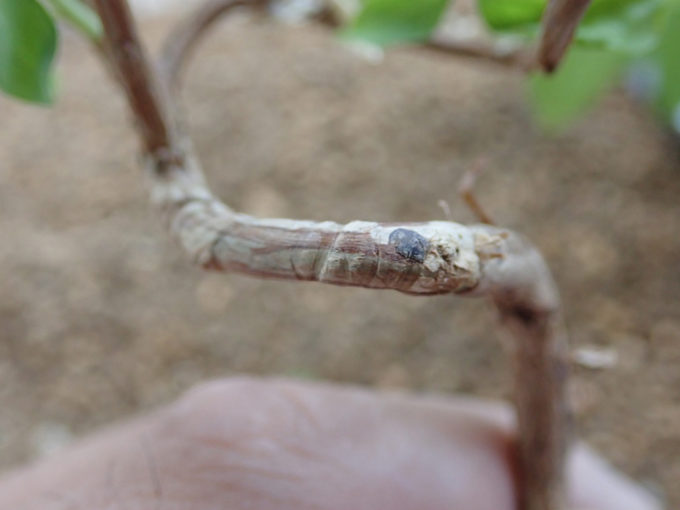 Removed raffia. I found that there’re some wounds by wire, but they are not too ugly. They will disappear as the tree gets fat.
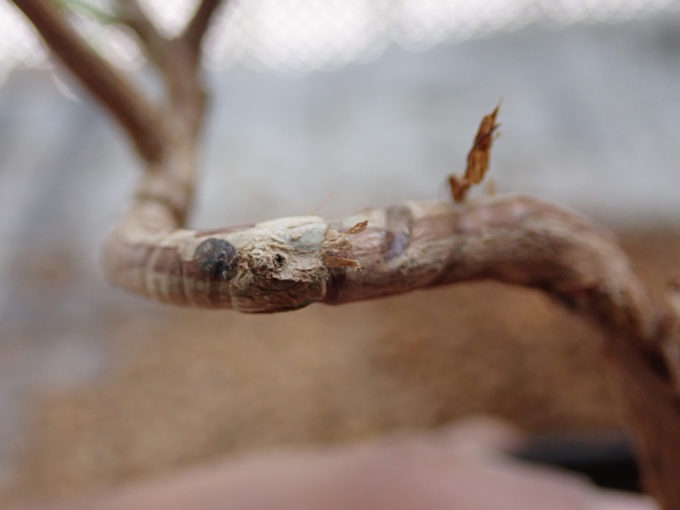
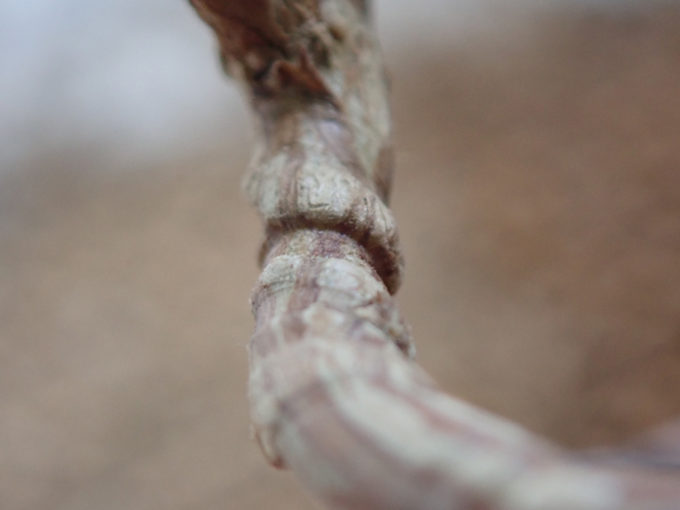 There some bad wounds, but they may be its unique character.
Removing the wire is done!
Planting into pot
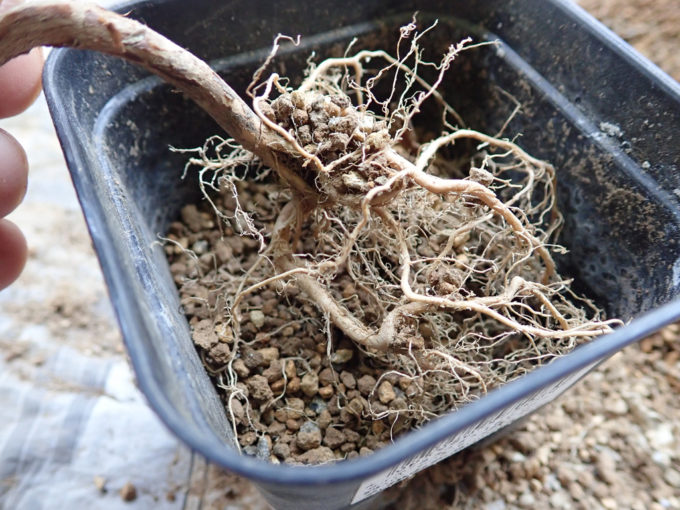
Now, cut some of the roots off and plant it in the pot.
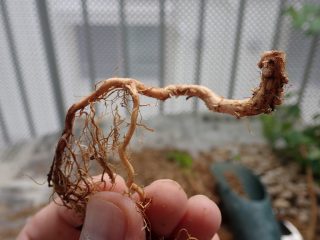
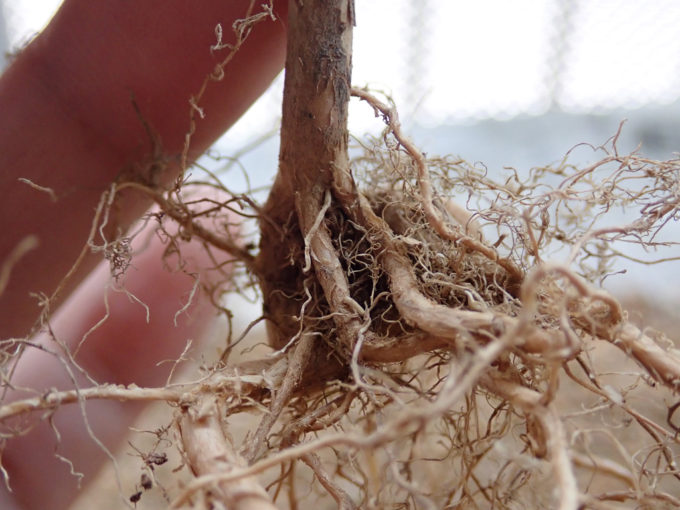 The roots look like this. Not very interesting.
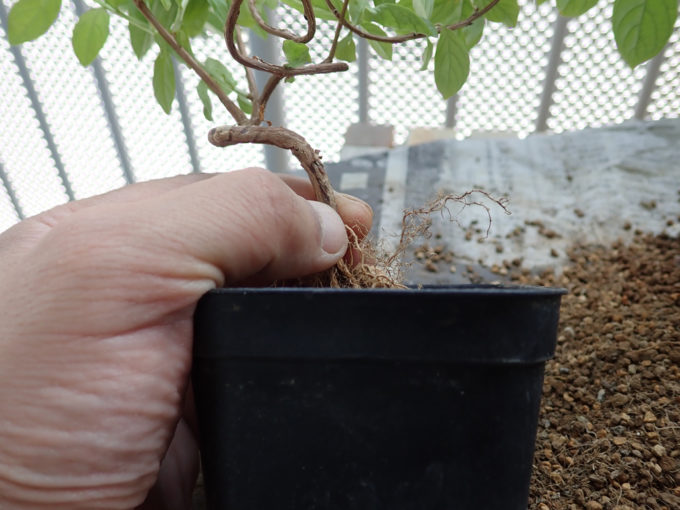 Put the tree in the pot and study the angle, which looks nice. I wanted to show the base part, so I was thinking its position that a part of the roots would be above the soil.
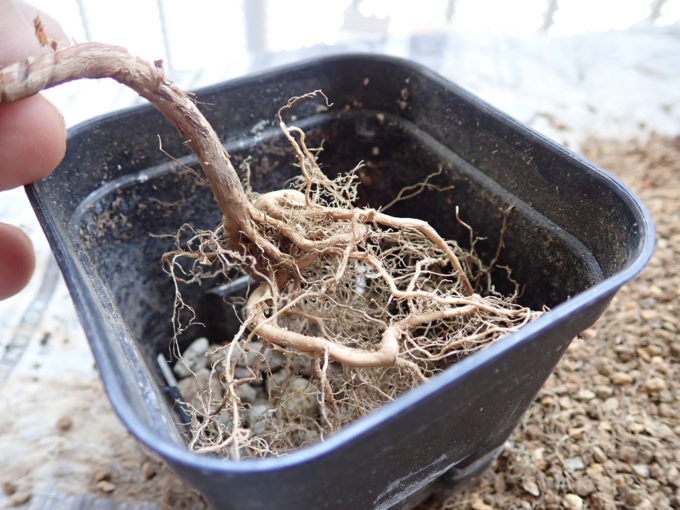 Tried many times. I cut off some part of the roots which was not necessary.
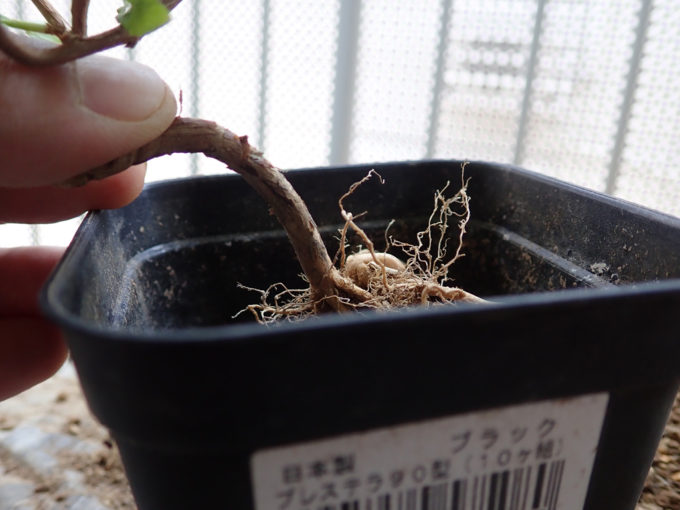 Now, I decided the position, angle.
From now, put the soil.
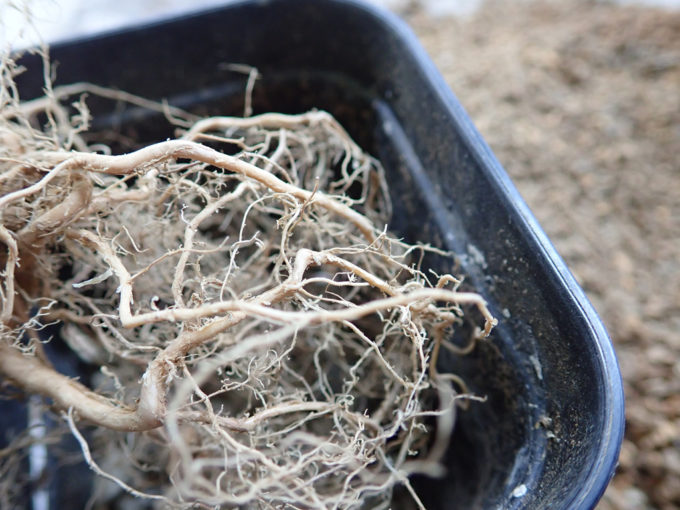 There’re a lot of thin, small roots and there’re a lot of space between them. So I as very careful and patient to put the soil in the space.
 When the soil is put like this (one-third of the depth of the pot?), poke the soil by bamboo skewer or a piece of wire. It makes the soil flowing into the gap between the roots.
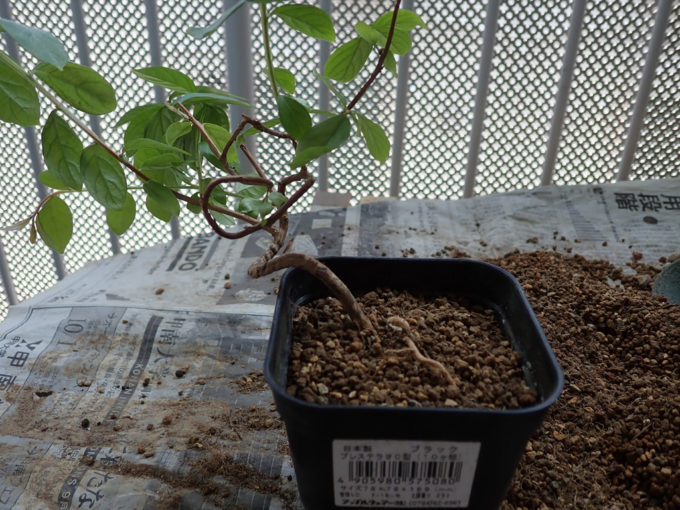 I repeated above procedure and put the soil like the photo. I intentionally left the roots above the soil. Now put the pot in the water few times and wash the dust away.
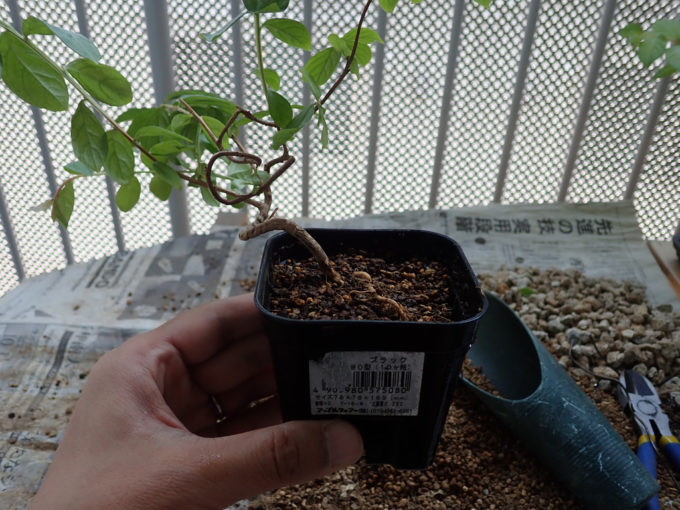 Once the soil absorbed water, it fixes the tree firmly.
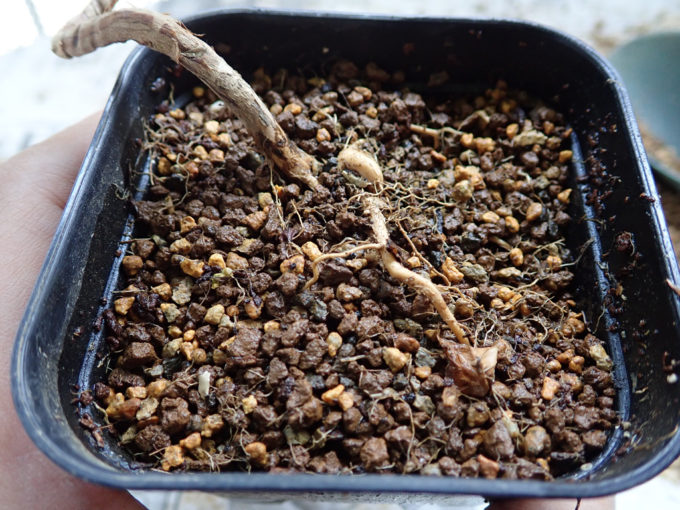 The base looks like this. Once the tree is stable, I’ll remove the surface of the soil and expose the roots a bit more. Now planting is done!
Reduce the branches and leaves
The amount of the roots is now 2/3? since I cut them. So, to balance absorbing water from the roots and transpiring from the leaves, I cut some branches to reduce leaves. One more reason why I cut the branches is that the branches are growing quite straight, so I wanted to cut them off, await for new branches grow for wiring.
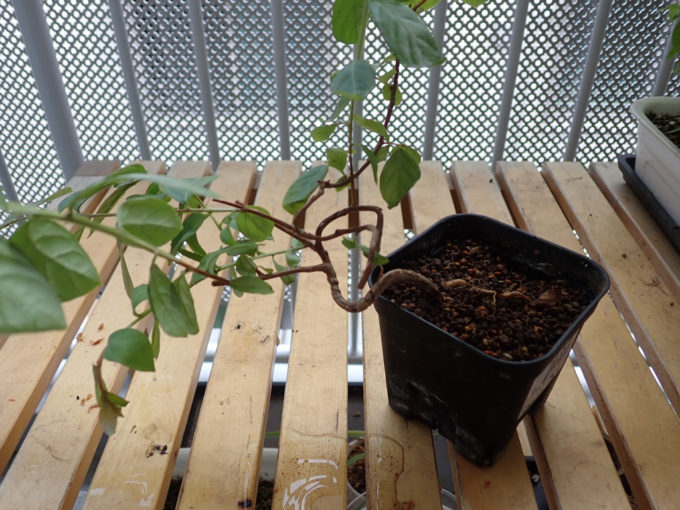 It looks like this now. Branches are straight, leaves are too many.
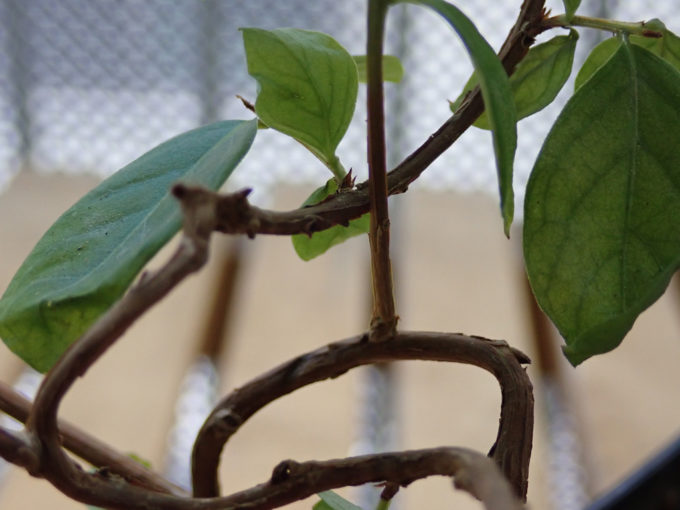 You see the branches are crossing. This is called “Kousa-eda (crossing branches)”. It is one of “Imi-eda (the form or position of branches which have to be avoided)” In this case, use wire to form the branch not to cross with other branch or just cut it off.
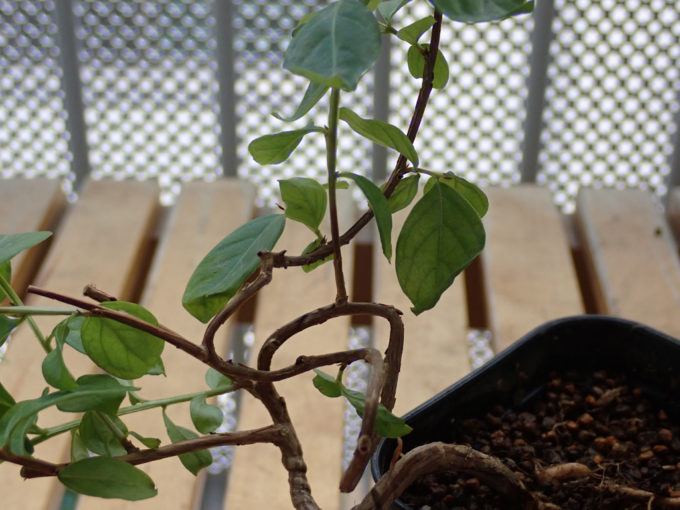 It was like this, so…
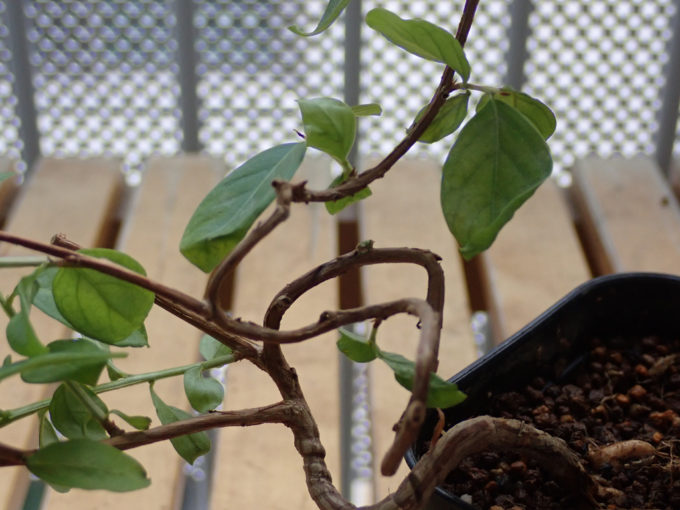 I cut one branch off to avoid the “Kousa-eda”.
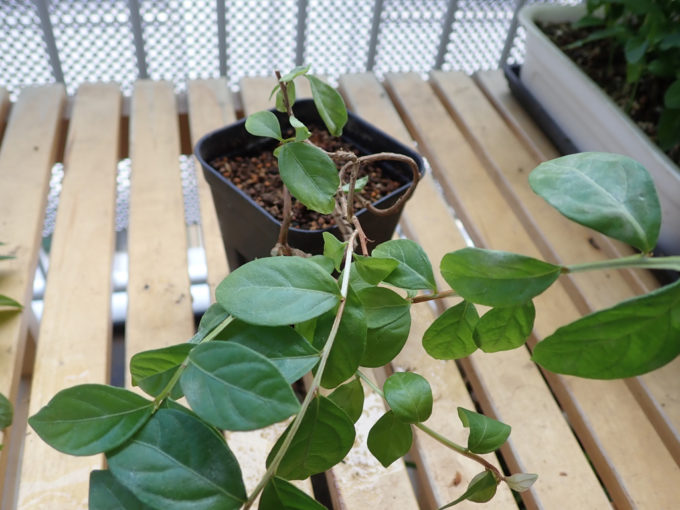 There were too many leaves, so…
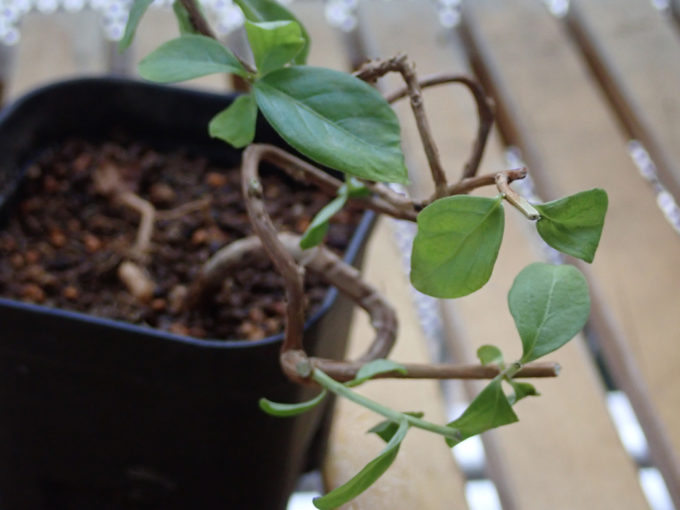 I cut a lot of branches off. Now it looks quite simple. I left one-two leaves, expecting new braches will grow from the base of the leaves.
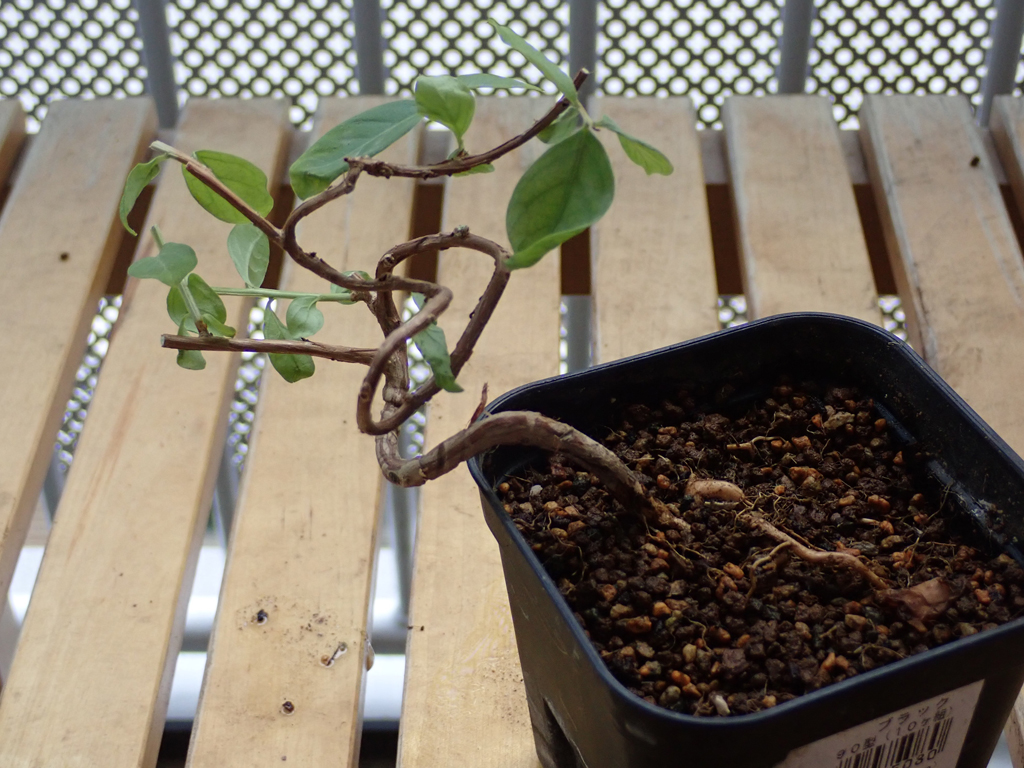
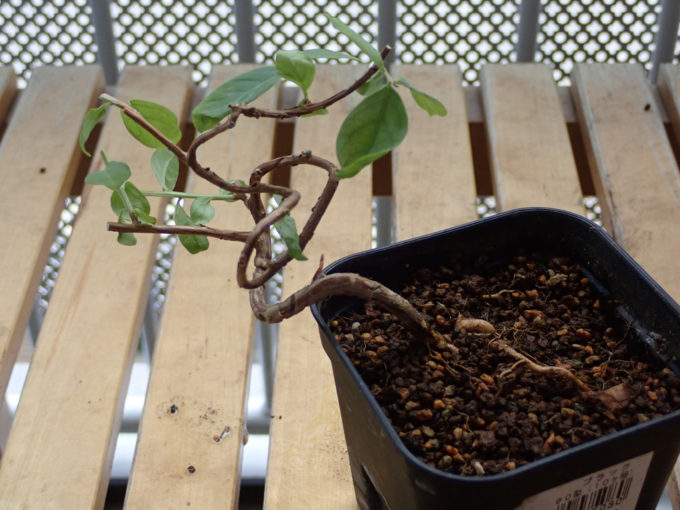 Finally I cut the branches like this photo. There’re two branches to left side parallely, which is also one of Imi-eda (“Heikoueda” – Parallel branches). So sooner or later I’ll cut off lower one and wire the upper one.
That’s all for today. Now I put it on the rack so that they can have a lot of sunlight, watering to keep the soil wet (quite basic procedure) awaiting the roots get stable.


コメント