
The sarusuberi (crape-myrtle), which I did nebuse in the beginning of March, has new buds now. I can see the buds of sarusuberi in the PET-bottle clearly, but I was so curious about the situation of the sarusuberi in plastic pot.
Current situation
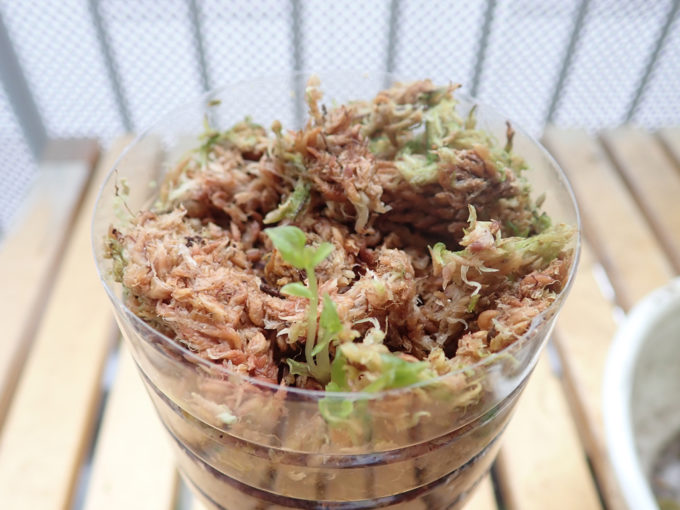
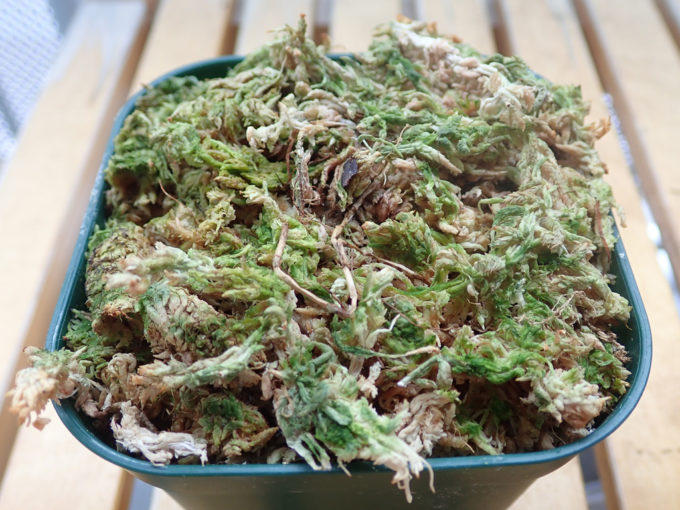
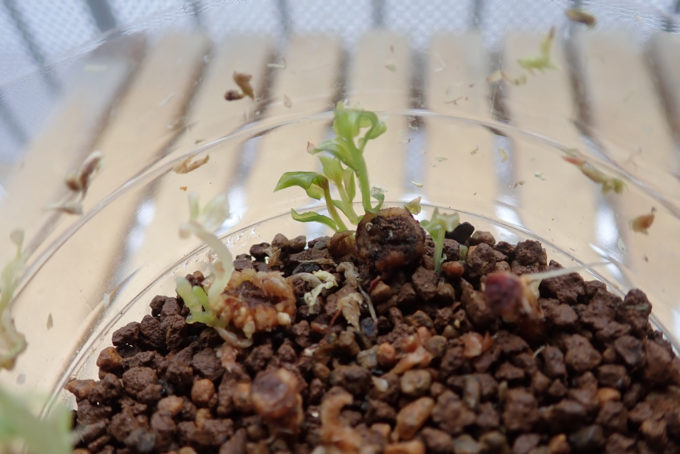
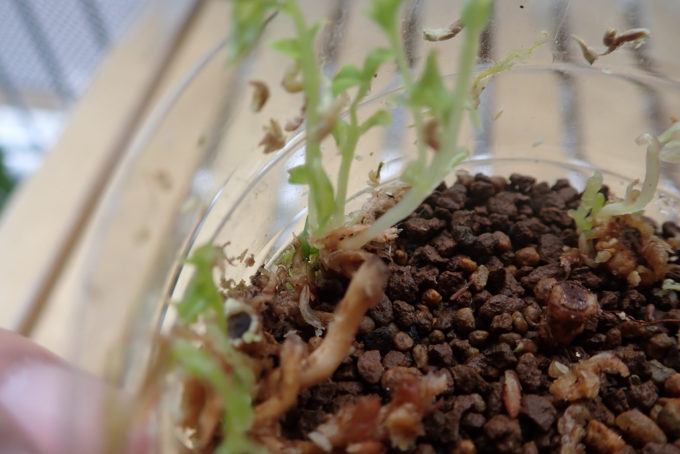
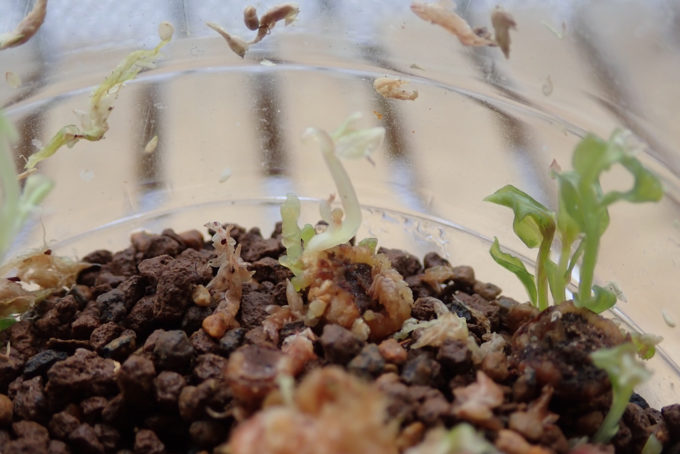
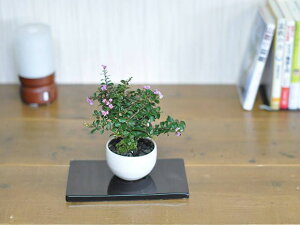
Currently it looks like this;
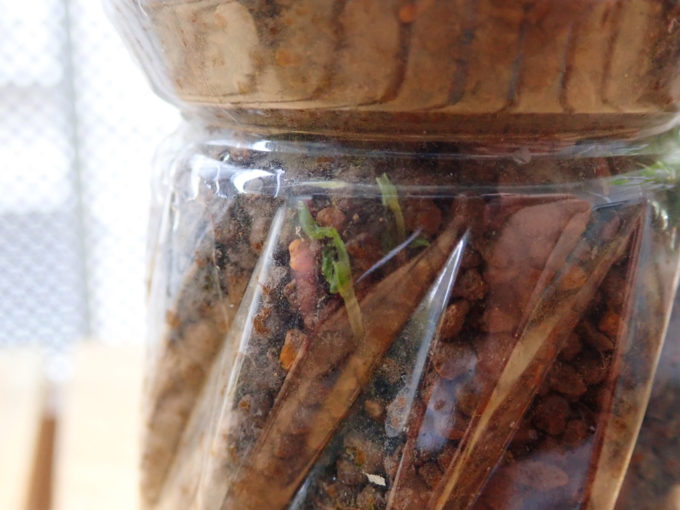
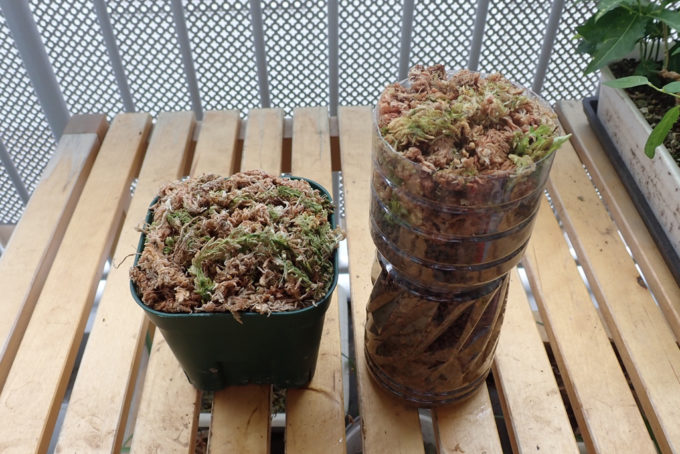
 The left one is pet-bottle. The ones in it already have new buds since the bottle is transparent. I really wonder how is the situation in the plastic pot.
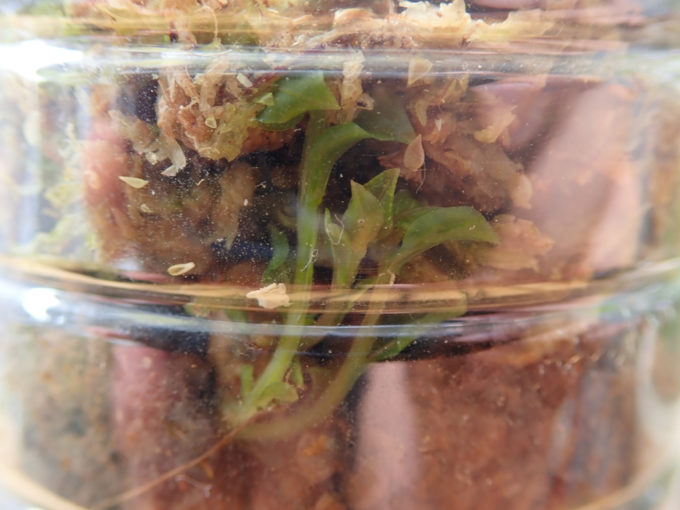
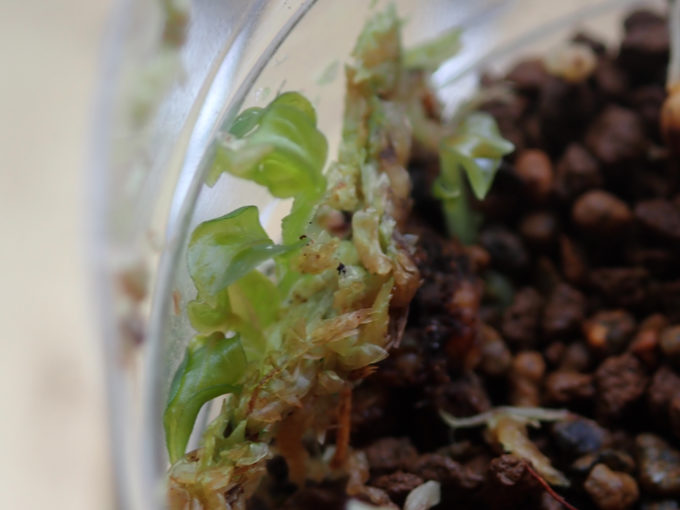
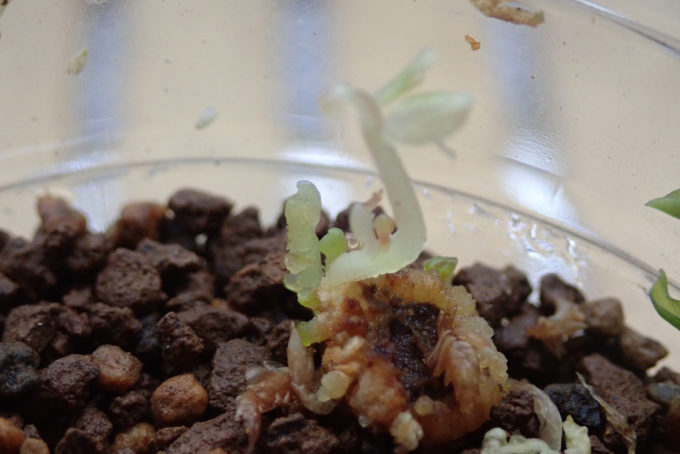
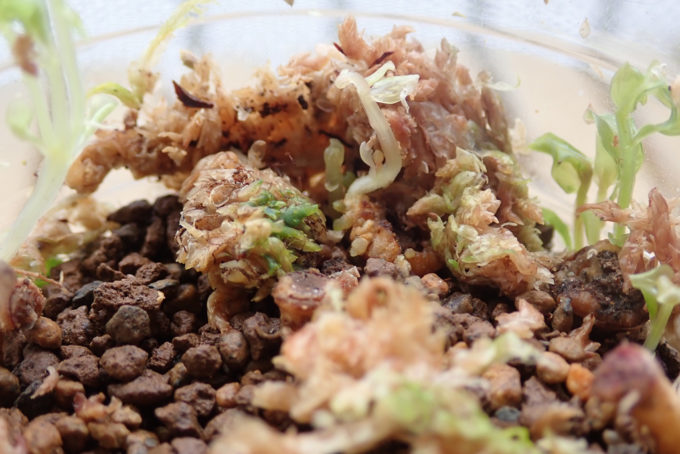
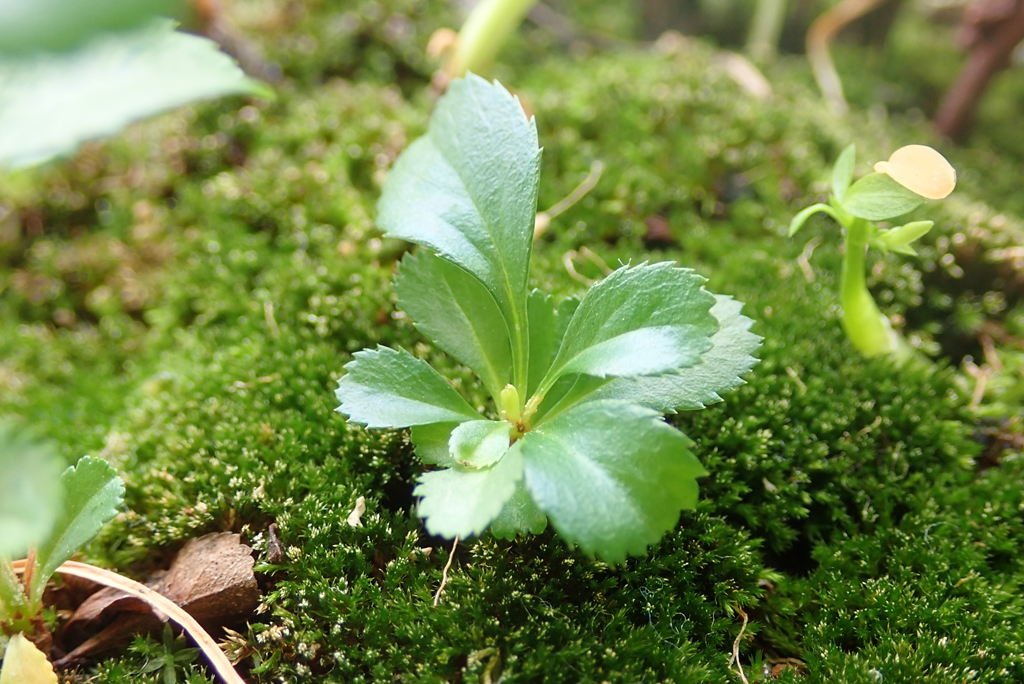
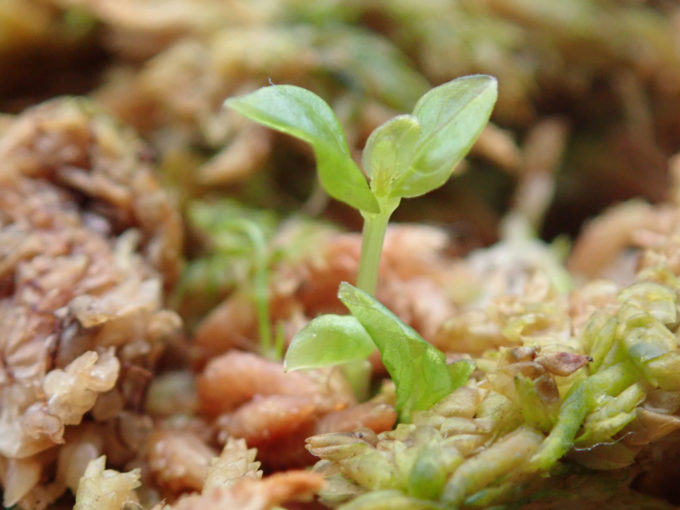 The buds above sphagnum moss. It is growing very quickly in just few days.
 Other buds are also growing steadily, almost coming out of the moss.
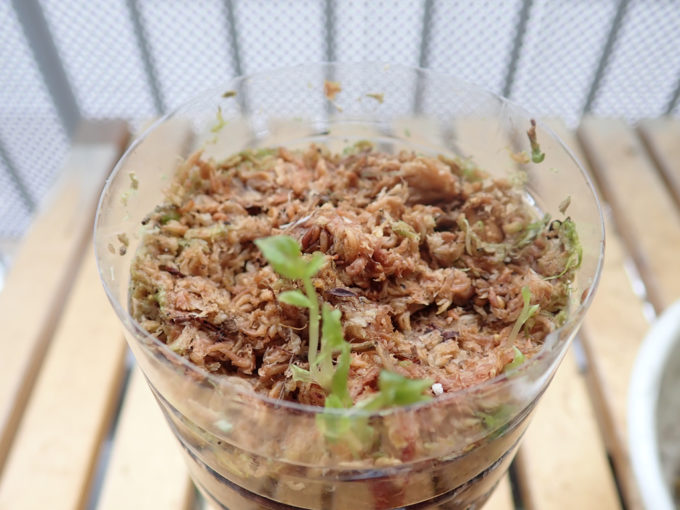
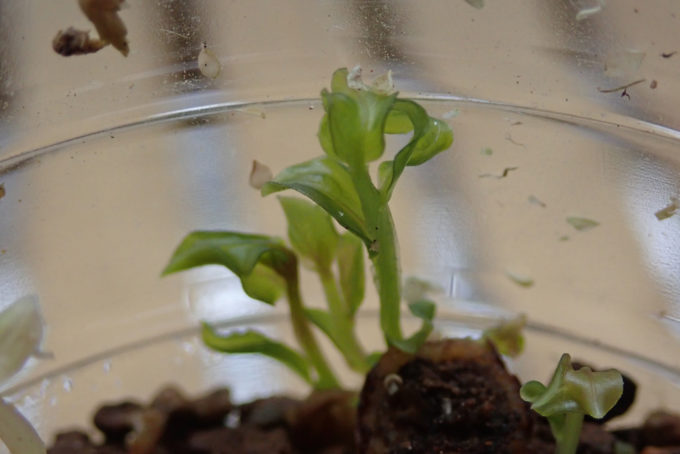
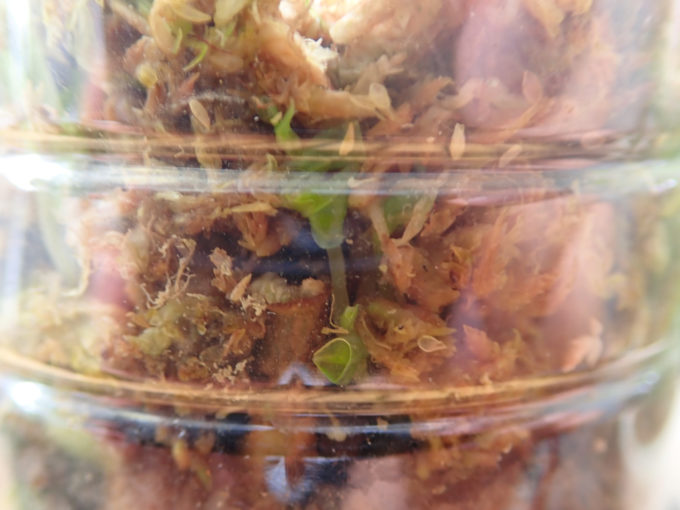 All of them are growing, no one has withered or rotten.
 And these buds are growing, too. I’m afraid that they will withered soon, but hope they’ll alive till the time of replanting.
Remove the sphagnum moss
Sarusuberi in the PET bottle
Now, remove the moss on the PET bottle.
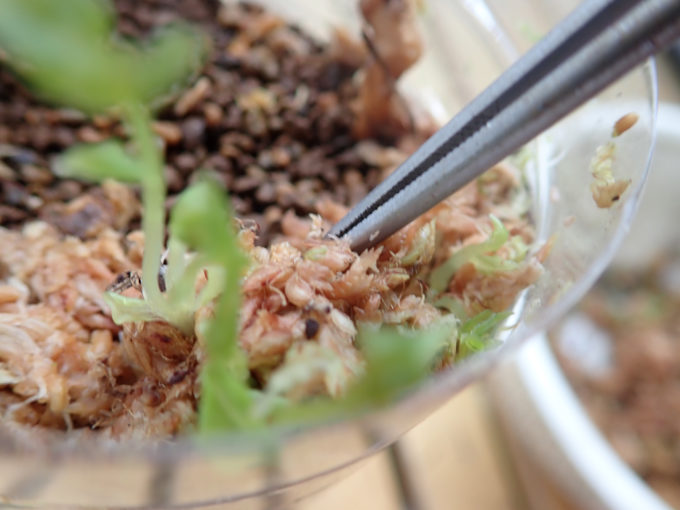
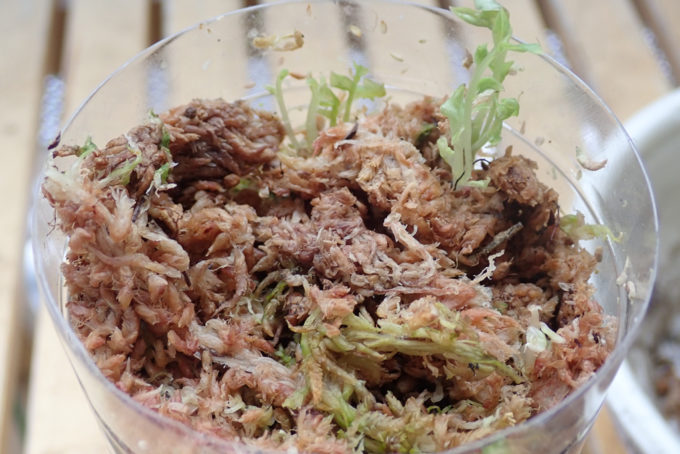
 This is current situation. Remove the moss with maximum care. If the new buds get caught in the moss, they can be easily broken. I used tweezers together with fingers.
 Remove slowly and one by one.
 Half of the moss has removed. I found new one at the right, which was in the moss.
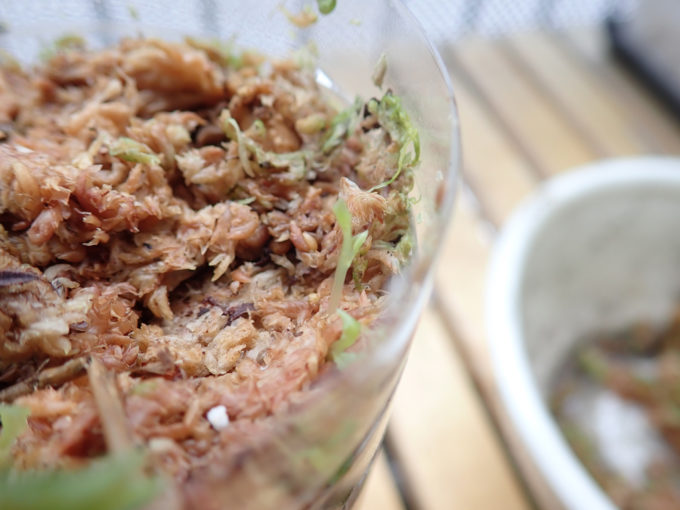 Still small and thin, looks weak.
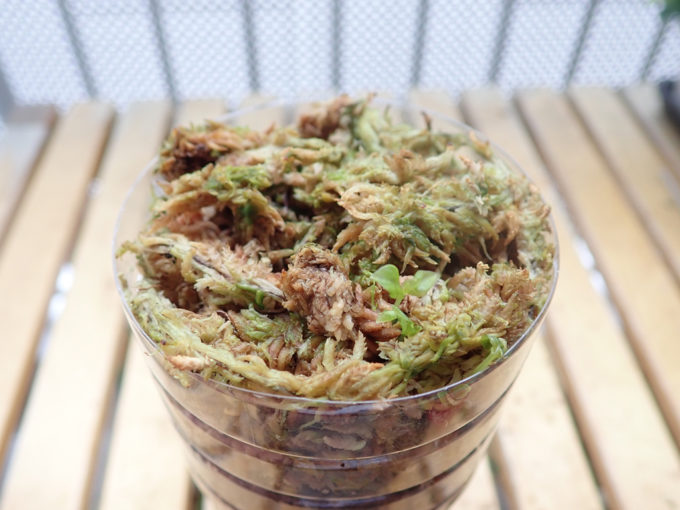
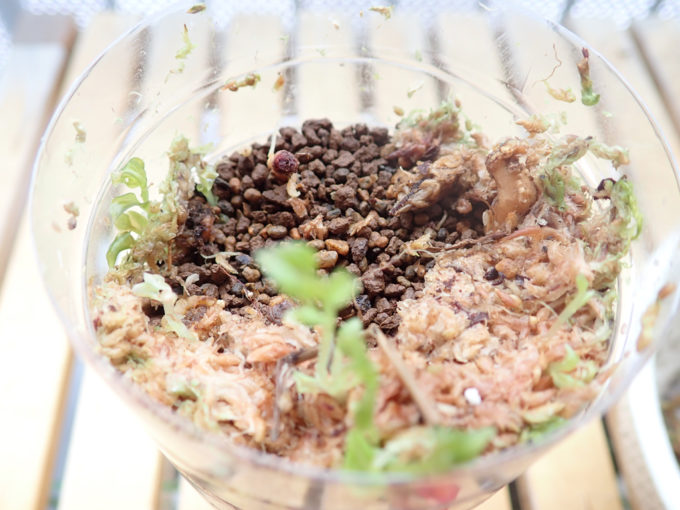 Now I reached to the soil. I put a lot of sphagnum moss. Maybe it could be less.
 Growing well.
 When I removed the moss between the PET bottle and buds, or between buds, I used tweezers. I was afraid that if I use fingers, I could pick up the buds together with moss and cut it off.
 Sphagnum moss has been almost removed.
Sarusuberi in plastic pot
I did the same to remove the moss on the plastic pot. I was so careful because I don’t see where the roots and new weak buds may have appeared already.
 This is the beginning.
 Now, I found the biggest one!
 I put less moss on the plastic pot, so it was easy to remove it. I don’t see any new buds so far…
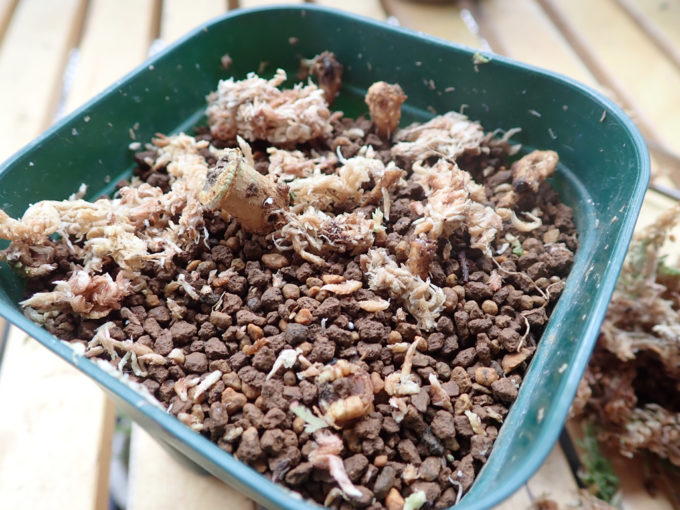 Moss is almost removed. There still remains some moss, but I removed all of it.
Check the situation of new buds
Sarusuberi in the PET bottle
I knew there’re new buds, because I can see them from outside. Let’s check the situation precisely.
 I didn’t see this one from outside. I see callus at the cut end and the buds are coming from it. It seems several buds are coming out from the callus.
 These buds are growing from the middle of the roots.
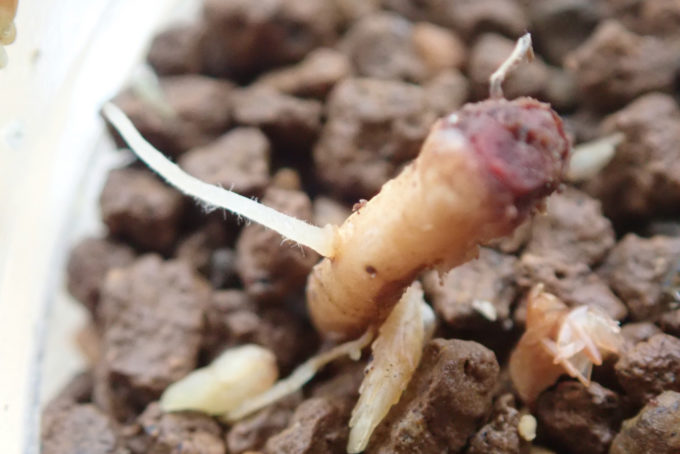 This one has roots, but no buds, no callus. Anyway it has new roots, so this root is still alive.
 This one also doesn’t have any buds, but callus is growing. So I expect that it will have new buds from the callus.
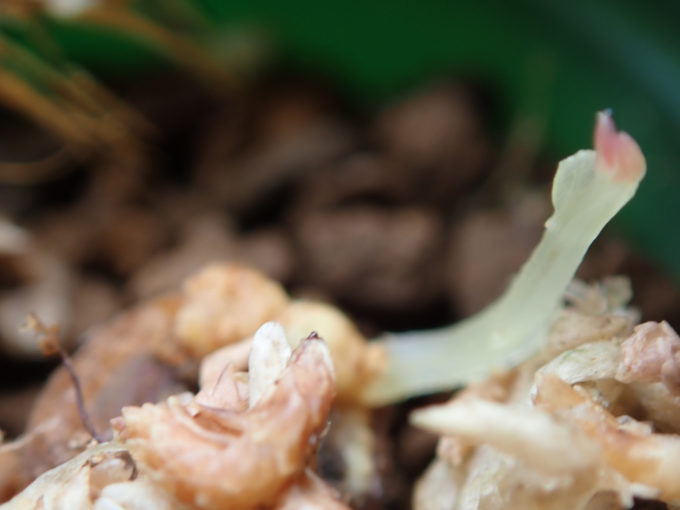
 I saw these buds from outside.
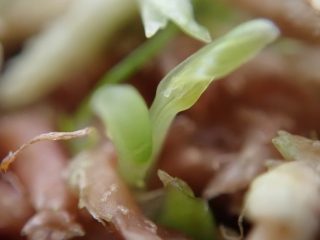
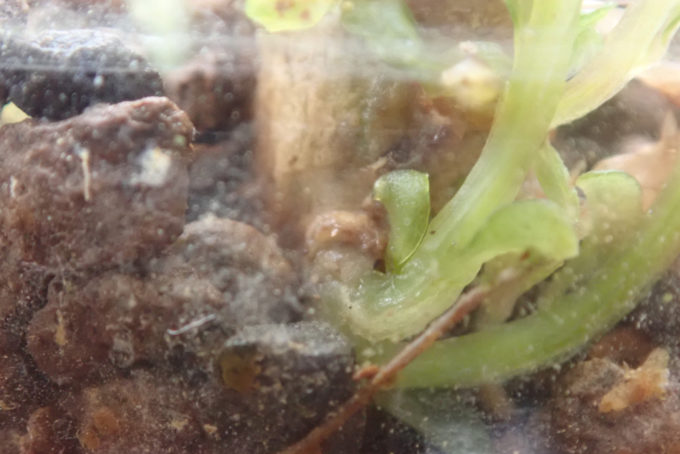
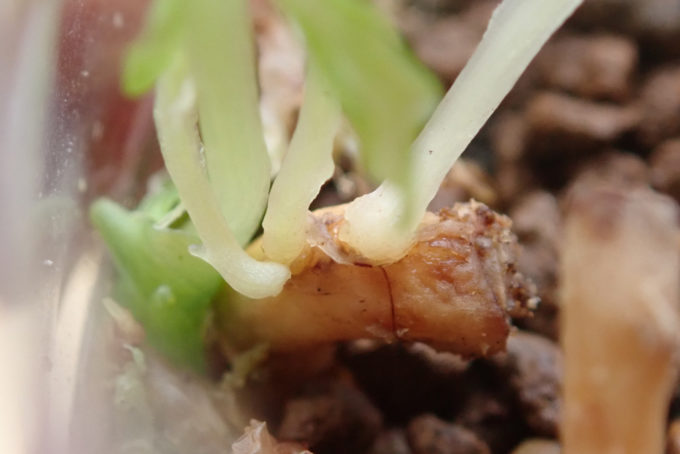 Closer look. The buds are growing from the middle of the root.
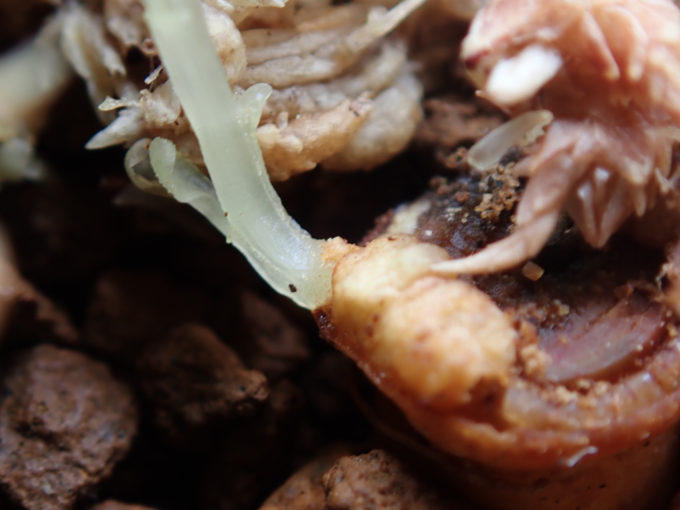
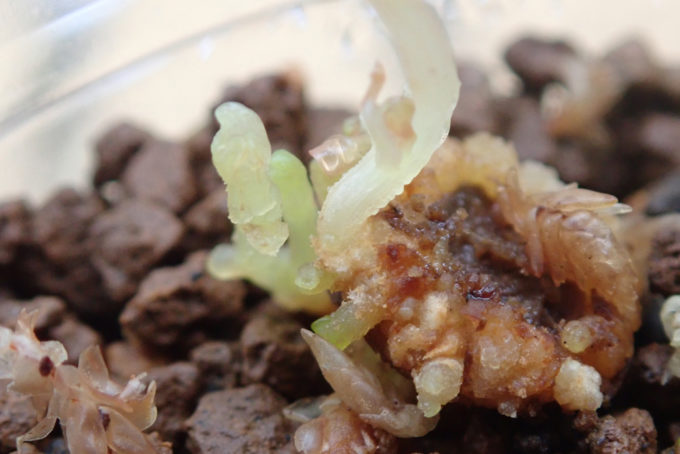 This photo is the closer look of above buds. It is clear that the root has big callus and the buds are growing from it.
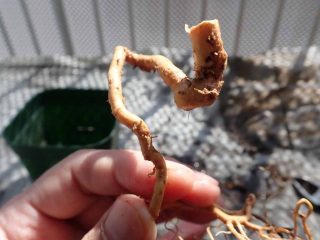
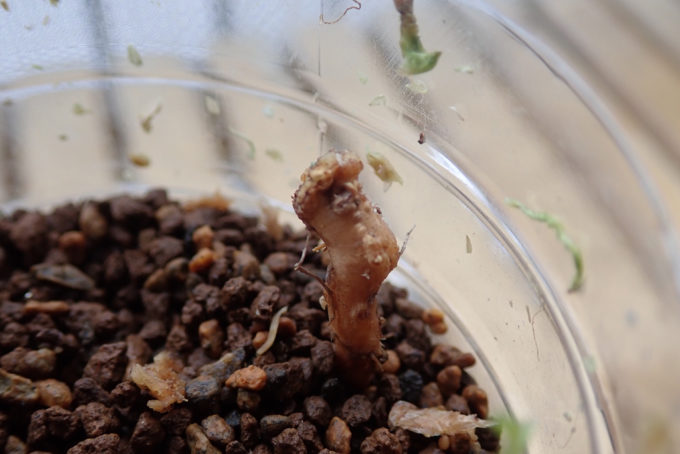 This one is the biggest, thickest one. I remember the shape of the root was unique, but unfortunately it doesn’t have any buds.
It looks like it has callus at the cut end and “rash” on the surface, so I believe it will have buds soon. I have to be patient…
Sarusuberi in the plastic pot
I still don’t see any new buds in this pot. How are they growing?
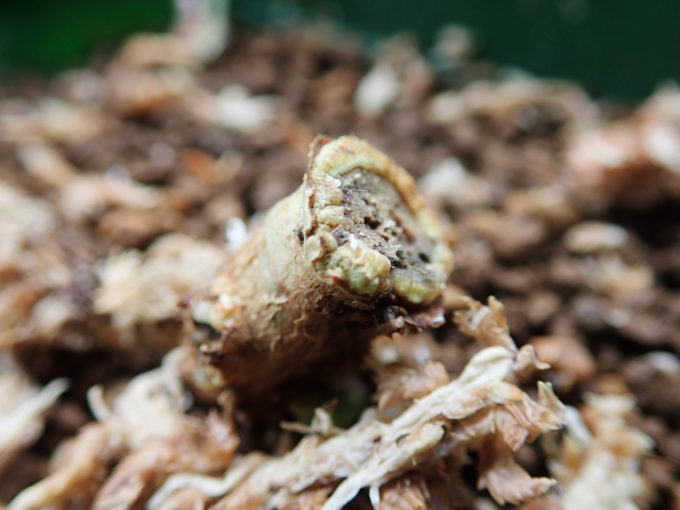
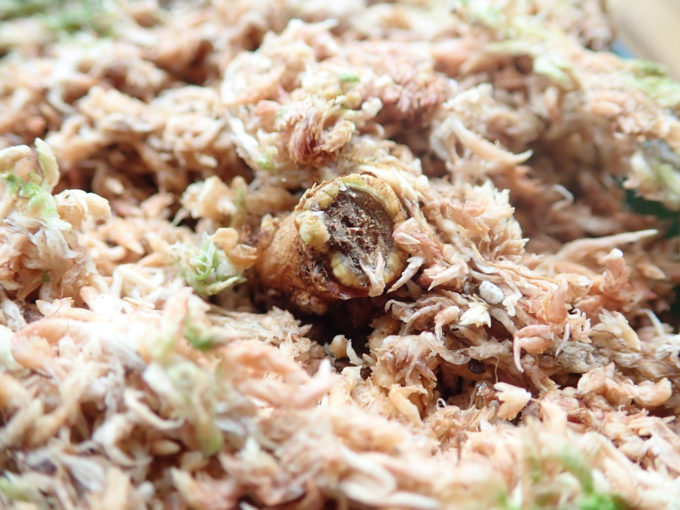
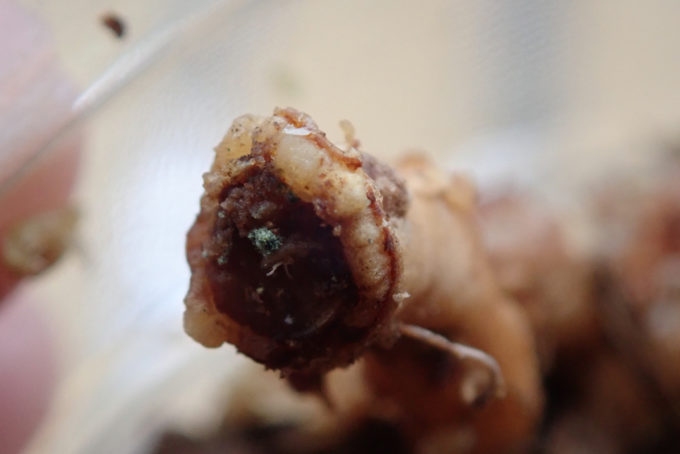
 This is the biggest one. Unfortunately it doesn’t any buds, but it has callus at the cut end. When I see the photo, I noticed that the callus is getting green slightly. I expect new buds from the callus.
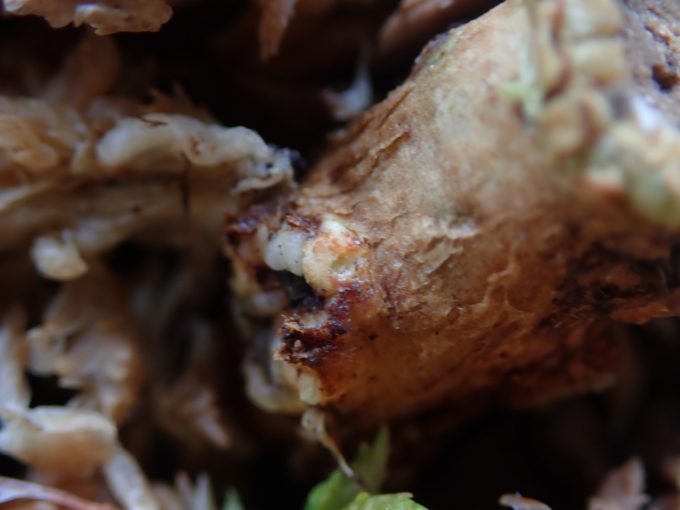
 There’re something like rash on the surface as well. New buds will appear from here…?
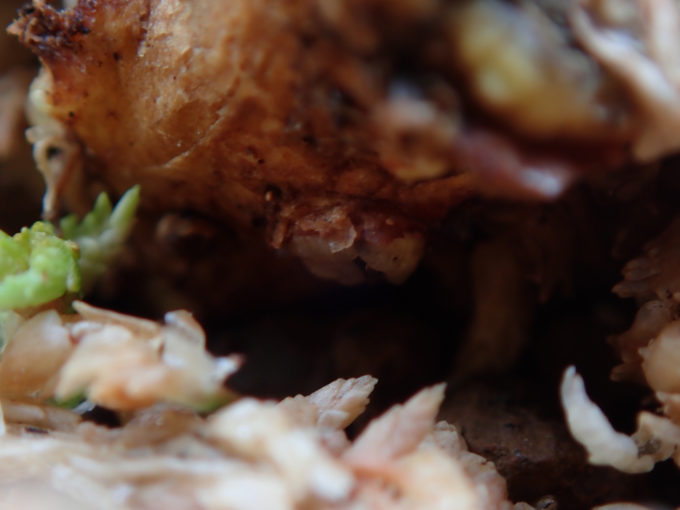
 I don’t know this is callus or not.. Oh!!
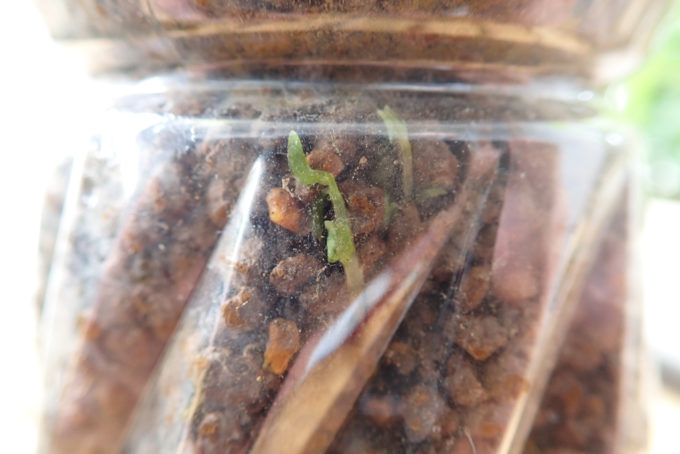
 I found very small bud!
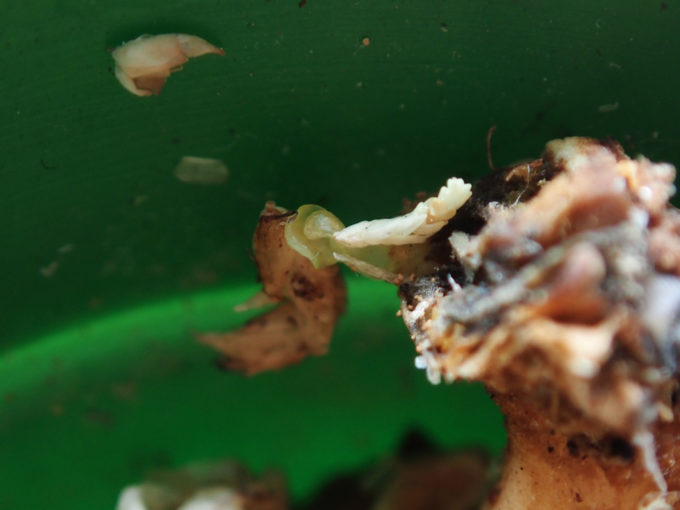 A piece of sphagnum moss is on it, but it must be a new bud!
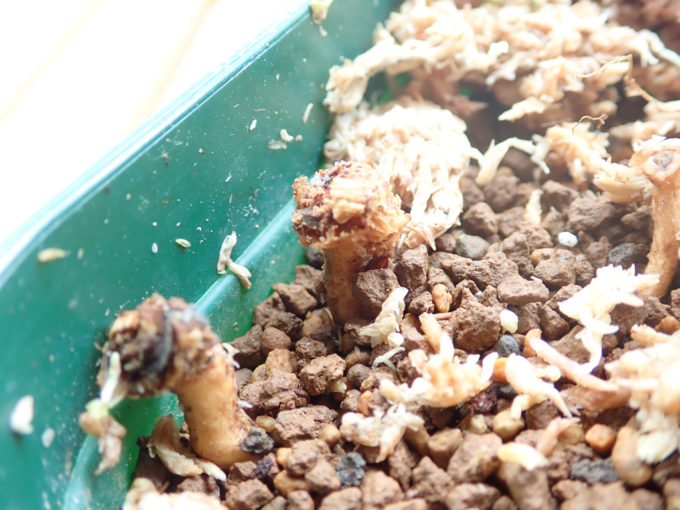
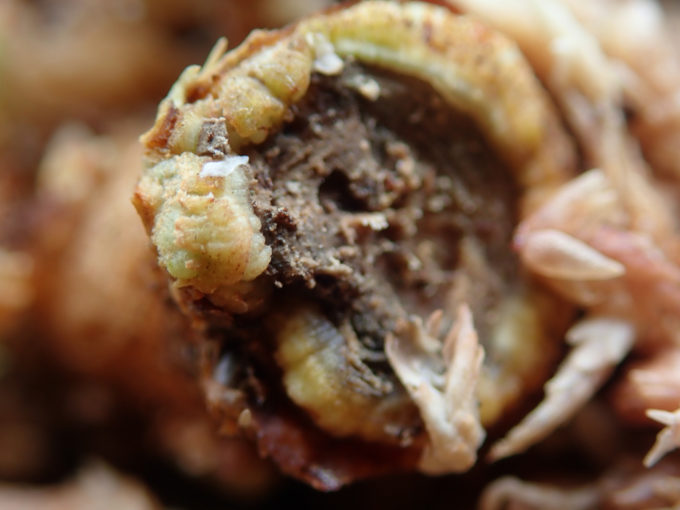
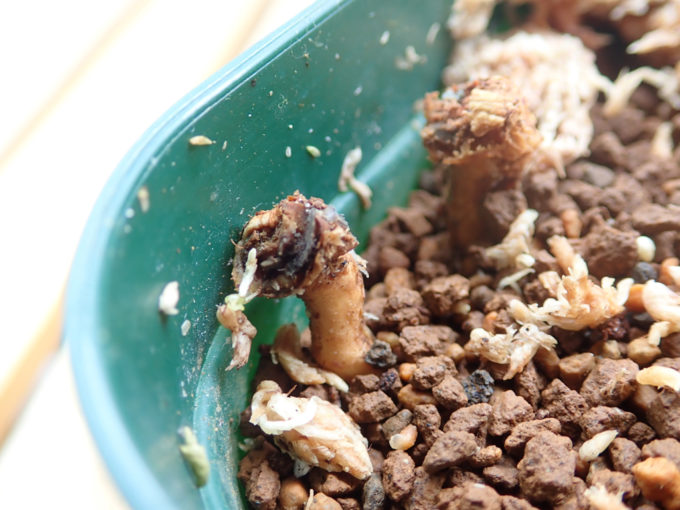
 I found the other new bod here! It is very small, but a bud is growing!!
 THe root forms bug callus. I see the bud is growing from the callus.
Finally, I could find only two buds from the Sarusuberi roots in the plastic pot. However some of the roots have callus growing, so I’ll wait for few more months.
Put the sphagnum moss back
I decided to leave both of the pots (plastic pot and PET bottle) as it is. I.e. I decided to put the sphagnum mosses back to the pots. The roots in the green plastic pot is bigger, thicker than the ones in the PET bottle, so it seems I have to wait for few more months for new buds. However, the callus looked good, so I don’t think it takes long time.
 Put the moss here…
 Like this. Between the bottle and new buds. Maybe it was not necessary because the buds are already growing.
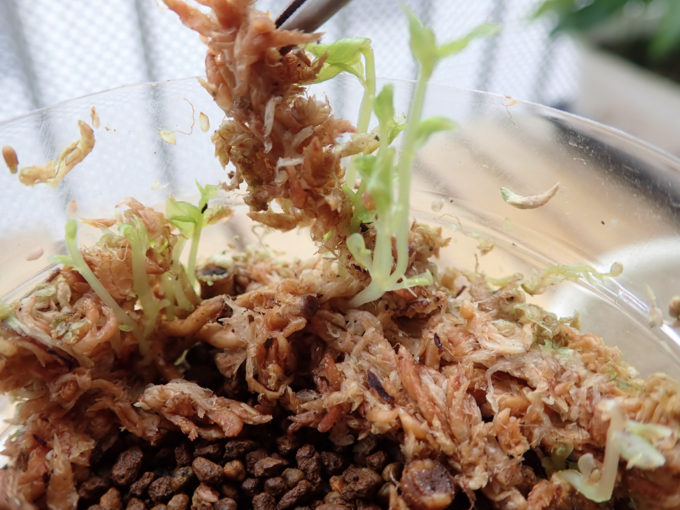
 Put back the moss avoiding the new buds. Just “put” the moss, not pressing it. If you press the moss, you may harm the new, weak buds.
 Done. Some of the buds are above the moss, but you can cover the new buds by sphagnum moss. Sooner or later new buds will come out of the moss.
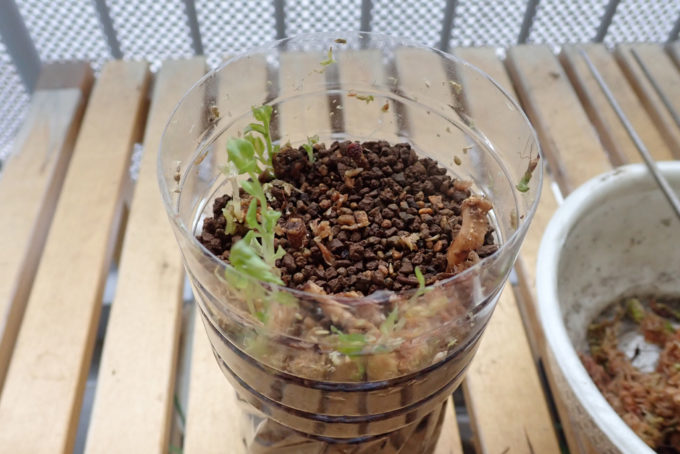
 I returned back the sphagnum moss to plastic pot as well. Then, I watered a lot to make the sphagnum moss wet enough.
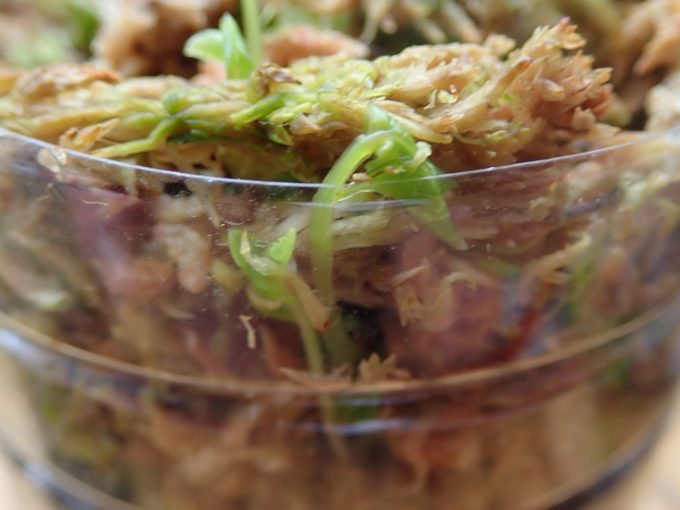
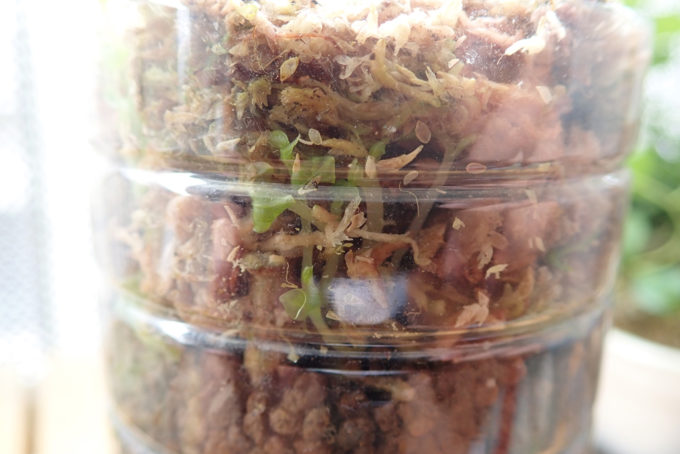 The buds in the PET bottle look like this. I put all the moss back, NOT pressing, pushing it in the bottle.
 These buds are growing in the middle of the pot. It surely is growing. I hope it will alive till replanting the sarusuberi out from this PET bottle.
How to take care
For both pots, I give water enough when the sphagnum moss gets dried. But I moved the PET bottle to upper side of the rack, so that the buds has a lot go sunshine.
I’ll leave the plastic put for a while, expecting new buds will appear. It will take few months, maybe I can see the new buds in August at the latest. The roots in the plastic pot are bug and thick enough, so once they have new buds, they will grow quite fast.
コメント