
I tried “Nebuse” of Sarusuberi (crape myrtle) in the beginning of March. I still have a lot of Sarusuberis, which I did nothing. So they are growing straight and it seems too late to form them by wire. In order to reduce the room on the rack, I decided to make all of them into Nebuse style.
Stuff
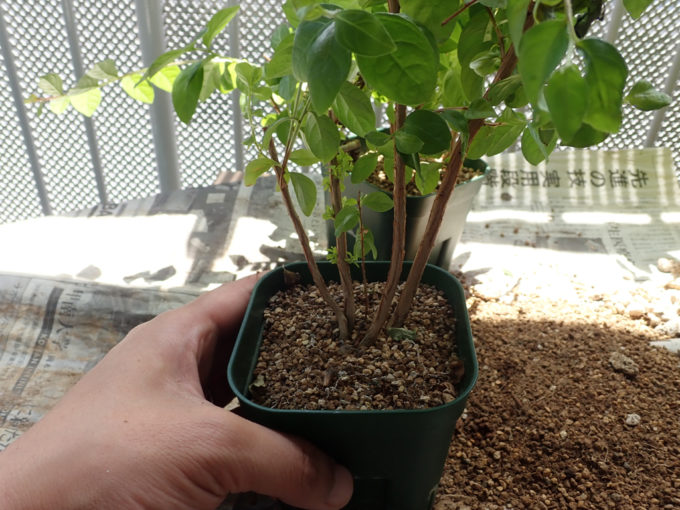
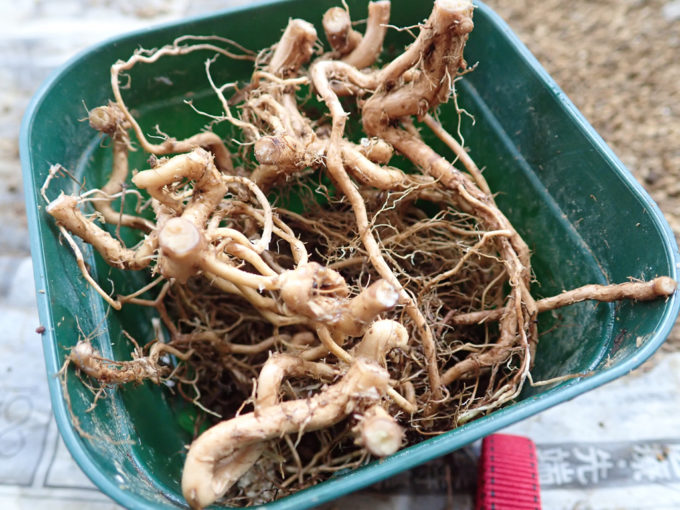
These are the Sarusuberis as material today.
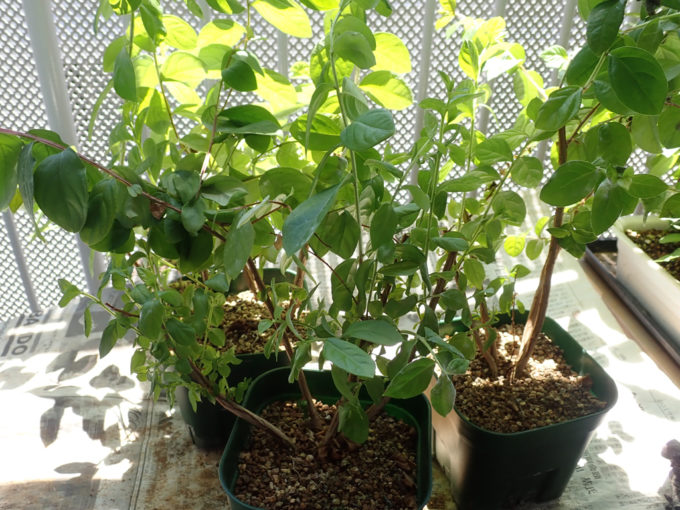 I wired only one sarusuberi, but I did nothing to all the rests – they are growing straight as you see and it is too late to make them form as bonsai.
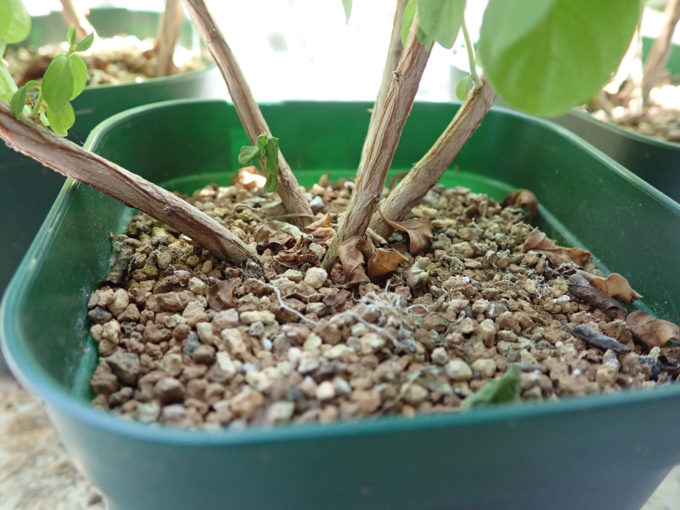
 Base part. quite straight and it seems too late and difficult to bend by wire anymore. Even though I try to make bonsai with these trees, it would be quite boring…
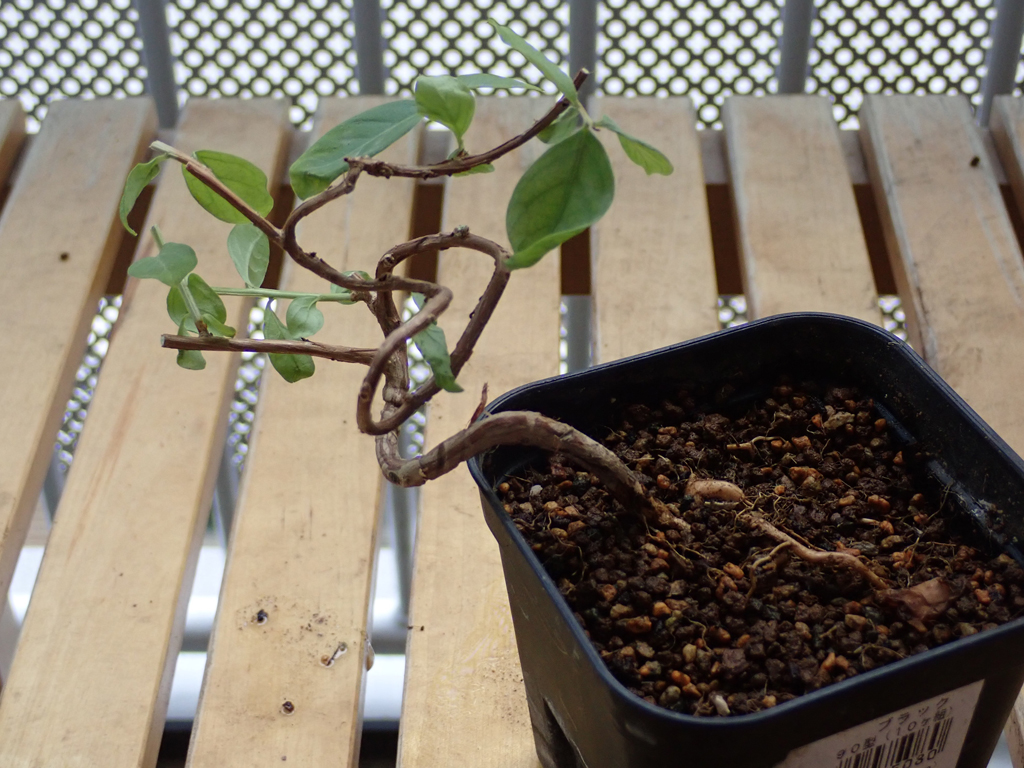
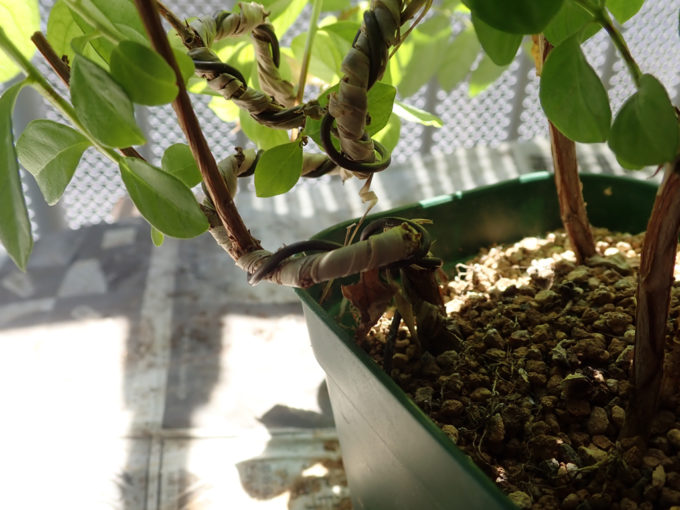 This is the one I wired for forming. I wraped the trunk by raffia before I wired for covering / protecting the surface of the trunk, but I’m not sure it is working or not. I’ll write about this in other article.
How to make Nebuse
Remove the trees out of the pots
I didn’t water them for few days so that the soil gets totally dry. That is why the leaves look mopey.
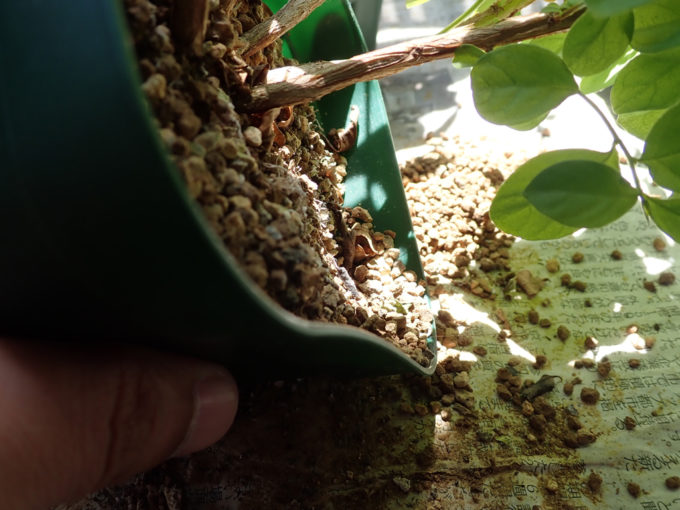 Since the pot is made of plastic, I squashed it to remove the soil as much as I could.
 Finally, I grabbed the trunks and pulled them out from the pot. From here, I squeezed the soil softly and patiently and removed the soil from the roots. It takes time!
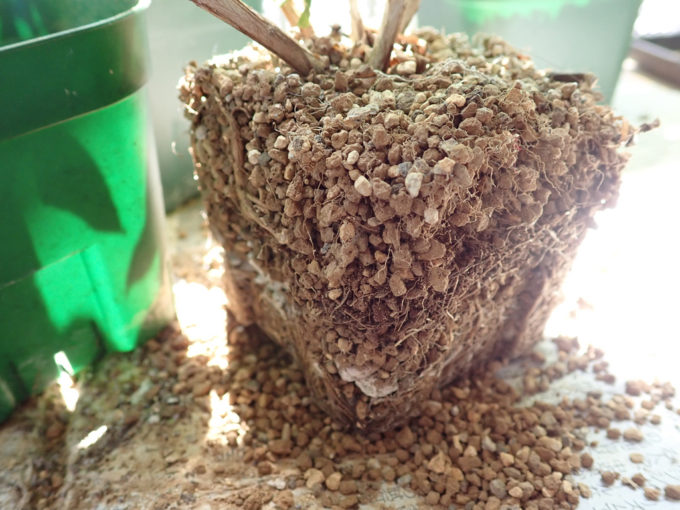
 Most of the soil is now removed.
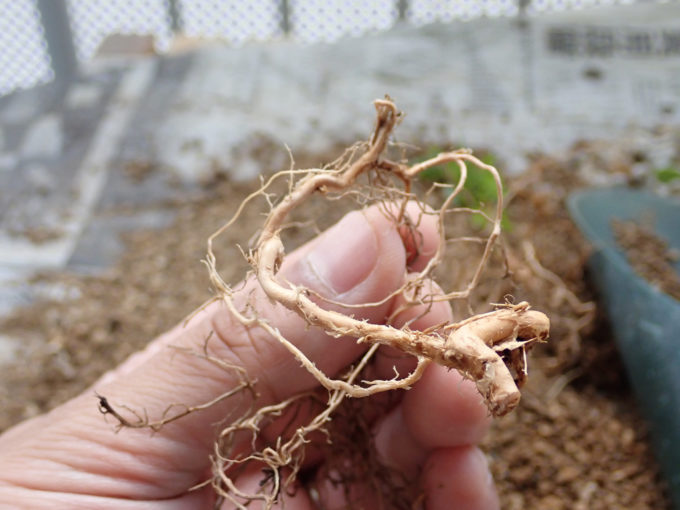
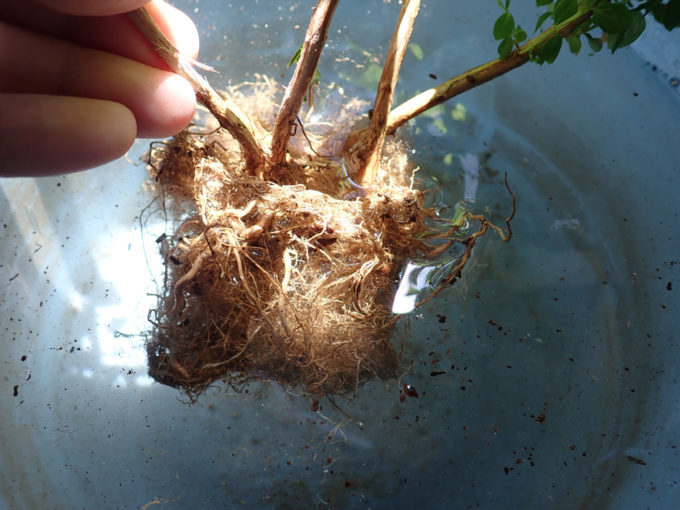 Now, put it in the water and remove the rest of the soils. Then, remove each of the trees and make apart. The roots are tangled up, so I gave up some of thin roots when I made them apart.
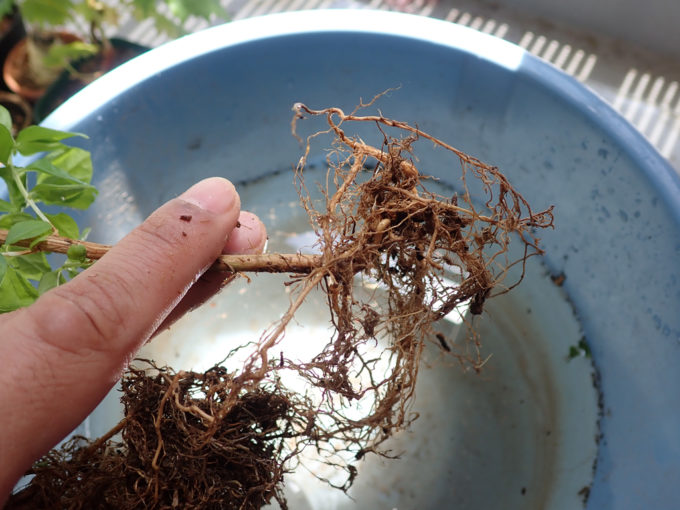 One of them is now removed.
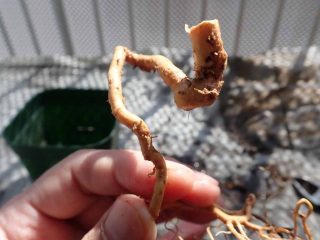
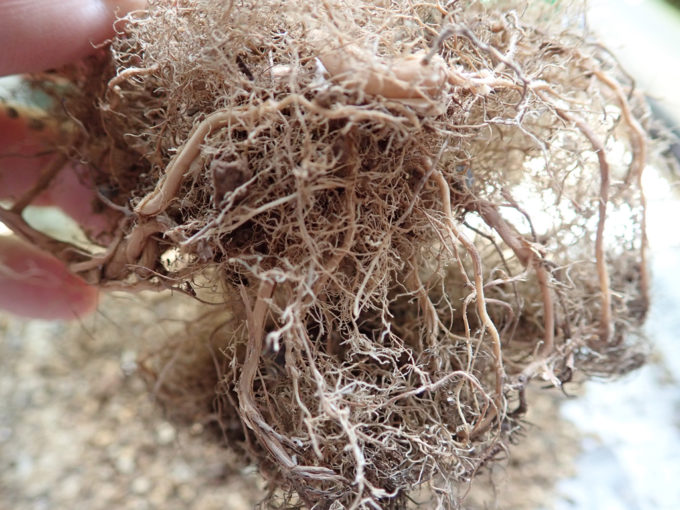
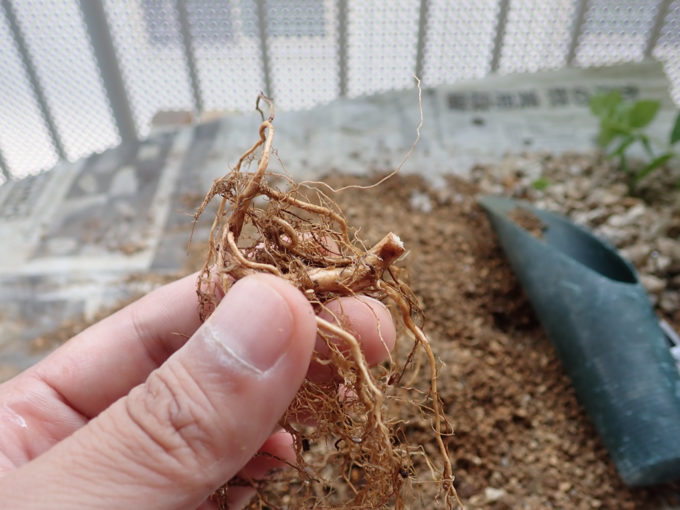
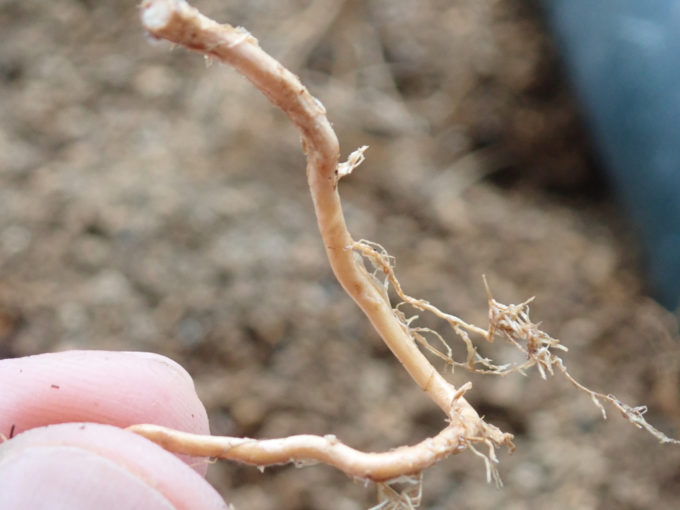
 The root looks like this…
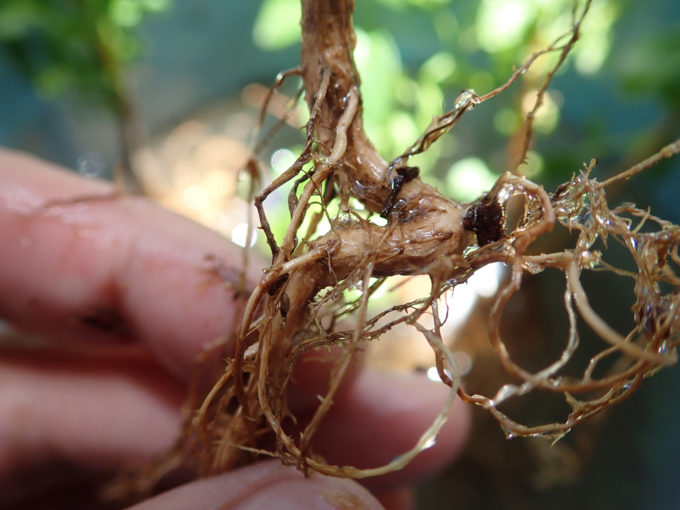
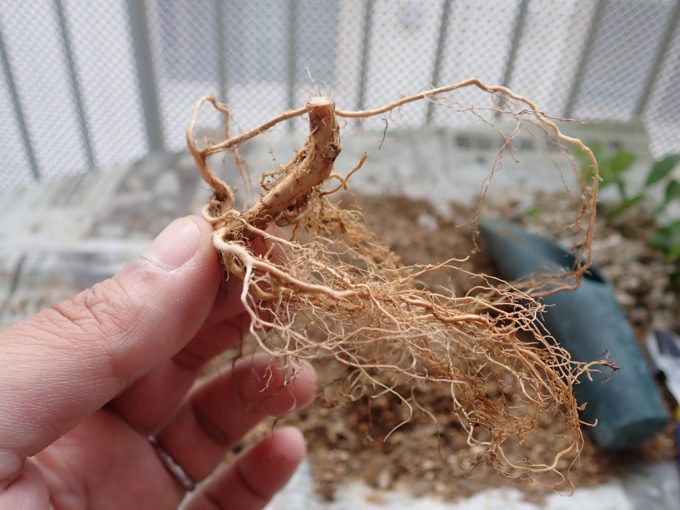
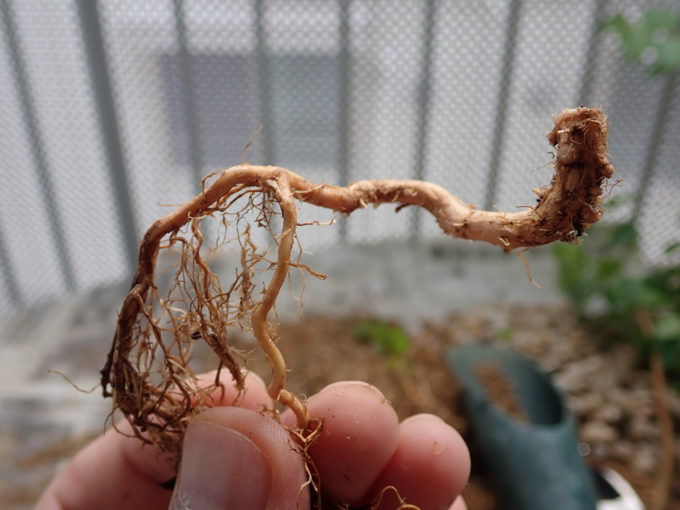
 The other one looks like this. There’s a variety of the shape of the roots.
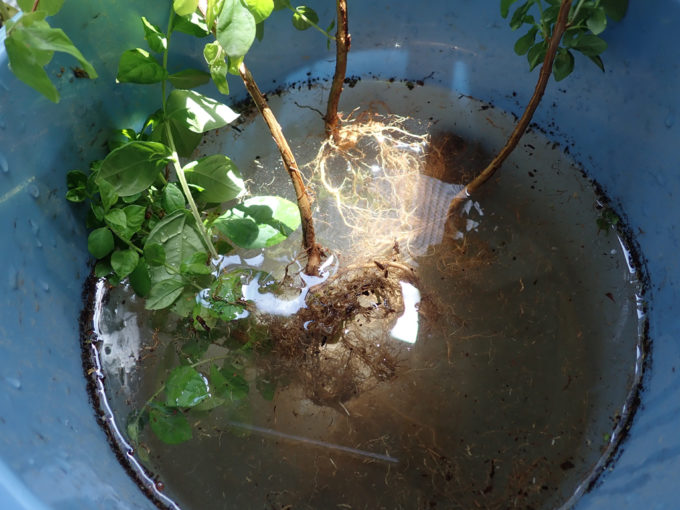 Once they are removed, put them in the water.
 Next, this pot. But I couldn’t pull it out at all.
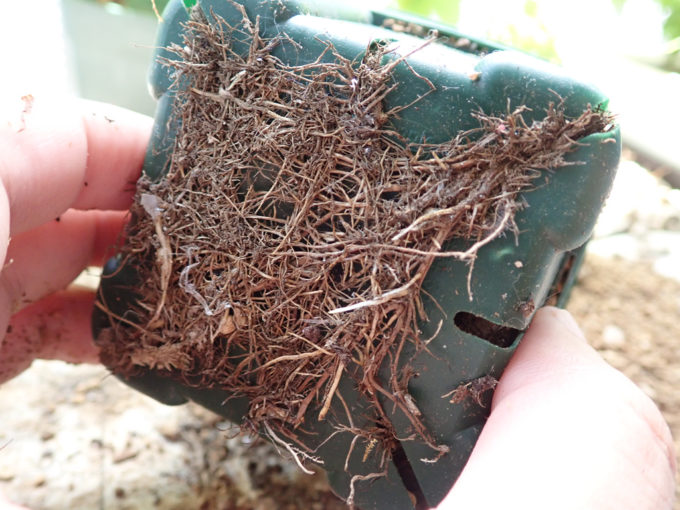 Wow.. The roots under the pot was like this…
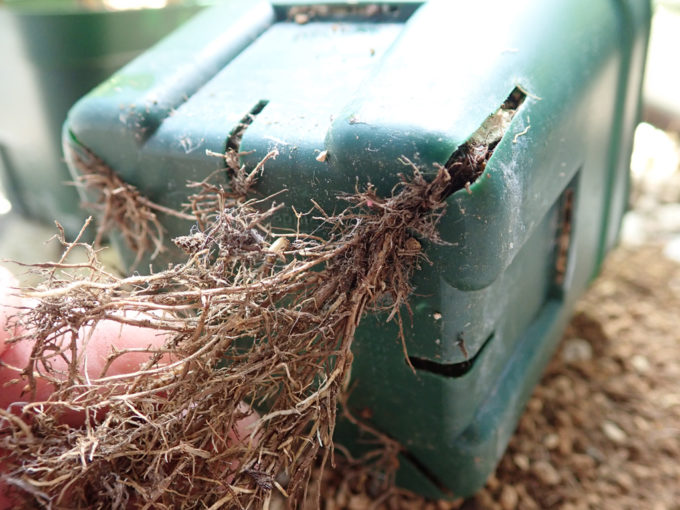 I just cut the roots by scissors.
Do the same procedure to other sarusuberis and put them in the water.
Cut out the roots with good shape.
Once all the sarusuberis get apart, now cut out the part of the roots with good shape.
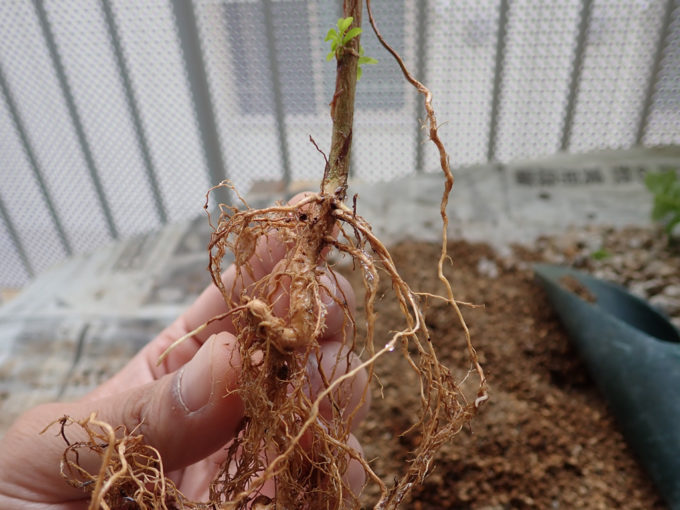
 For example, this one.
 Cut off the trunk from the root.
 And cut off the small, thin roots, too.
 This one…
 Cut off the trunk…
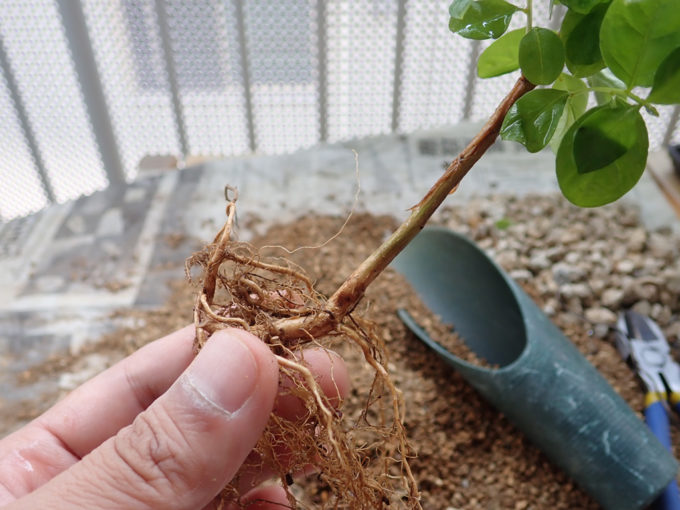
 And cut off the thin roots as well. Keep the good part and cut off all of the thin roots. This part will be the trunk in the future. But I left few thin roots in the end so that the tree can absorb water easily.
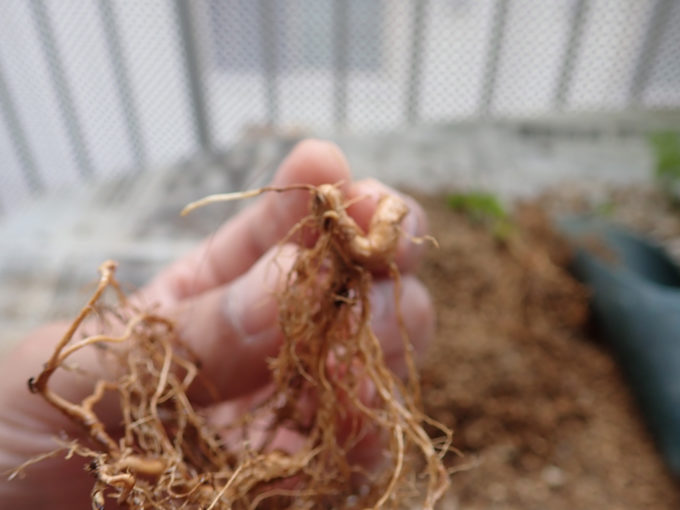
Repeat same procedure. Keep the roots in good shape, remove thin roots.

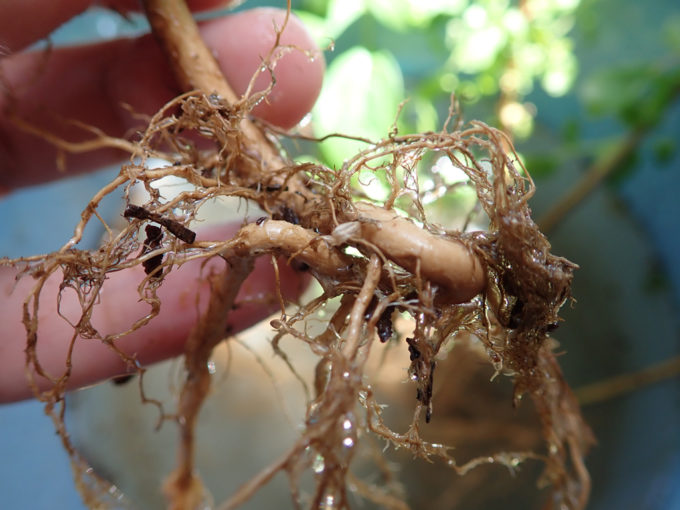
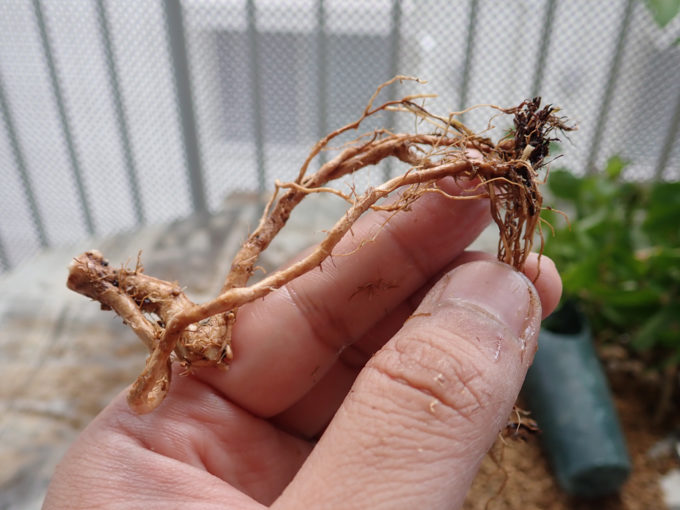 There’re so unique shape of roots. I can’t reproduce such natural but unique shape by wiring. The root will be trunk in the future. It is a lot of fun to imagine the shape of Bonsai.
Once everythig is done, it is time now to plant them in the pot.
Planting into the pot
The reason of this work is “to recude the room on the rack”. Therefore, I decided to plant all of the roots into one pot. It was quite difficult actually…
It looks totally mixed up, but I put all the roots into one pot anyway. When I put the roots in the pot, I cut some small roots which bothers putting the roots getting into the pot.
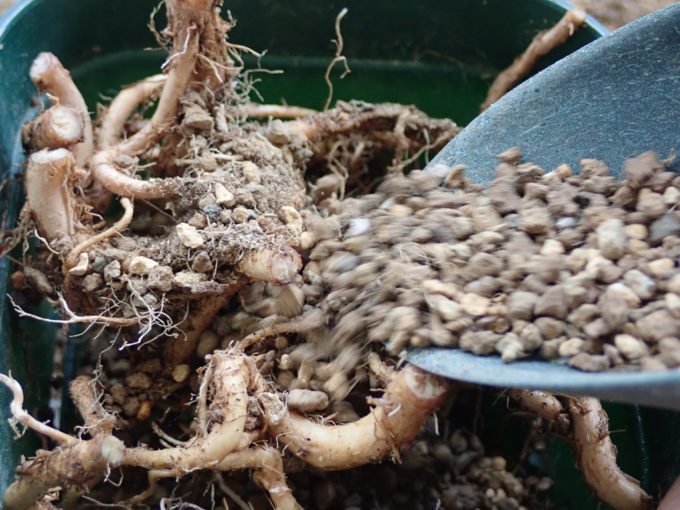 Now, need to put the soil into the pot. Once you put the soil 1/3 of the pot, poke the soil by a piece of wire (or bamboo skewer or something like that) and make the soil put among the small roots.
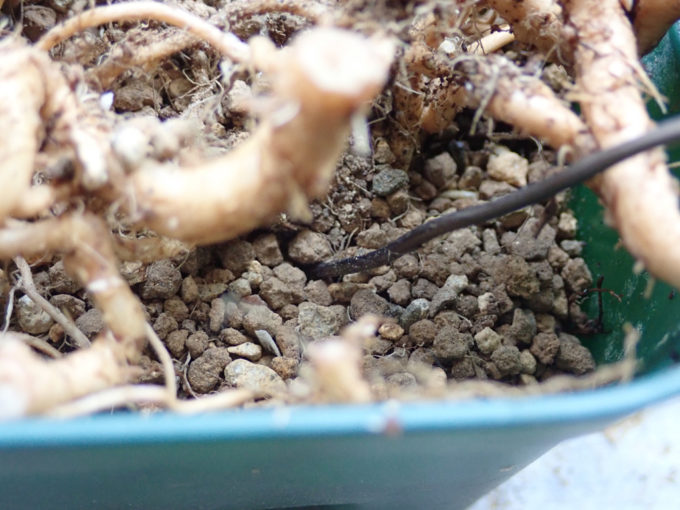 You have to be patient, but you feel and see that the soil gets into the space of roots.
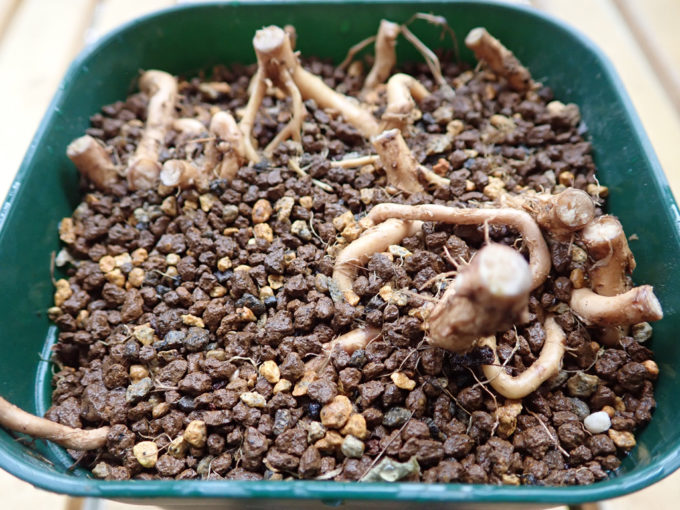
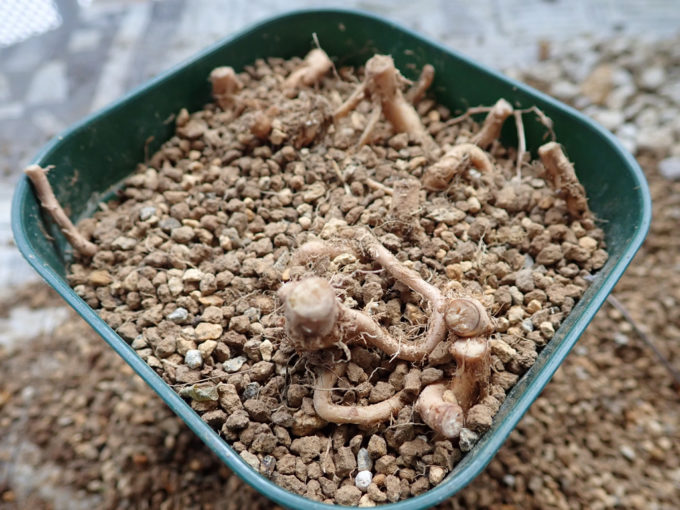 Almost done. The point here is to keep the cut end above the soil. Around 5mm~1cm is enough. Some roots are sticking out more than that.
 Now, put the soil in the water few times. When the water coming out from the bottom of the pot gets transperent, it is done. It is like to wash the soil. By so doing there will be space between each piece of the soil and the roots can breath.
Cover by sphagnum moss
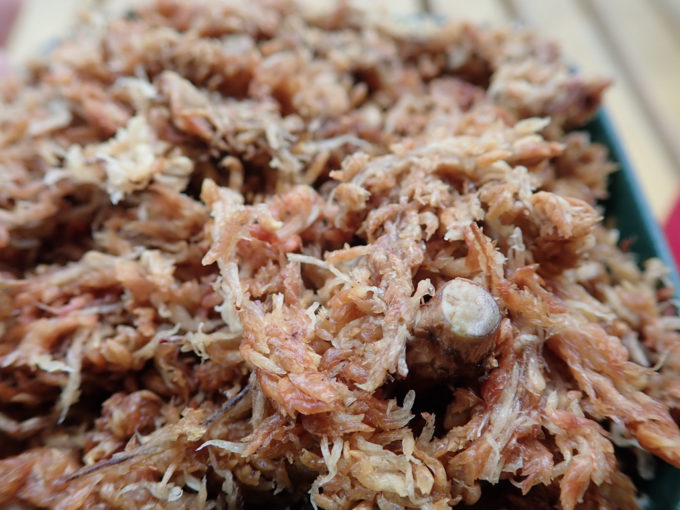 Finally, cover the roots by sphugnum moss, which absorbed water.
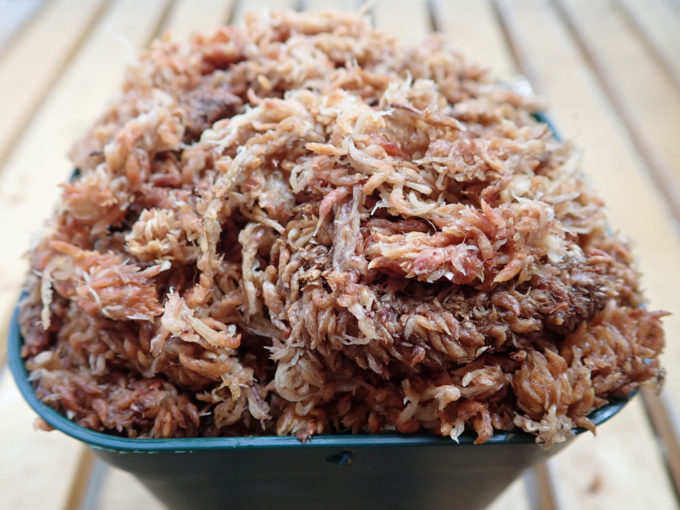 Now finished! Since some of the toots are sticking out a lot, I needed a lot of moss. The reason to put the wet moss is to keep the cut end always wet.
How to take care
Leave the put on the rack, where is bright, but no direct sun shines. When the moss on the pot gets dried, give water and keep the moss wet.
Based on my experience, It takes months for that new buds appear. I expect that the new buds come out in autumn at the earliest and I can move the sarusuberis to new bonsai pots only in next spring. It takes time and I have to be patient. I don’t think all of the roots will have buds, but I wish at least some of them will have buds.
|
根伏せするならこんなのでもいいかも知れません
|

|
盆栽になっているのもありますよ♪
|
|
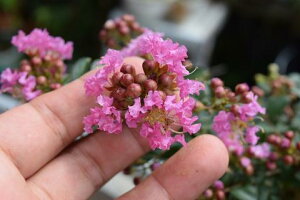
夏にはピンクの花が咲きます♪
|

コメント