Around 2 weeks ago I tried “Sashiki” of choujubai, since choujubai is growing too much freely. This is my record of how to do sashiki of choujubai.
Stuff and nursery bed
The material this time is…
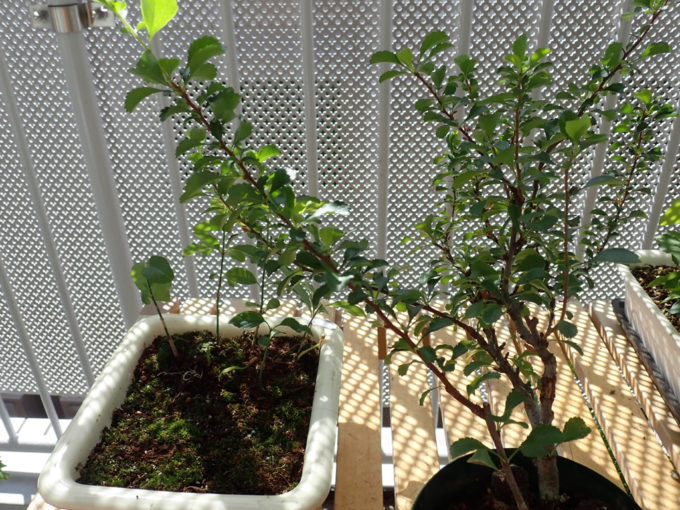 Choujubai is growing steadily. I didn’t wire or anything to this choujubai, so it is growing freely and messy. Not only doing Sashiki, but I wanted to reduce its branches, I decided to cut the branches off boldly.
The soil in the cup at left side is the nursery, where other cutting of choujubai was growing. The soil is soft and seemed good, but perhaps it was too soft for Sashiki.
How to do “Sashiki” of choujubai
Now, practical procedure of doing Sashiki. Not difficult at all.
Prepare “Sashiho”, the cutting of branches of choujubai
Cut off the branches
I used thin branches for the material of sashiki, but this time I use relatively thicker branches as material of sashiki.
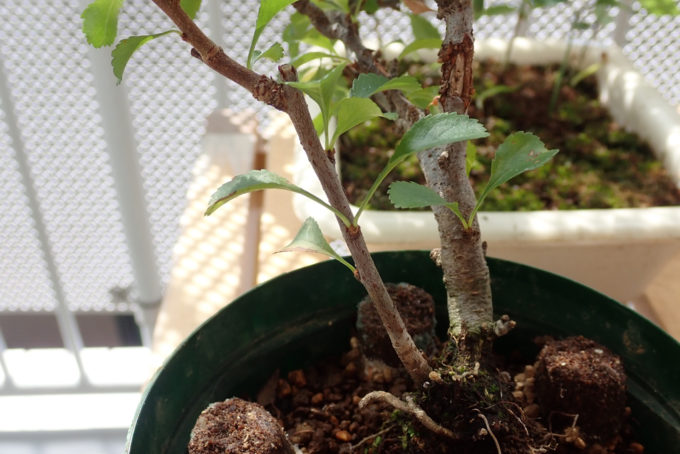 First, this “Hikobae”. This one appeared around two years ago. I did nothing to this hikobae, so it is growing straight and looks not cool. I once cut it for Sashiki, but new bud appeared and it grew as new branch. It is also growing straight, so there’s nothing good to see.
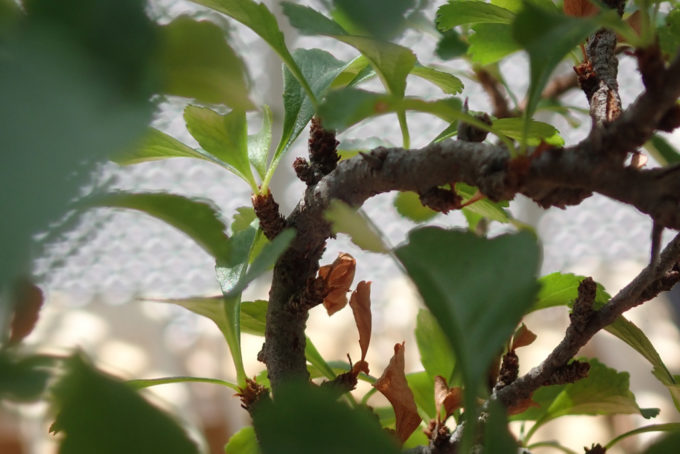 The other one is this branch. The shape is very artificial and unnatural. It looks very ugly and therefore, I decided to cut it off as well. Actually it is first time to use such thick branch for Sashiki (I used much younger and thinner branches for sashiki before)
This time the materials are these two branches.
Prepare “Sashiho” (cutting of branches for sashiki)
As the branches are chosen, now I cut off the branches.
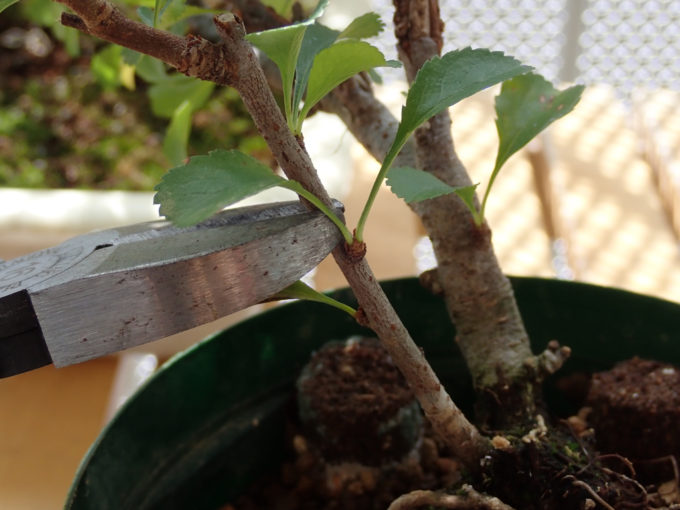 First cut off this Hikobae…
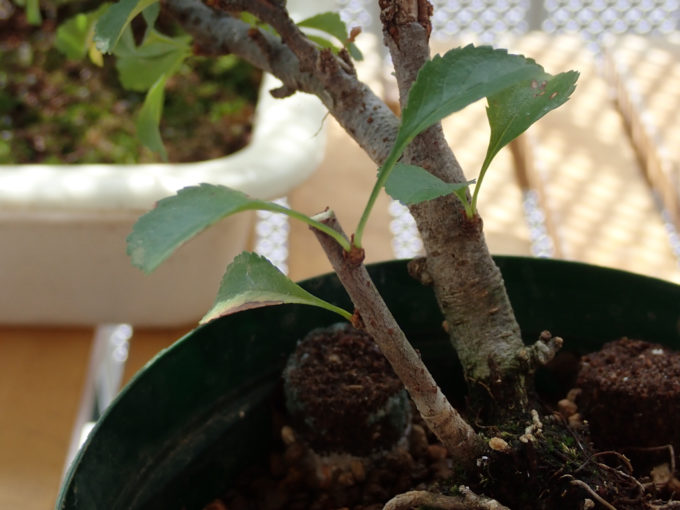 Like this. I left two buds (point of the leaves grow).
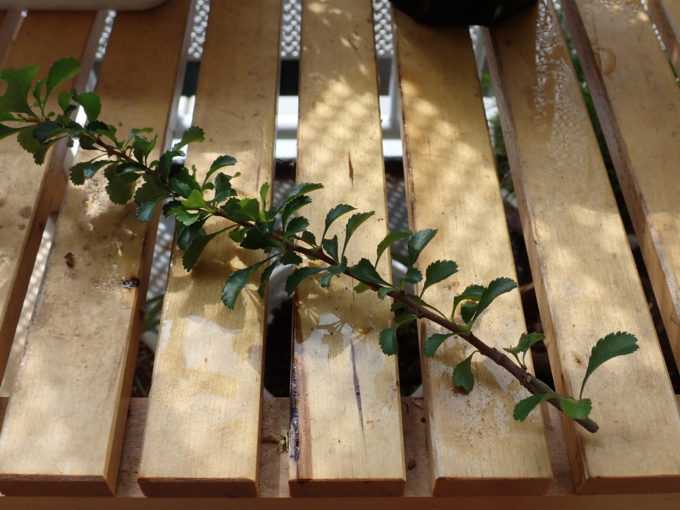 This is the Hikobae I cut off. I cut it into small pieces and use them as sashiho (cutting for sashiki.
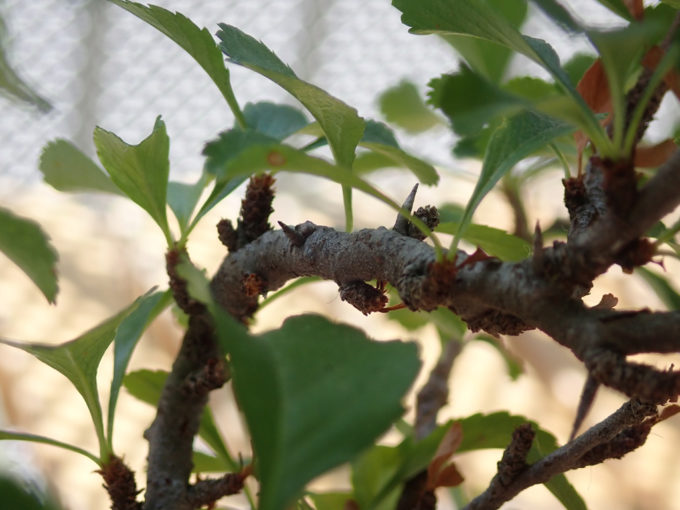 The next one is this. The part of branch, which has unnatural shape.
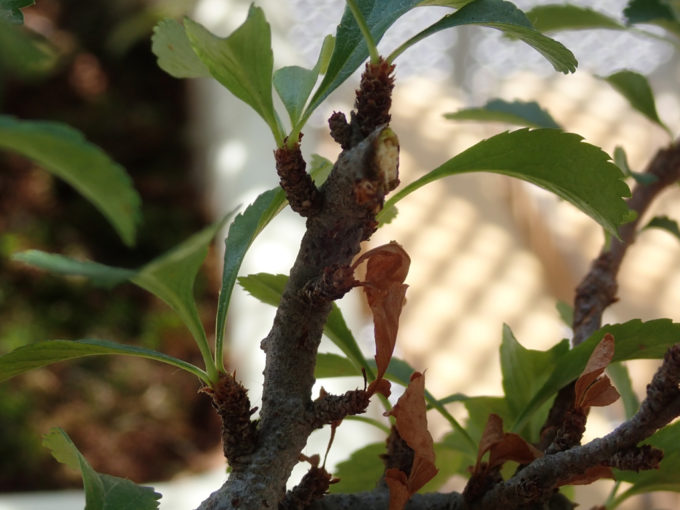 Cut it off.
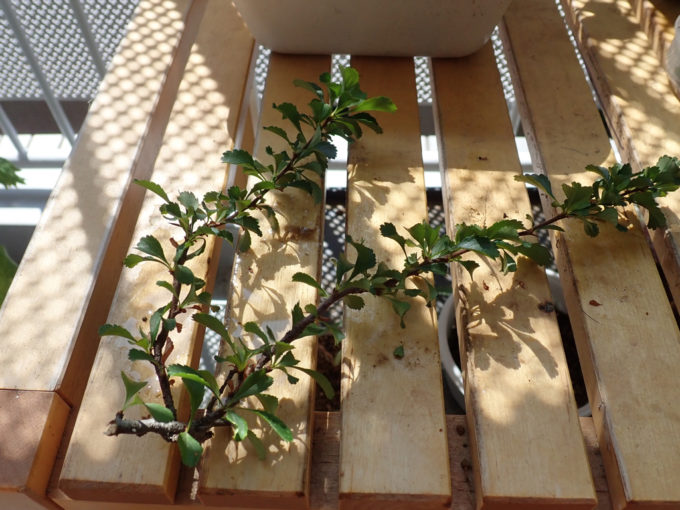 This is the branch cut off. I’ll cut it into small pieces as well to make sashiho.
Prepare the cut end
Cut the end of a piece of branch like pencil. I used sharp razor for it. Maybe a sharp cutter is also fine.
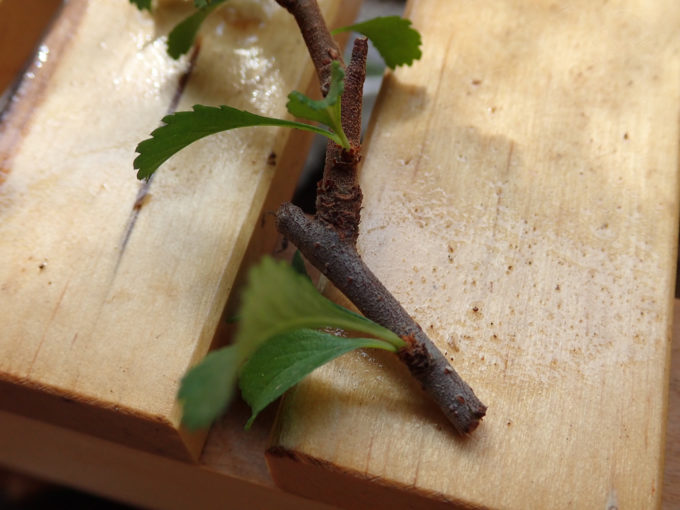 First, this one. Cut it into 1~2cm long.
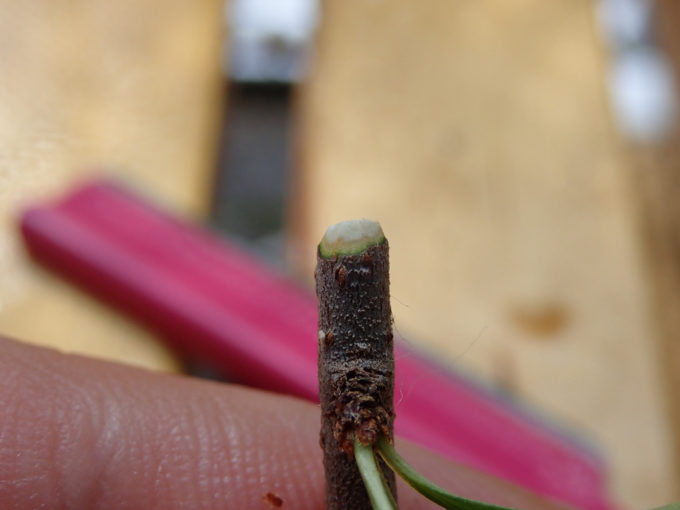 Cut the cut end like this. Make the cut section as sharp as possible.
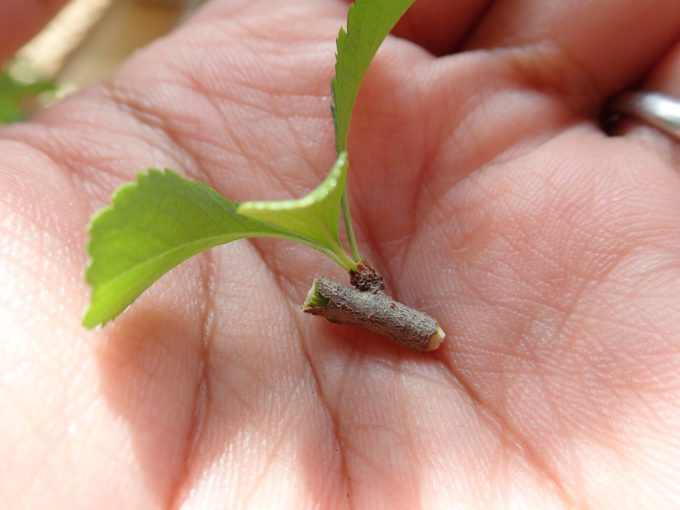 Preparation of first one is done.
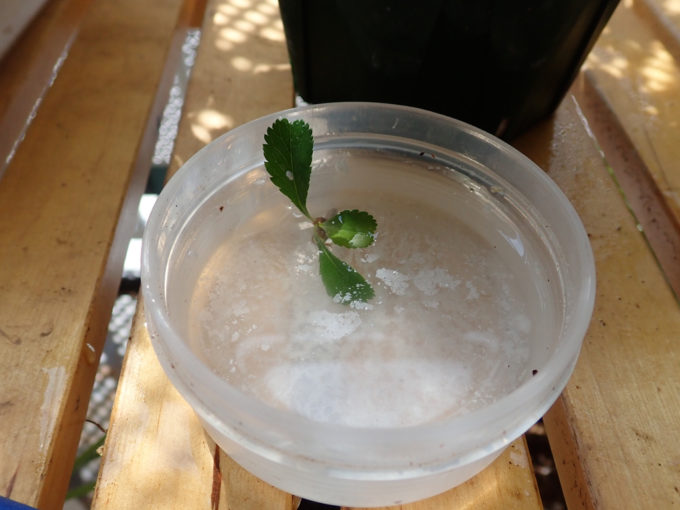 Put the cut end in the water. The water is white because I added rooting accelerator in the water.
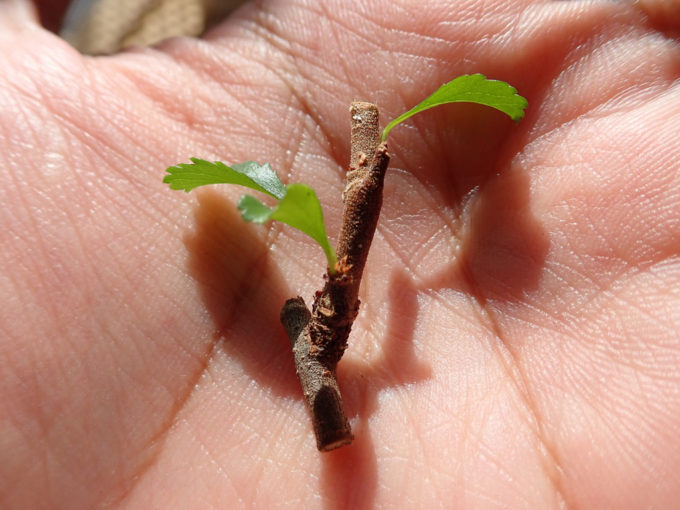 This is upper half. Seems a bit too long, but I’ll try anyway.
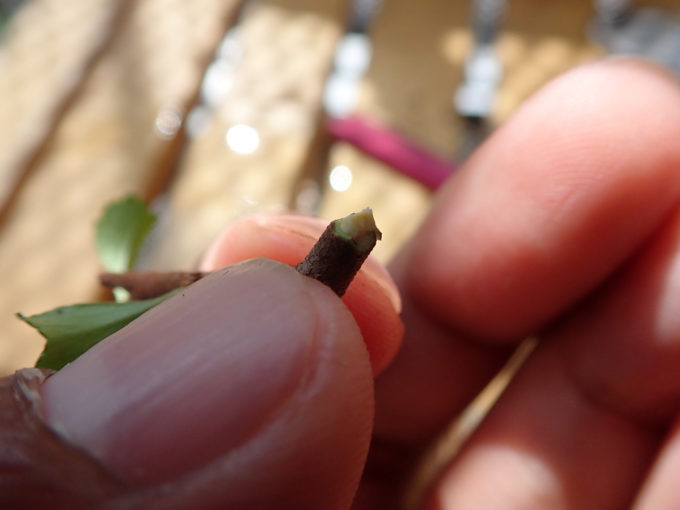
Process the cut end like this. Like the tip of pencil.
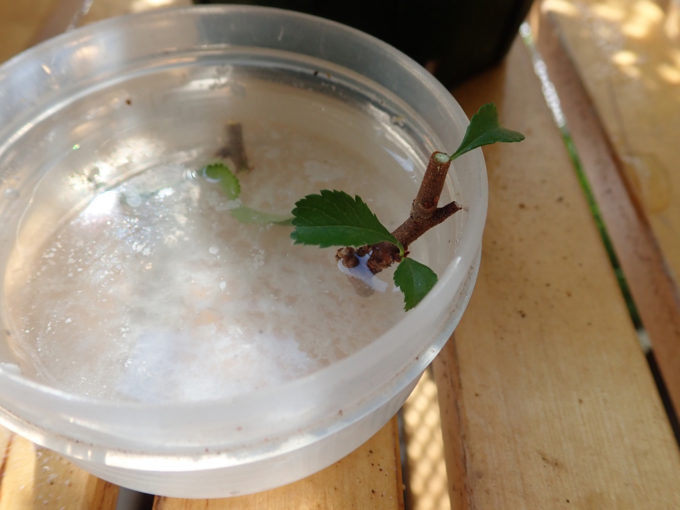 Put it in the water with rooting accelerator as well.
Leave 1~2 buds (point where leaves growing), repeat the same procedure for preparation of cutting. Length is around 2~3cm?
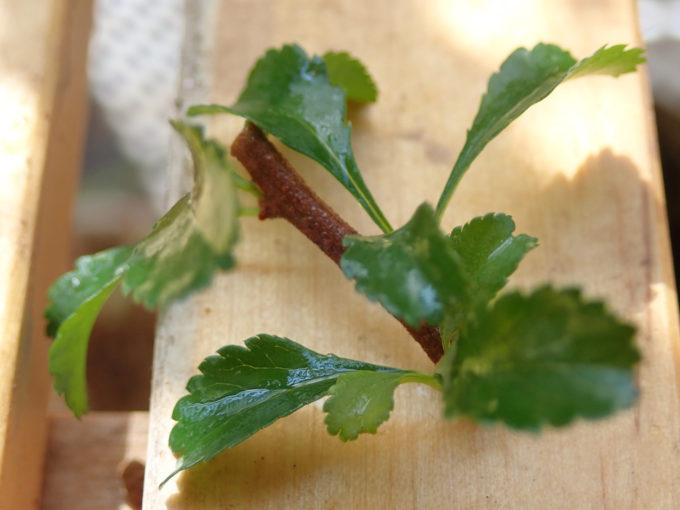 I cut off all the leaves at the bottom.
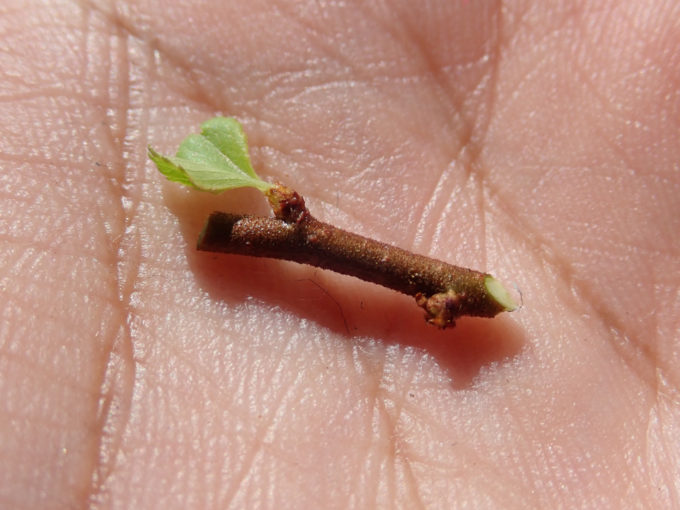 Cut end is lie this. I left only one leaf and cut all the rest.
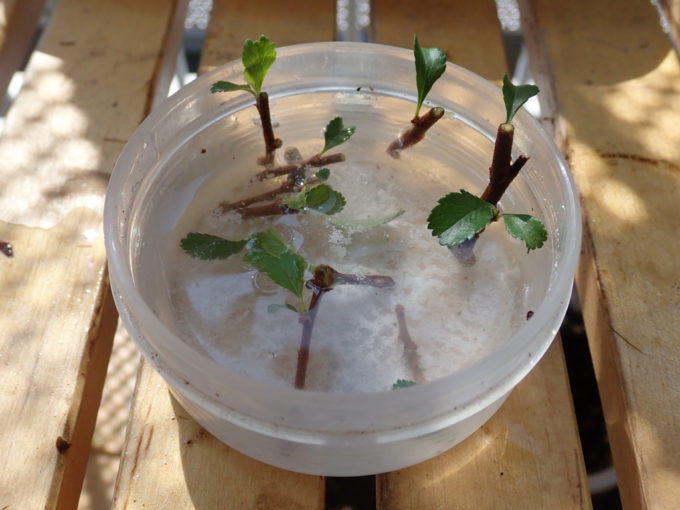 Preparation of cutting from Hikobae is done. Put all the cuttings in the water so that they absorb water well.
Next, the other branch.
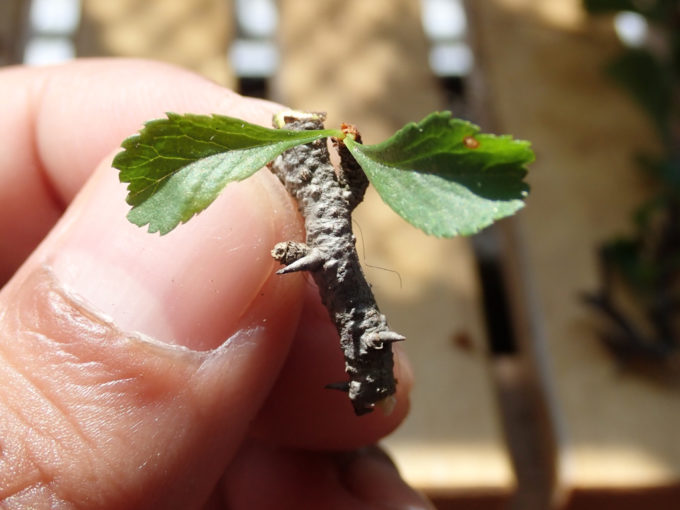 This is the bottom end of the branch. Looks thick enough. I left two leaves but could be one?
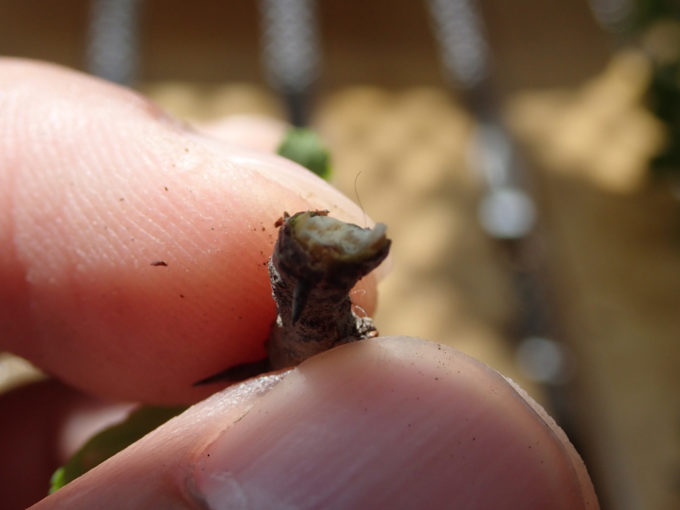 The cut end…
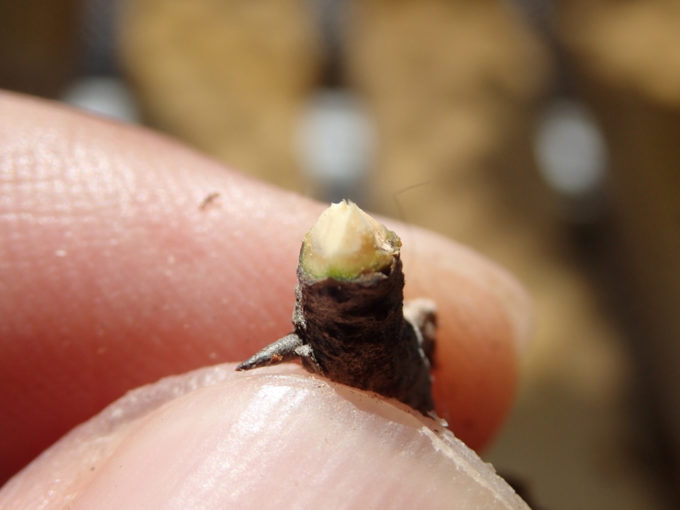 Processed the cut end like this.
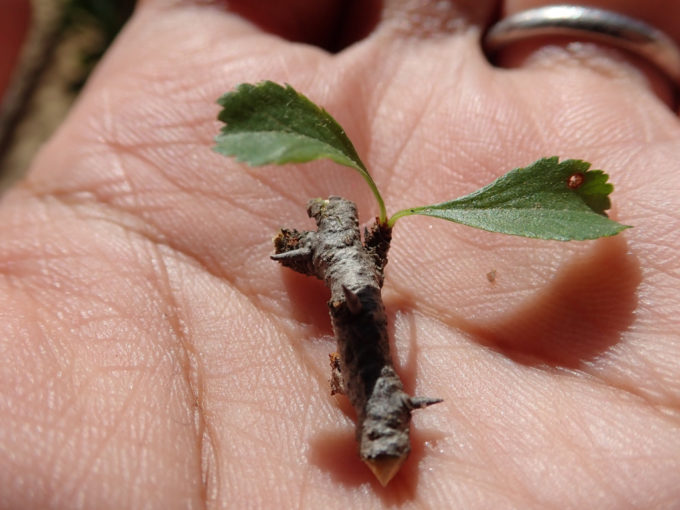 Done!
Done!
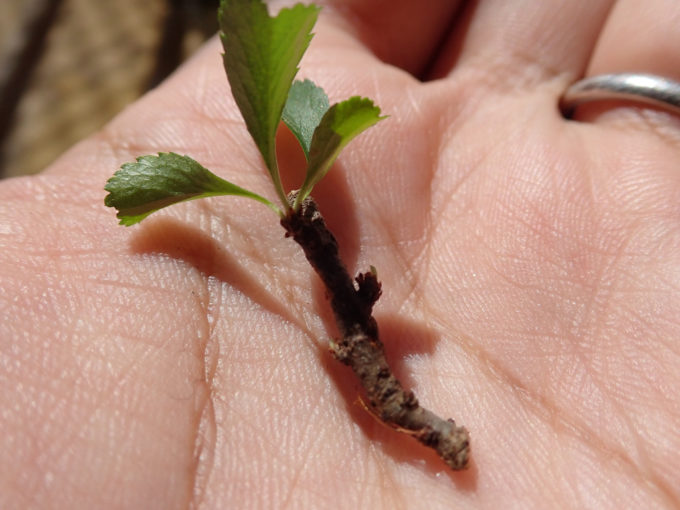
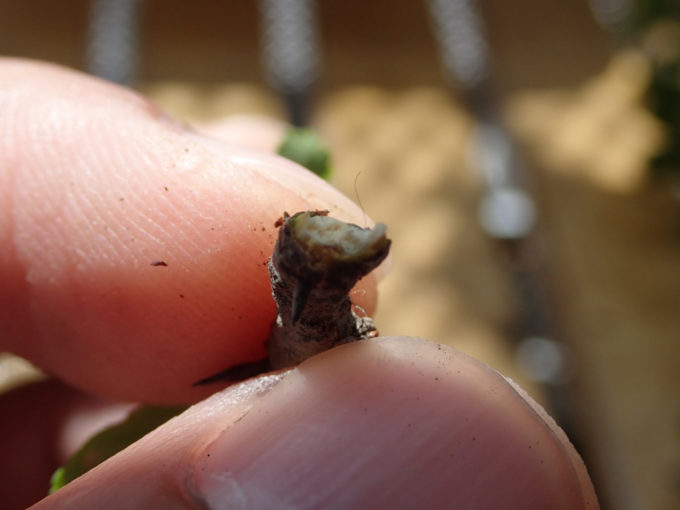
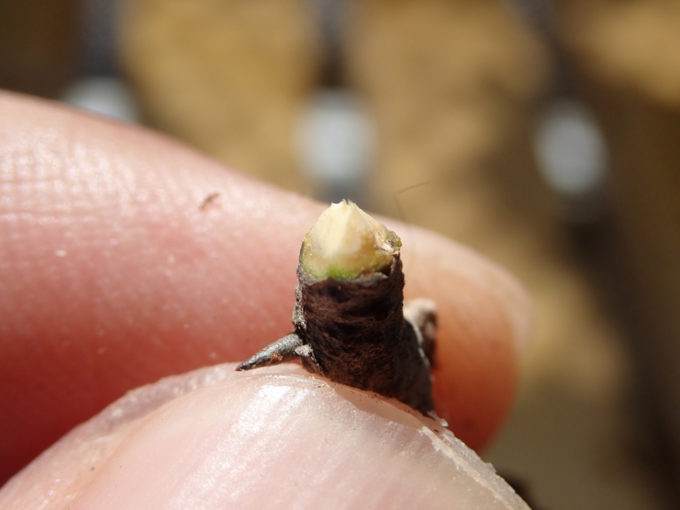
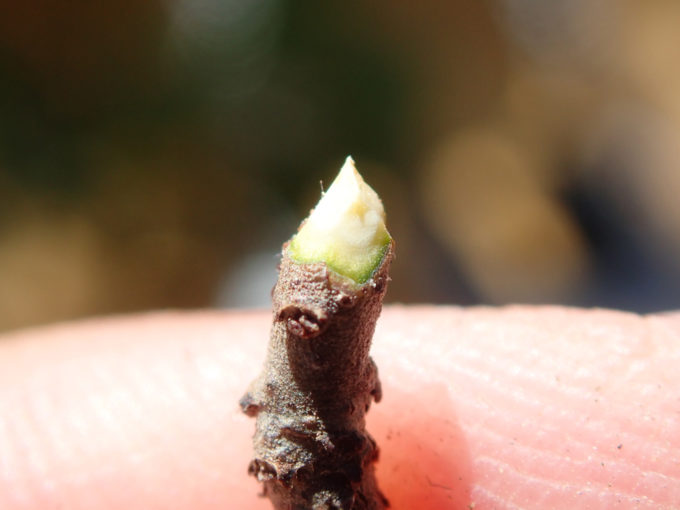 Repeat the preparation of cuttings…
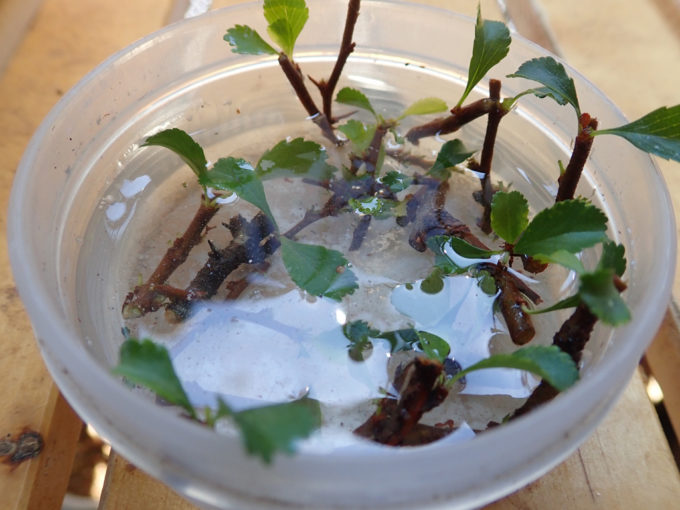 Almost done! I put the cuttings in the water for one hour so that they can absorb much water.
Summary of procedure;手順をまとめるとだいたい下記になります。
- Cut the branch to 2~3cm
- Leave one or two leaves at the top and cut off all the rest.
- Process the cut end by sharp razor or cutter.
You got the image?
Put the cutting (sashiho) into the soil
After leaving the cutting (sashiho) in the water for around on hour, now it is time to put them into the soil.
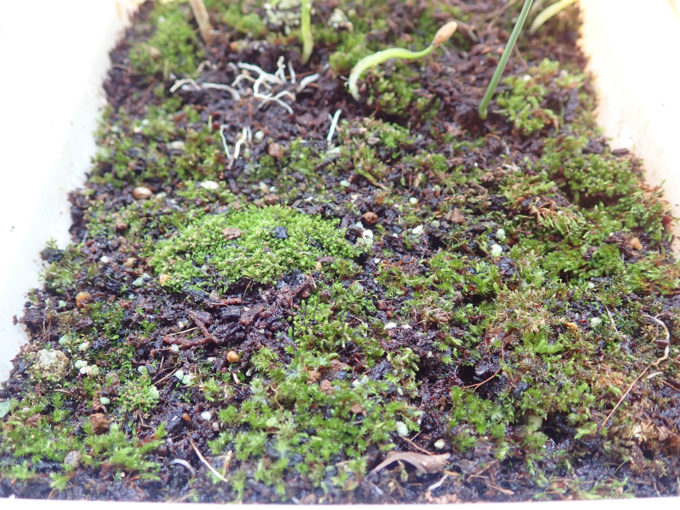 This is the nursery bed. I pressed the soil by finger to make it solid.
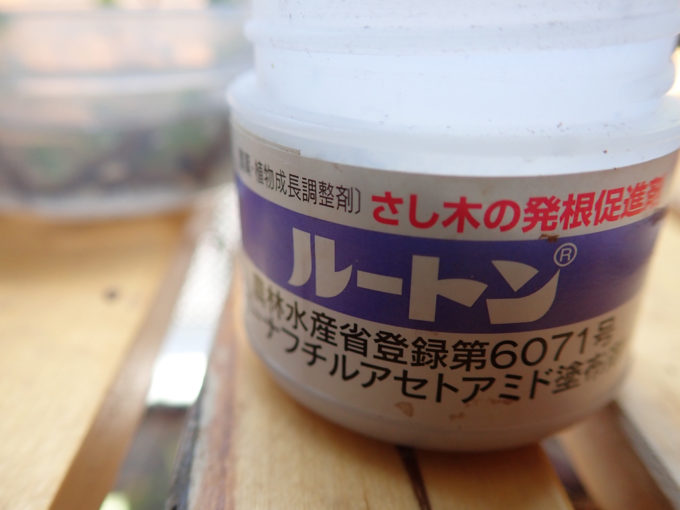 Rooting accelerator.
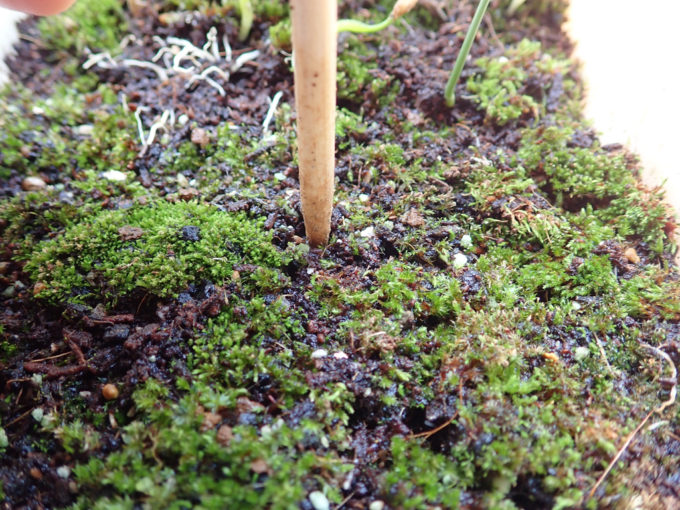 Make a hall by a skewer. It was actually too thick, so I used a piece of wire after this. Toothpick also works fine.
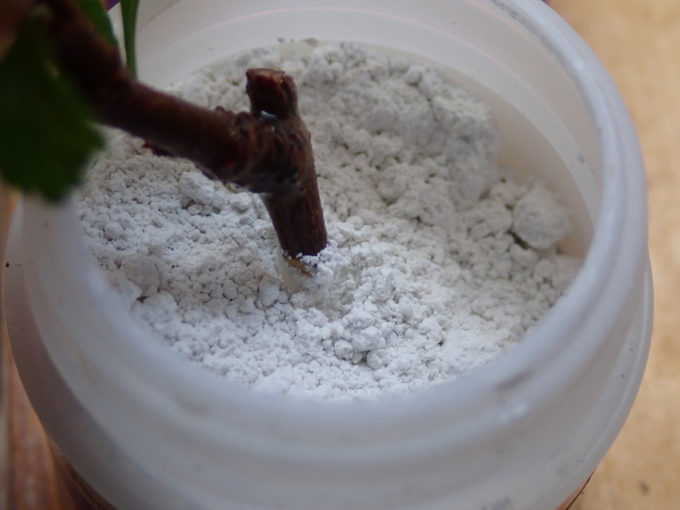
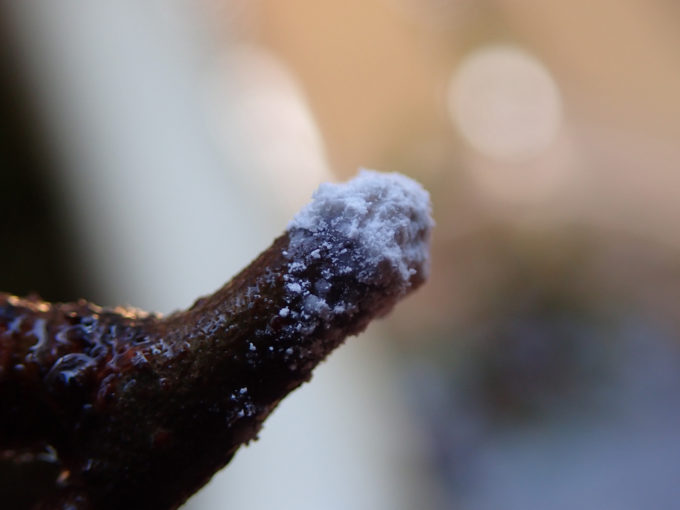 Put the rooting accelerator at the cut end. It should be mixed with water and made into a paste, but the cut end has enough water, so the powder will be like paste.
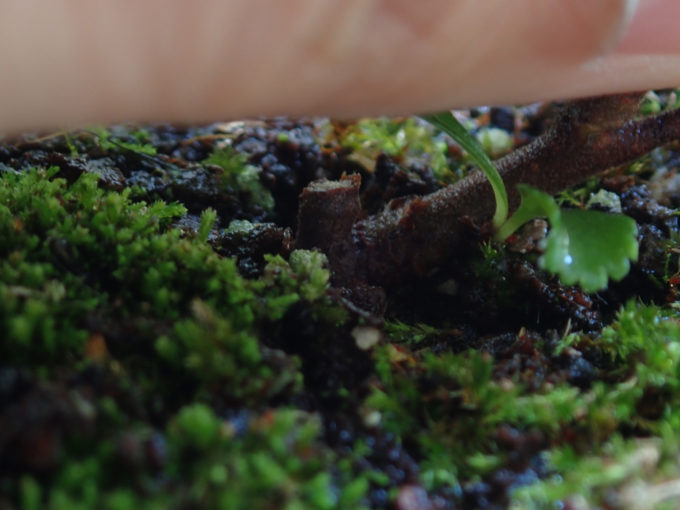 Put the cutting into the hole and press the soil around for making the cutting stable.
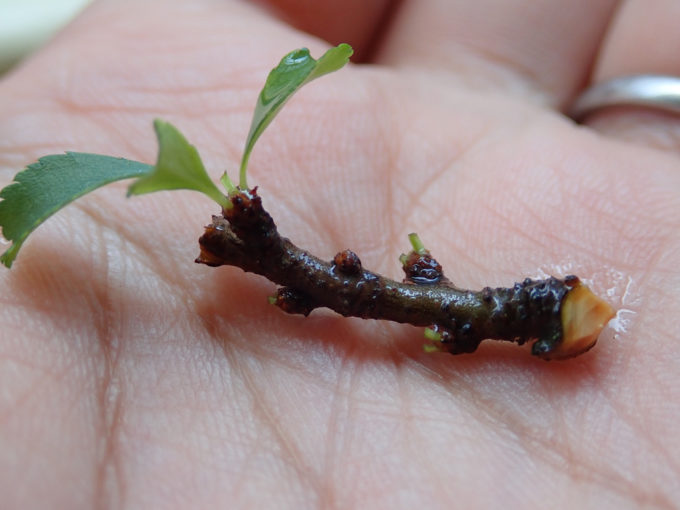
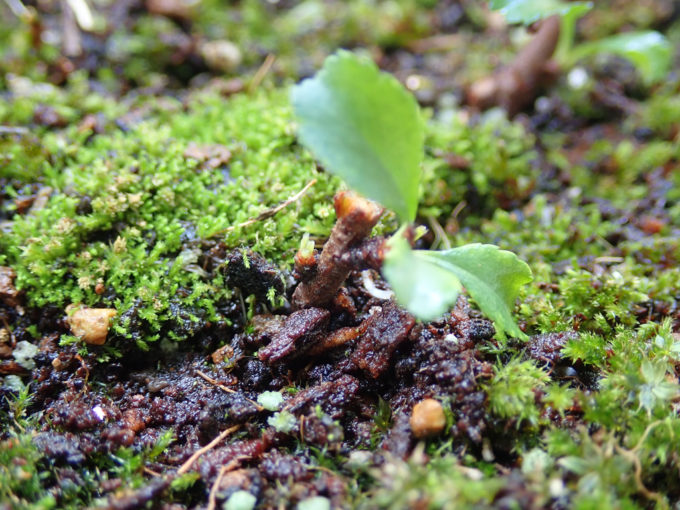 Repeat the same procedure…
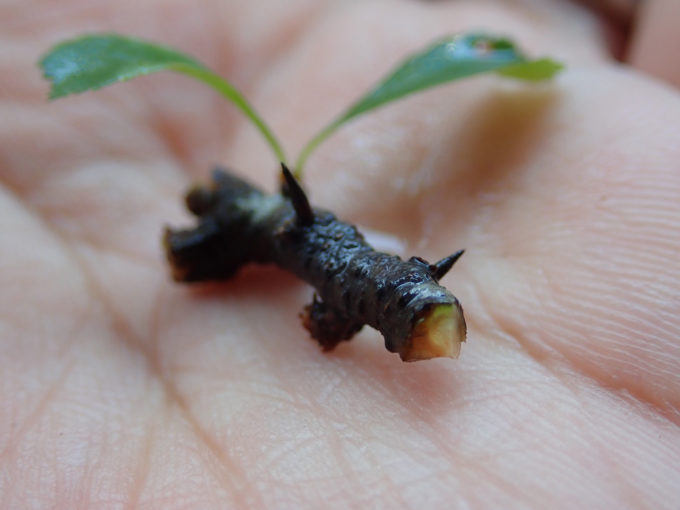
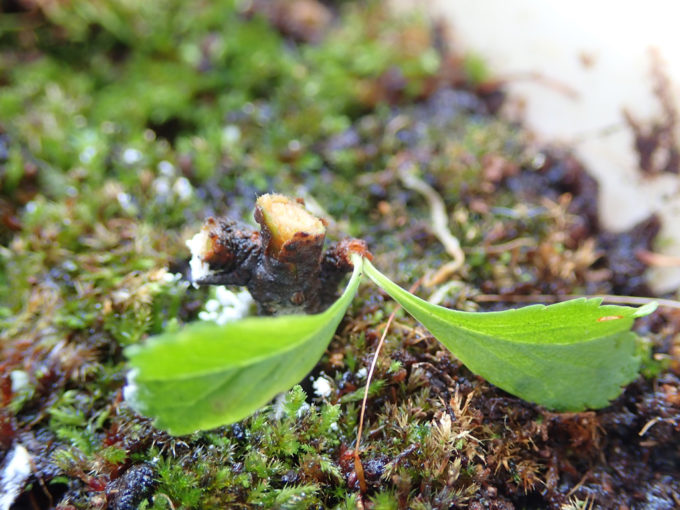 I usually put the cutting slantingly, but all the cuttings have “Katane” (root at one side). Therefore I put all the cuttings vertically this time.
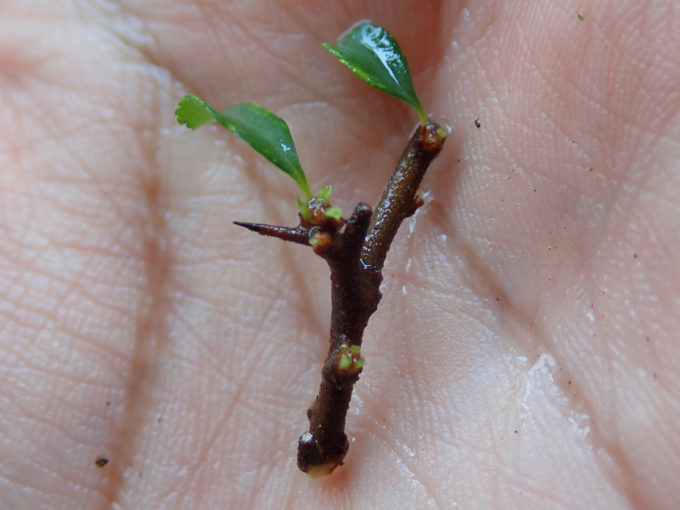
 This cutting is just branching off. I left one leaf each.
 Putting the cutting…
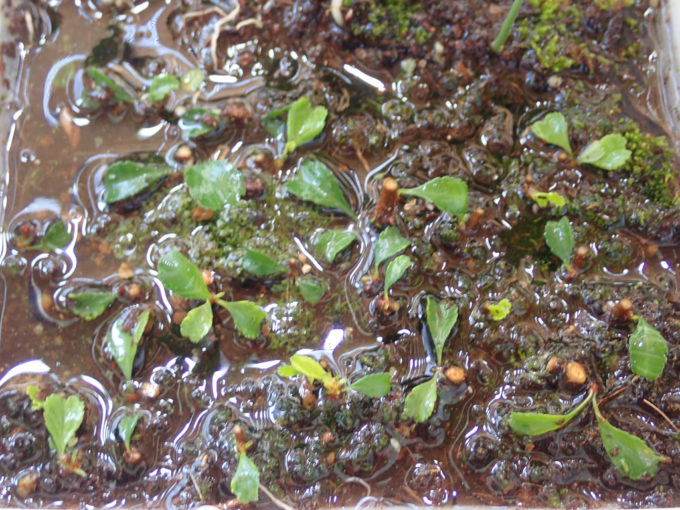 After putting all the cuttings in the soil, I gave enough amount of water. It looks like the water remains above the soil, but after a while the water will go away from the bottom hole.
Everythig is done!
What to do next
What to do next is;
- Keep the soil wet
- Do not water directly to the cuttings, but pour water from the side of cuttings
(so that the cuttings don’t move) - Put the nursery bed at the bright place, but no direct sunshine.
I don’t think all of them will have roots, but I hope as many branches will have roots.
The leaves will fall quite soon, but I really wish they will have new leaves in next spring.
|
苗:長寿梅
|
|
さあ、苔玉を作ってみませんか?【苔玉キット 苗付(白長寿梅)】
|
![[商品価格に関しましては、リンクが作成された時点と現時点で情報が変更されている場合がございます。] [商品価格に関しましては、リンクが作成された時点と現時点で情報が変更されている場合がございます。]](https://hbb.afl.rakuten.co.jp/hgb/116d096a.ed322b10.116d096b.e2beaade/?me_id=1223811&item_id=10021423&m=https%3A%2F%2Fthumbnail.image.rakuten.co.jp%2F%400_mall%2Fyukei%2Fcabinet%2Fnaetane2%2Fg2038.jpg%3F_ex%3D80x80&pc=https%3A%2F%2Fthumbnail.image.rakuten.co.jp%2F%400_mall%2Fyukei%2Fcabinet%2Fnaetane2%2Fg2038.jpg%3F_ex%3D300x300&s=300x300&t=picttext)
![[商品価格に関しましては、リンクが作成された時点と現時点で情報が変更されている場合がございます。] [商品価格に関しましては、リンクが作成された時点と現時点で情報が変更されている場合がございます。]](https://hbb.afl.rakuten.co.jp/hgb/15c40eea.8f4633b6.15c40eeb.b98e6166/?me_id=1310765&item_id=10001074&m=https%3A%2F%2Fthumbnail.image.rakuten.co.jp%2F%400_gold%2Fnicogusa%2Fitem_img%2Fsirotyouzyubaikitto.jpg%3F_ex%3D80x80&pc=https%3A%2F%2Fthumbnail.image.rakuten.co.jp%2F%400_gold%2Fnicogusa%2Fitem_img%2Fsirotyouzyubaikitto.jpg%3F_ex%3D300x300&s=300x300&t=picttext)
コメント