
I sowed a lot of Crape Myrtle (Sarusuberi) last spring. As they are growing well, it is time to do NEBUSE. Nebuse is a technique to cultivate certain kind of trees (not all kind).

Roots has nice and natural shape comparing with the trunk shaped with wire. “Nebuse” is an easy technique to reproduce such shapes.
Material
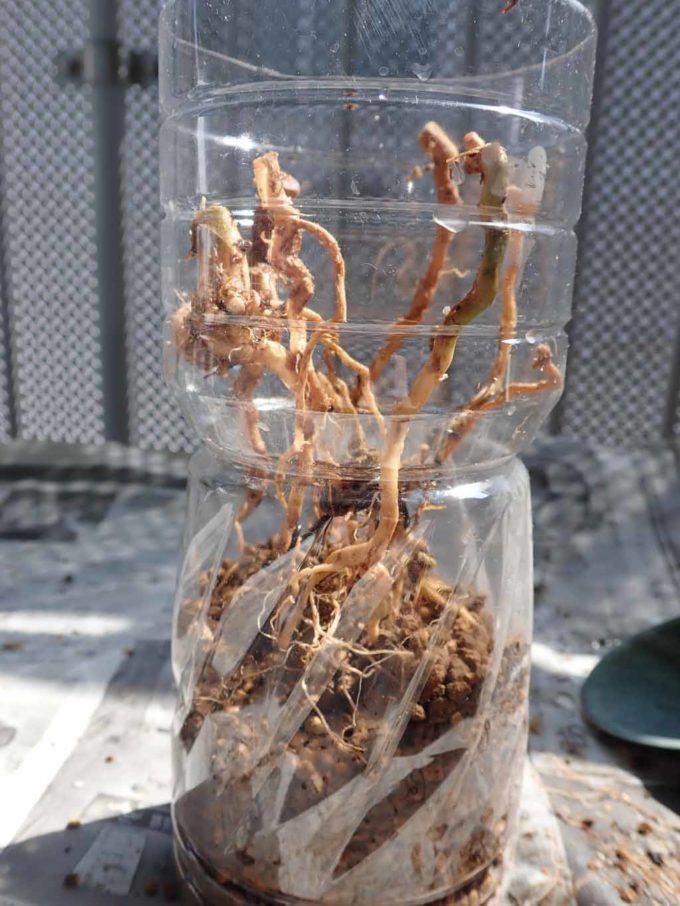
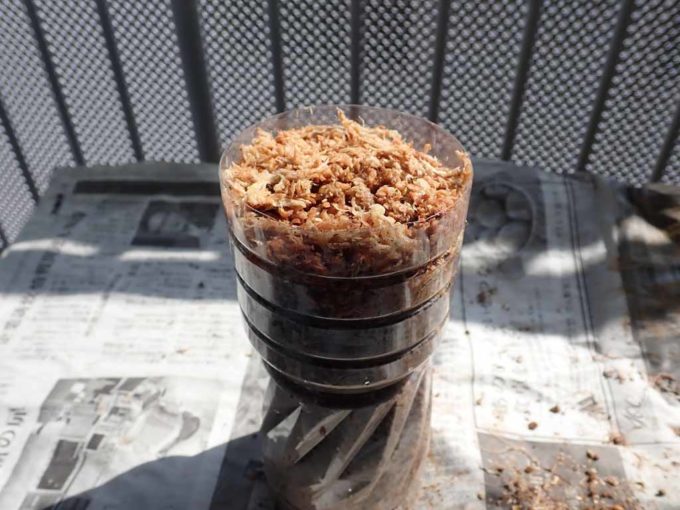
Crape myrtle for the material; first ones are below. I sowed the seeds to plastic bottle in order to grow long roots.
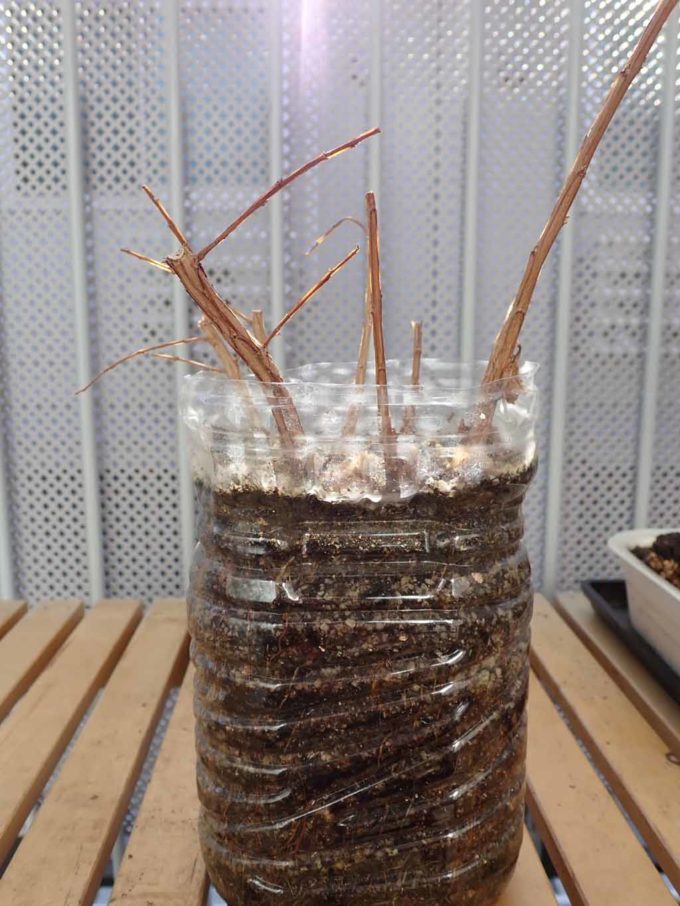 It looks like this.
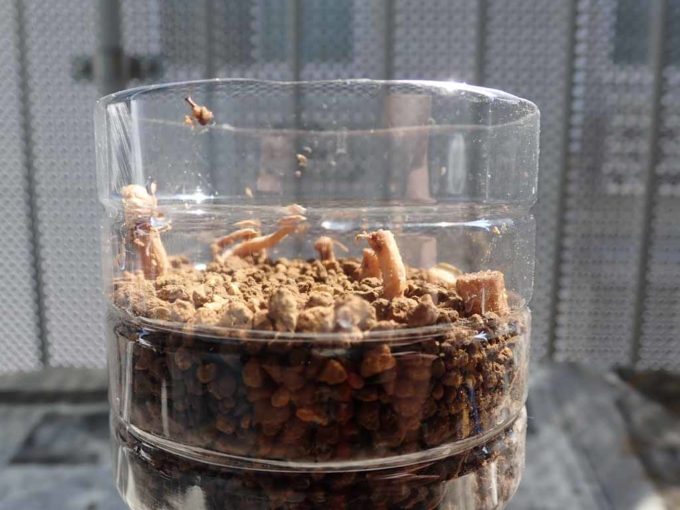
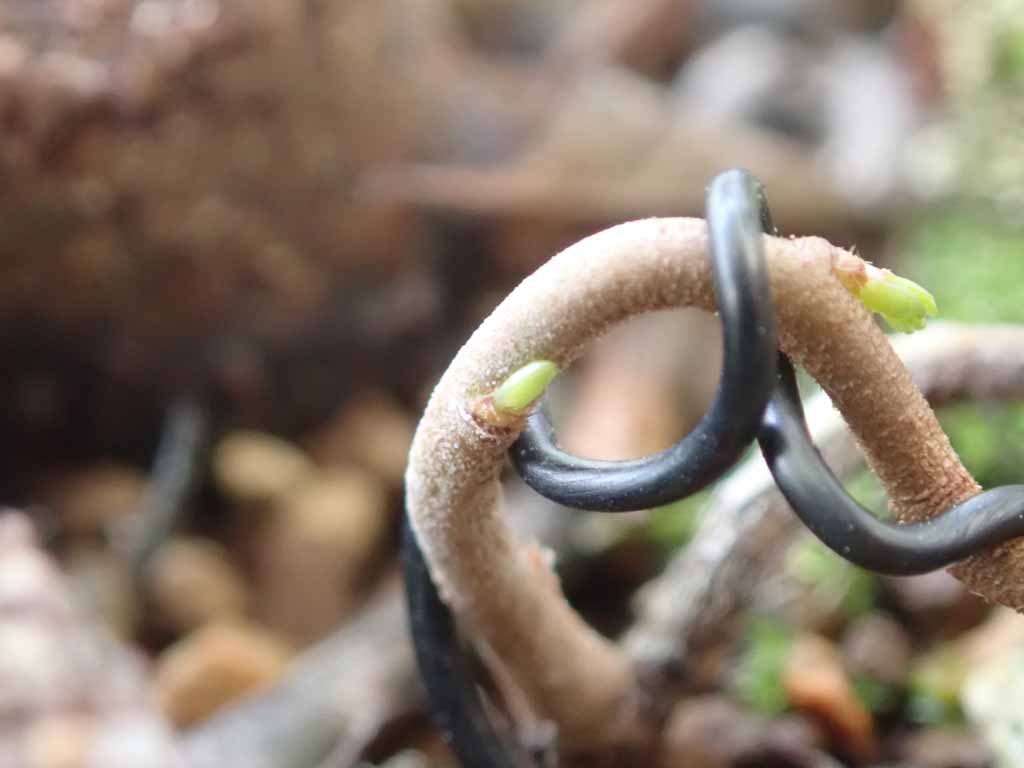
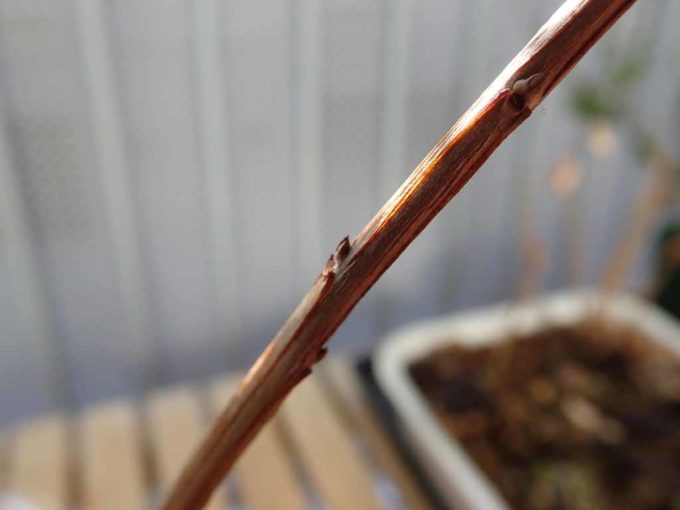 This is the situation of buds at this moment. They have not started to open yet.
The other one in plastic pot.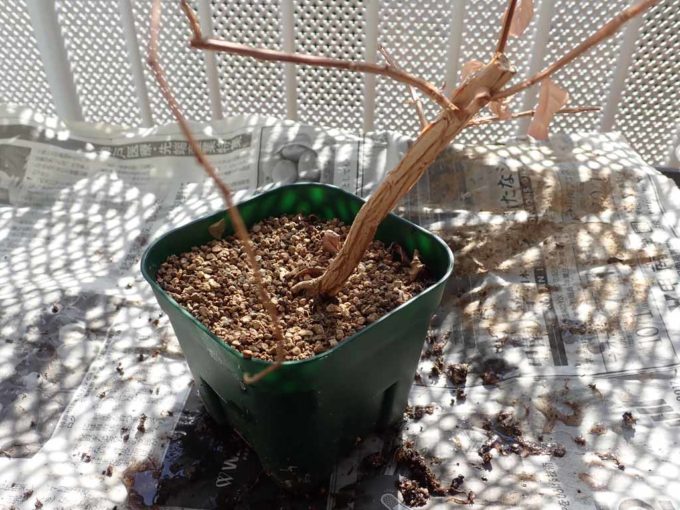
This one grew so fat only after one year. I grew both of them for Nebuse material, so I did nothing like wiring.
How to Nebuse
Remove from plastic bottle
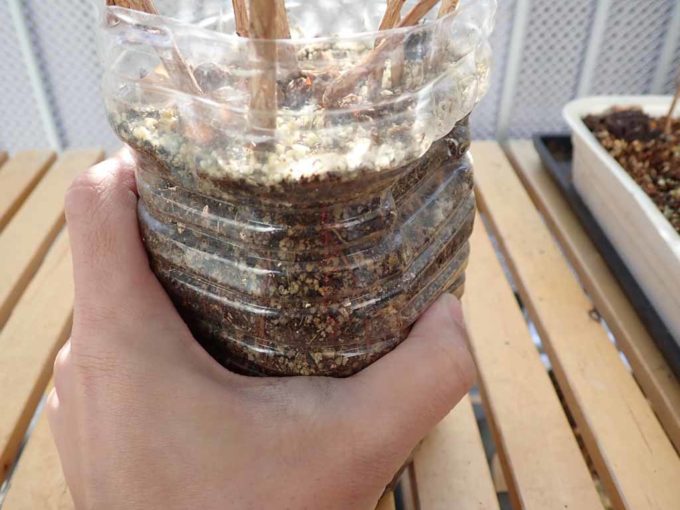
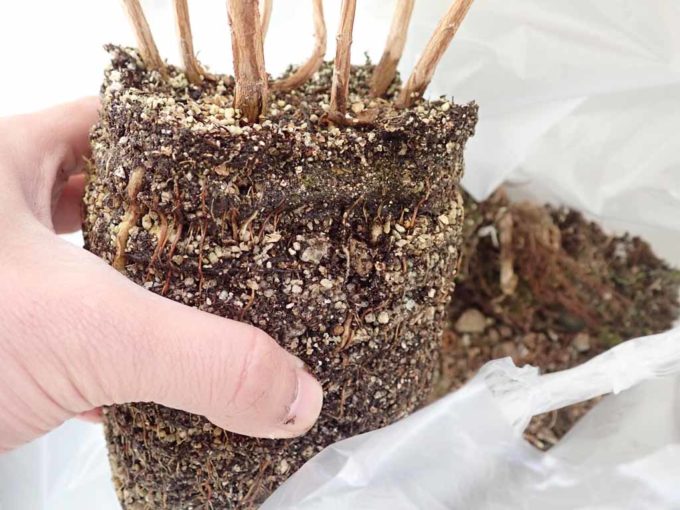
Remove the Crape Myrtles from the plastic bottle. Roots are growing so firmly, I even see a lot of them, so it might be not easy.
 I tried to soften them but in vain; too much roots, too hard.
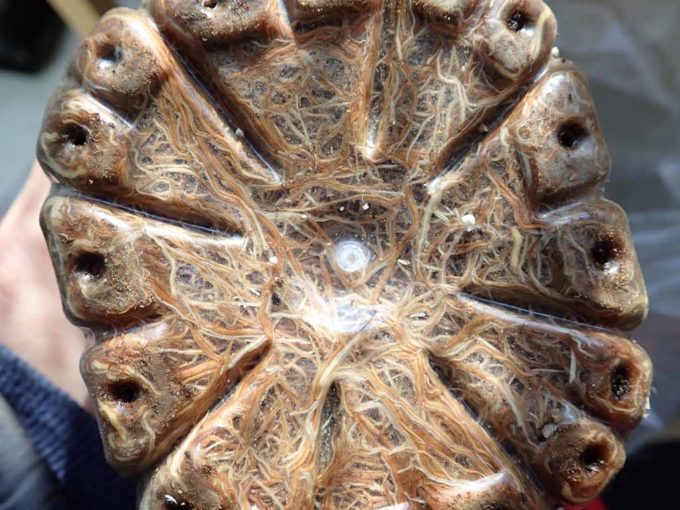 Looking the bottle from the bottom… so many roots inside. So, I decided to cut the bottle and take it off.
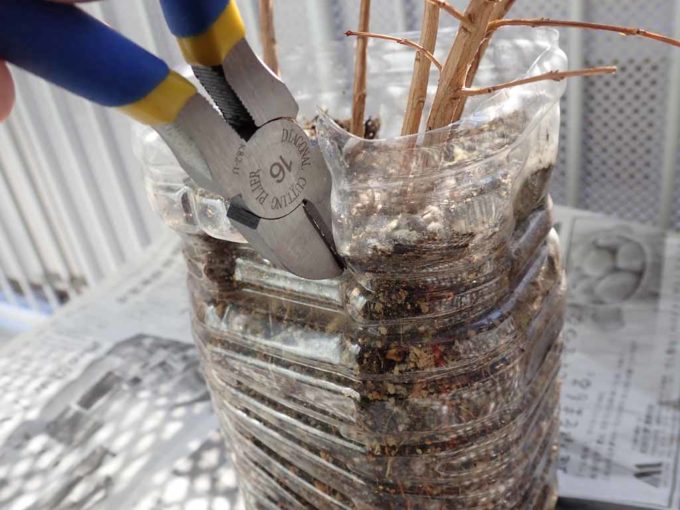 Make a nick with nipper…
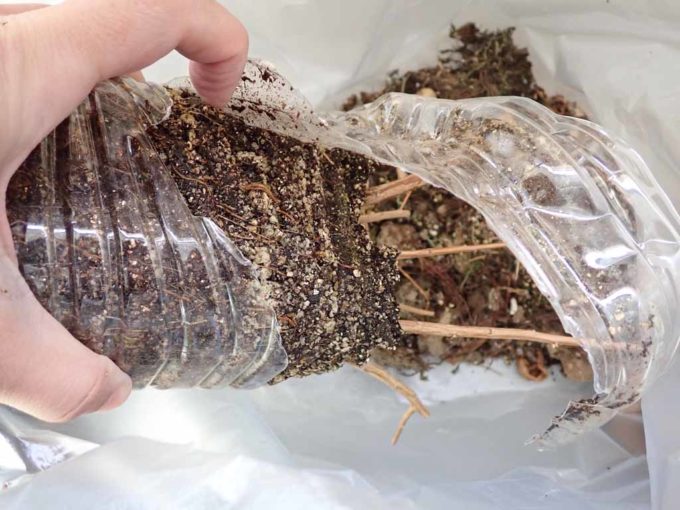 And tear the bottle by hands..
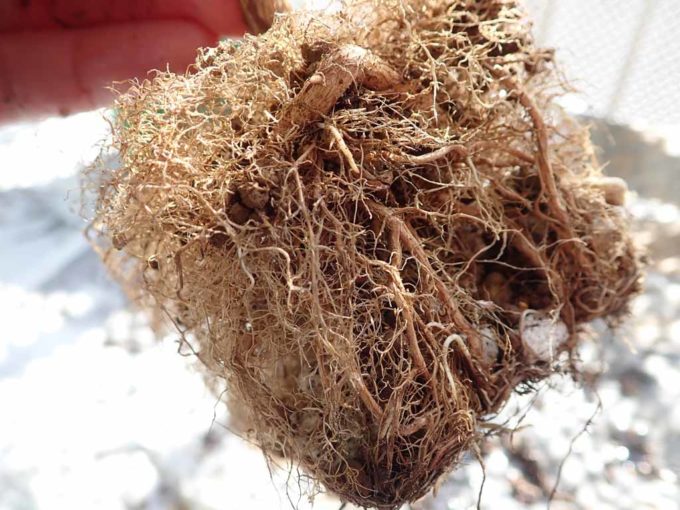
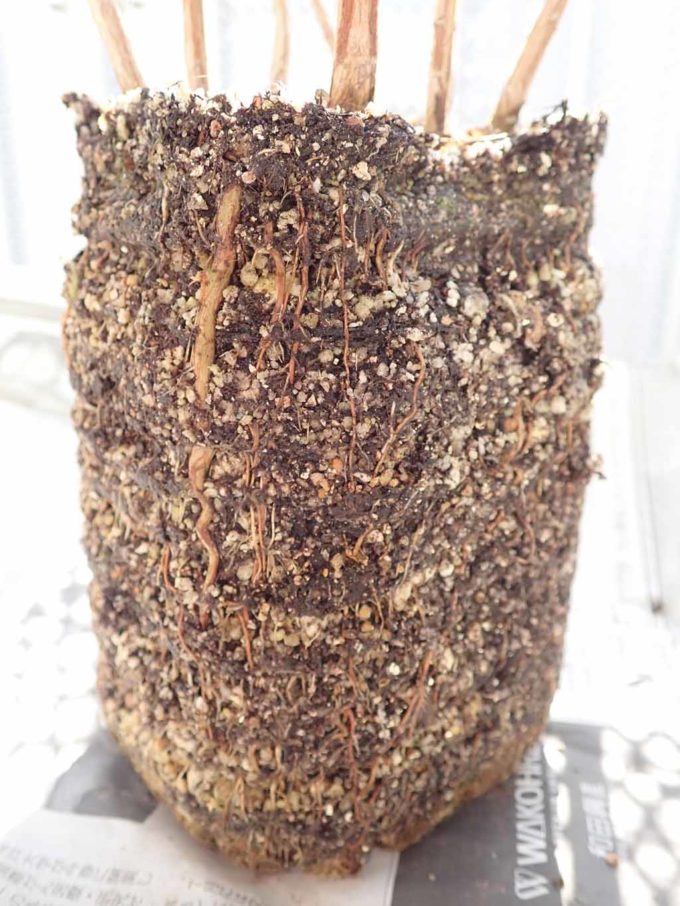 Even though the bottle was removed, the soil is so hard because of the roots.
Massage the soil to remove it.
After removing the soil to a certain extent, make trees apart. Just give up thin roots to be cut off.
 Separate the trees one by one. You have to be patient!
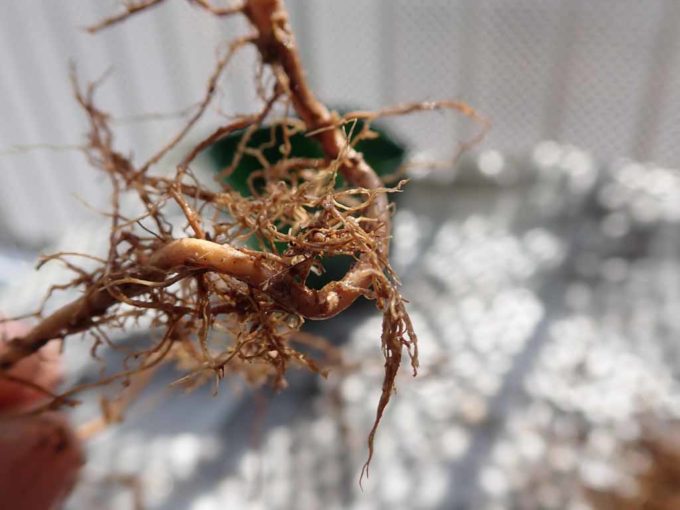
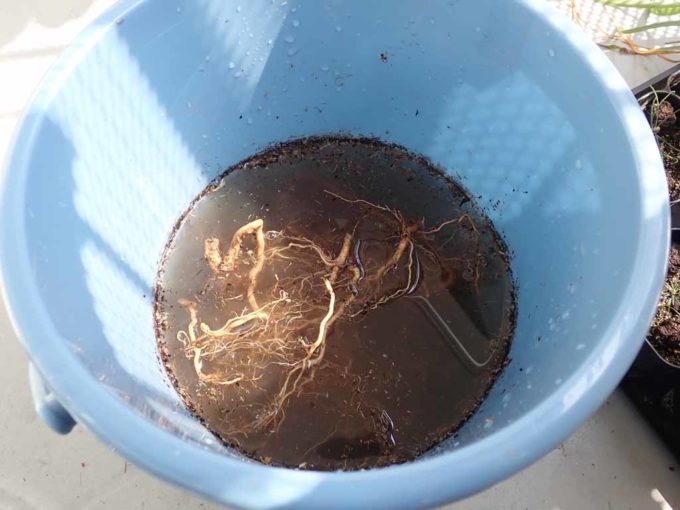
 Rinse the roots in the water; now you see the shape of each root. Repeat this procedure, separate all the trees and soak them in the water so that they won’t get dried.
Remove from plastic pot
Let’s remove the other tree from the plastic pot. Only one Crape Myrtle is in the pot, so it must be much easier..
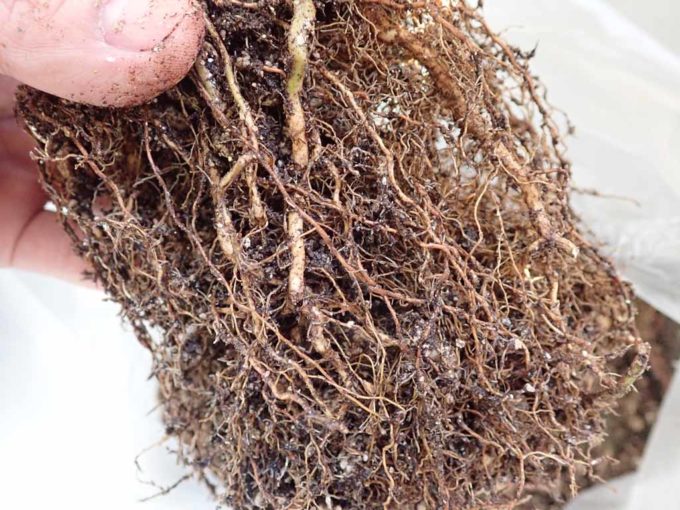
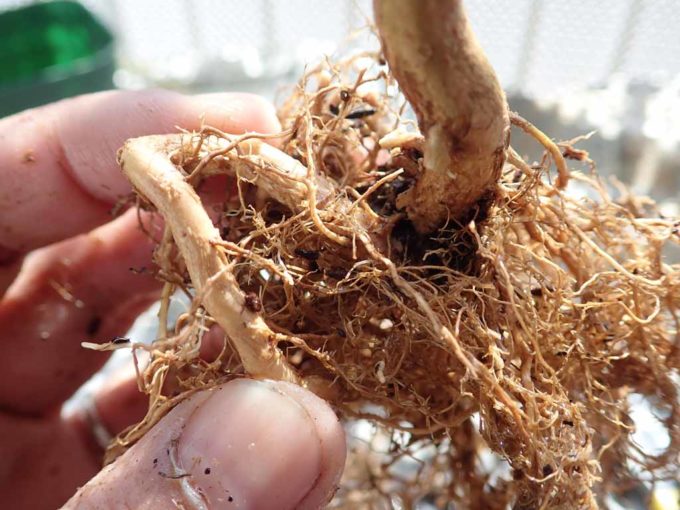
 It was quite easy.. but has so much amount of roots. Same as other ones, massage it softly and remove the soil.
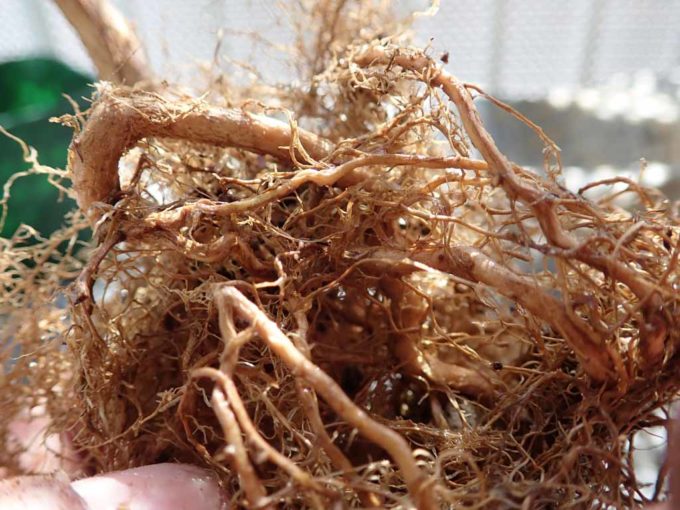 Now unravel the roots like you comb your hair. Small thin roots may be cut, but don’t mind.
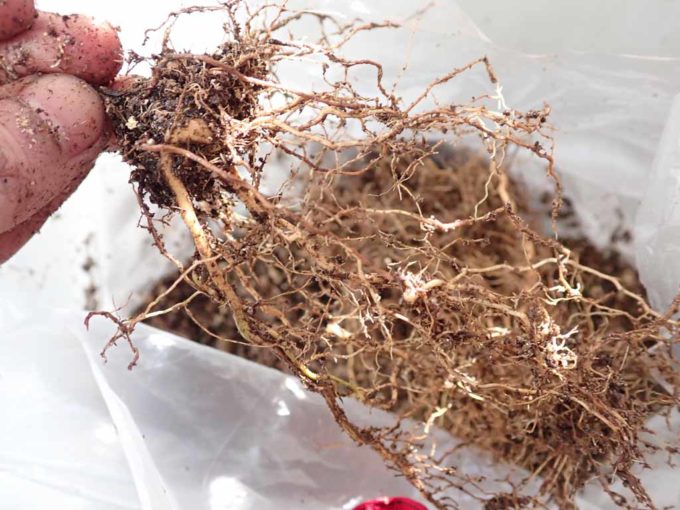
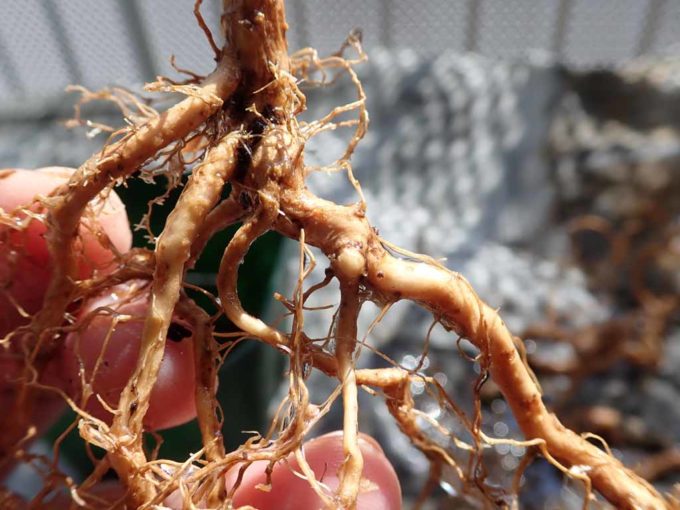
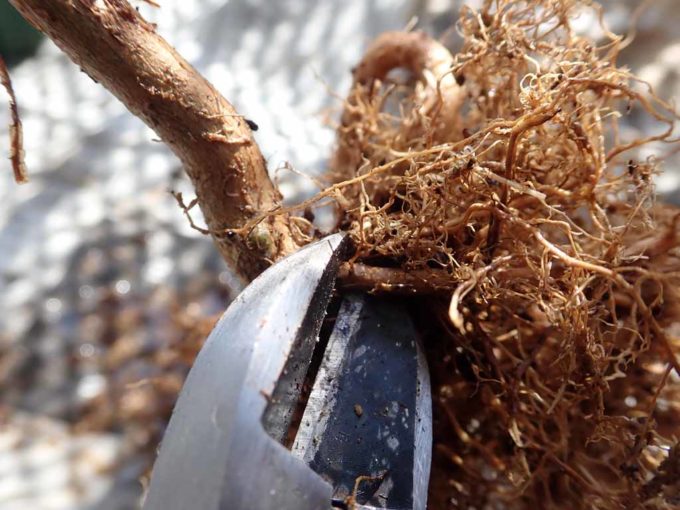 Then, cut THICK roots from the base and make them apart.
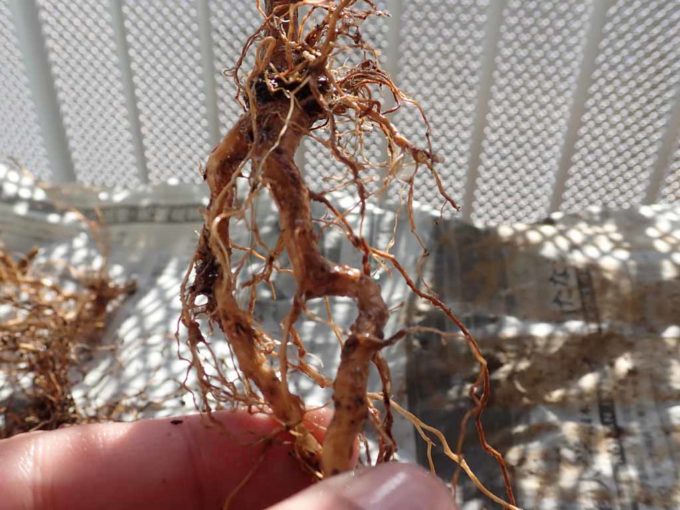
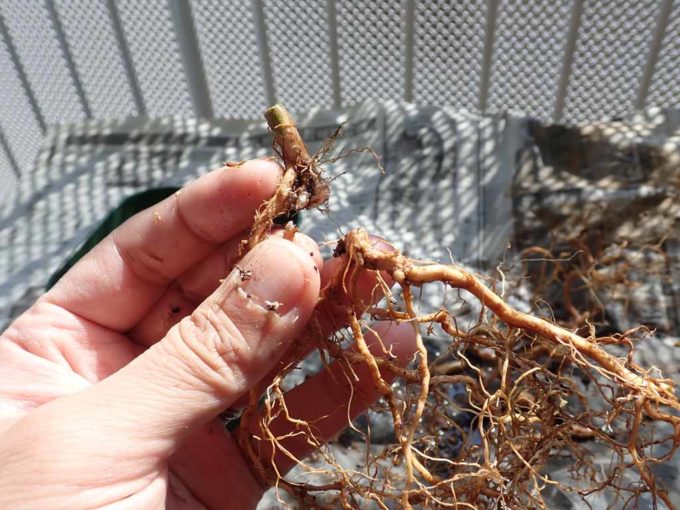
 As you cut the root off, you see the shape.
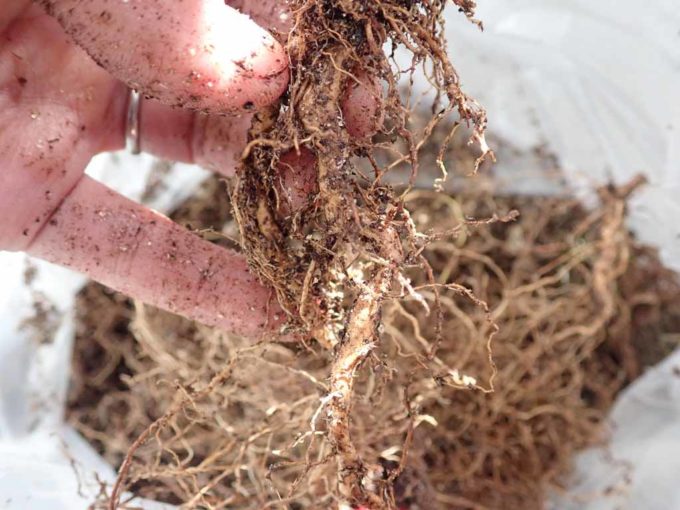
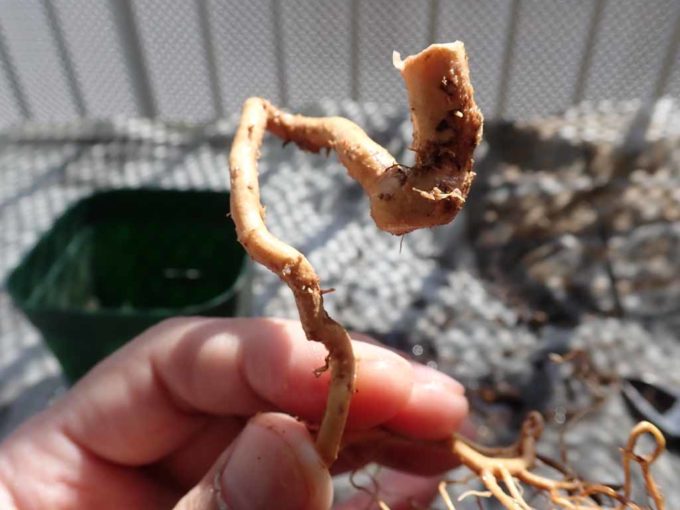
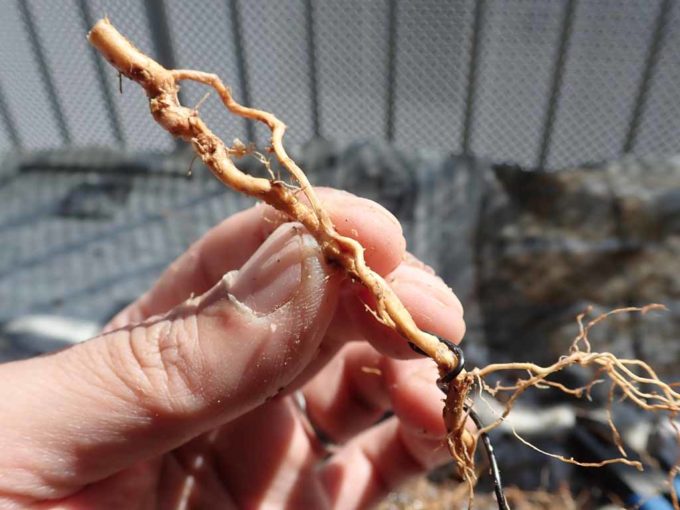
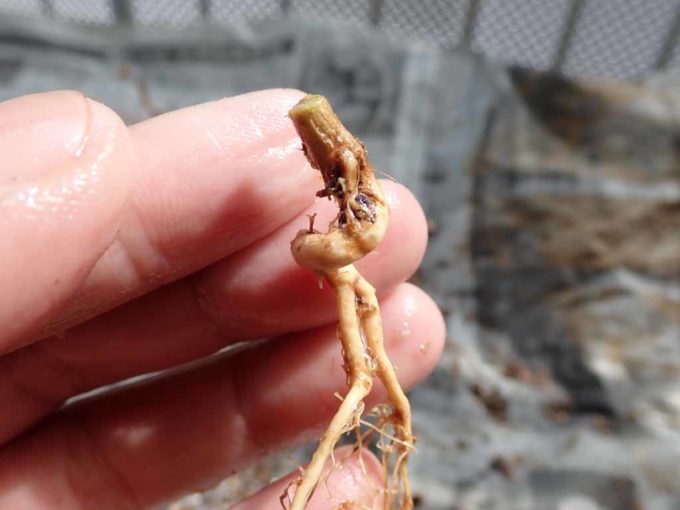
 This one is thickest. It has nice, unique shape. I really like it!
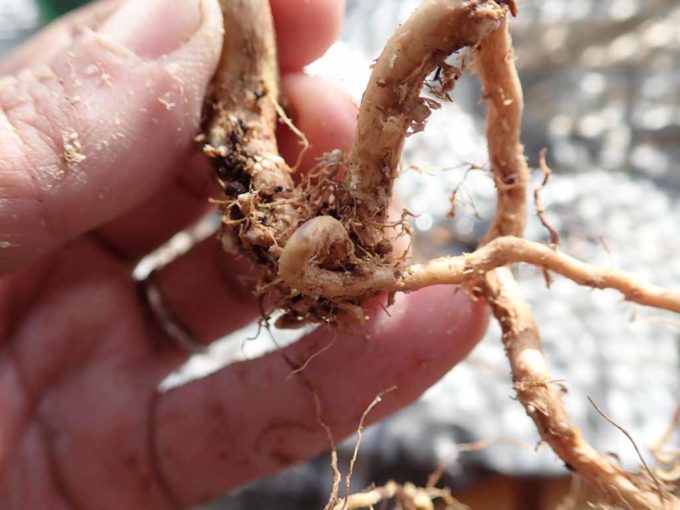 On the other side there’s a root with rolling shape.. it is also unique, but looks unbalanced..
After the consideration, I cut it off.
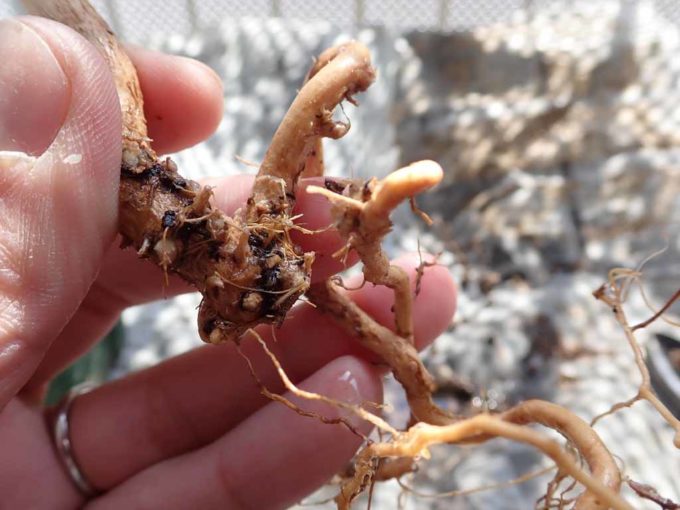
Cut off the thick roots which has unique shape like this. The roots will be trunk in the future, so choose not strait, the ones with good and unique bends.
 Soak the cut roots in the water.
Choosing roots and preparation for planting
After separating the roots, look and find the roots with nice looking. Cut off thin roots so that you can see the shape of the roots. Just leave the thin roots in the end.
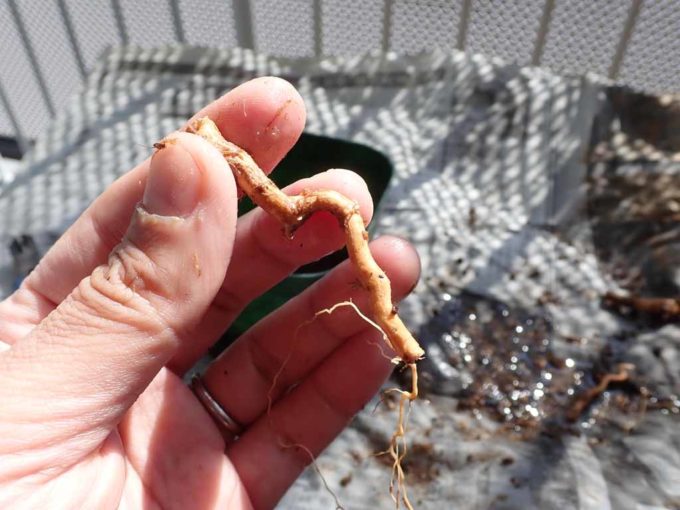
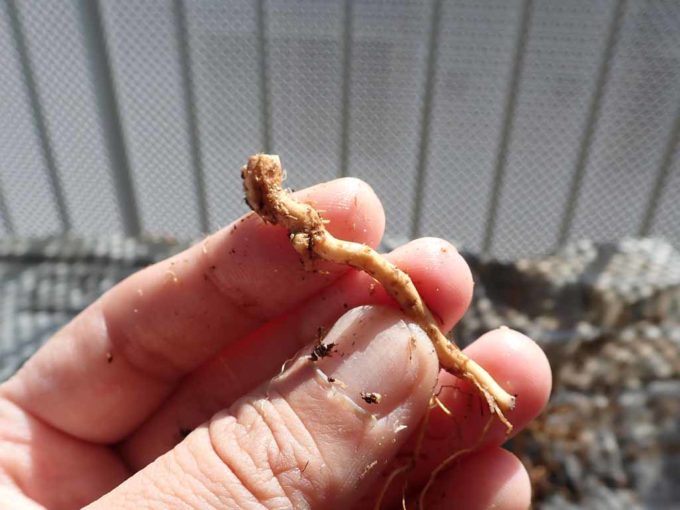
 For example, this. I’ve cut the thin roots off, but I left them in the end. This will be trunk and will have branches at the top. Actually this is the best one this time.
 This one also looks nice.Do you see the thin roots at the end? I believe these thin roots help to absorb water. Many of books and websites of Bonsai say to cut them off as well, but I always do like this. It may not necessary though.
 Something like this…
 Cut off and…
 I made it like this. Cut thin roots and the part you feel unnecessary.
I cut a lot of roots and chose nice parts only. In case the roots are not as thick as in the photos, they may not have buds.
Planting
Put soil a little bit in the plastic pot first and put the roots.
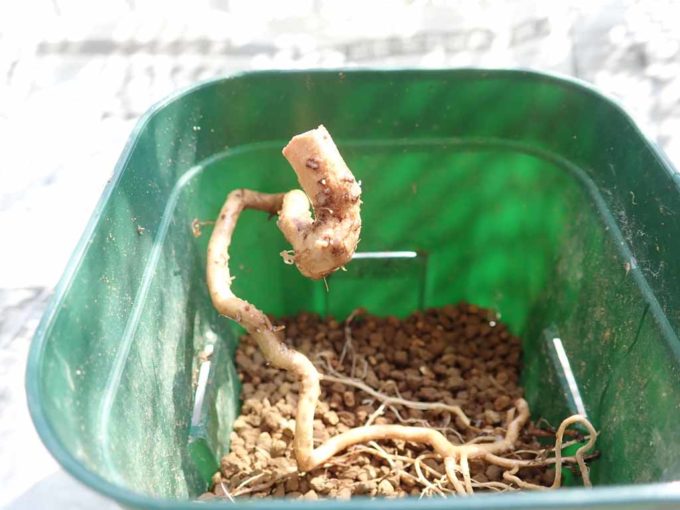 This is the one I like. It is necessary to expose the head (5mm~1cm), so adjust the position.
 Like this.
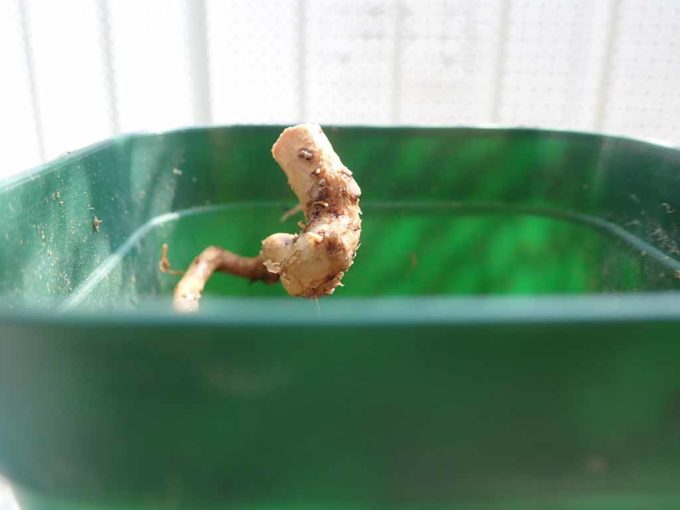
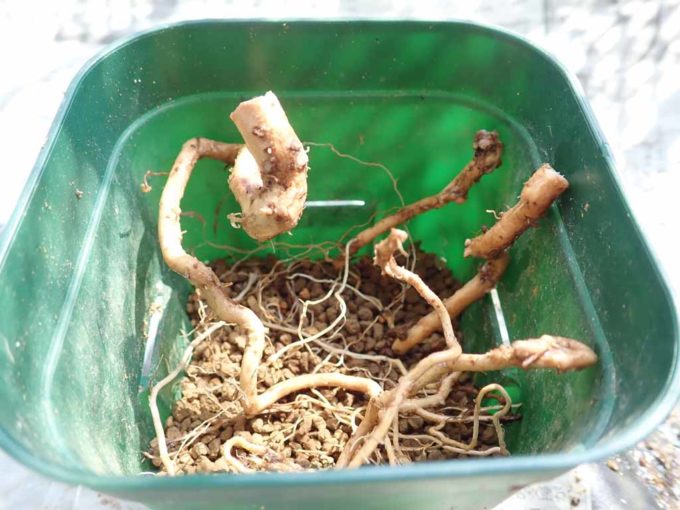 Put the roots in the pot. The height should fit the pot.
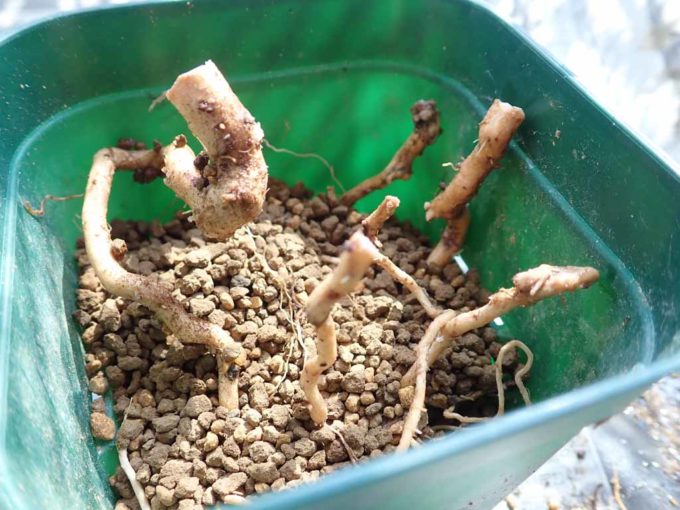 Add soil gradually as adjusting position of the roots. Put short roots at this moment.
 Add soil, adjust the position, then add soil again…
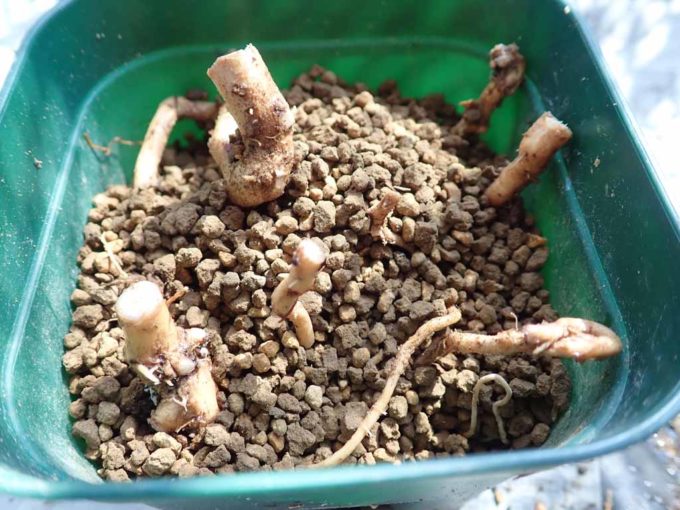
 Done. Try to put the soil among the roots as well.
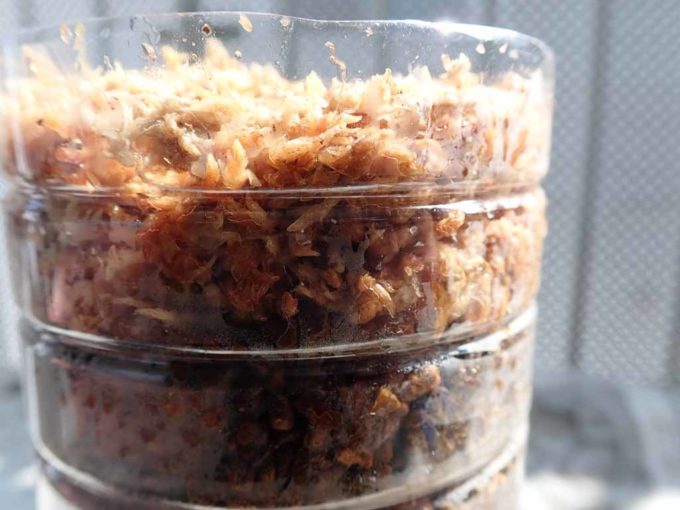
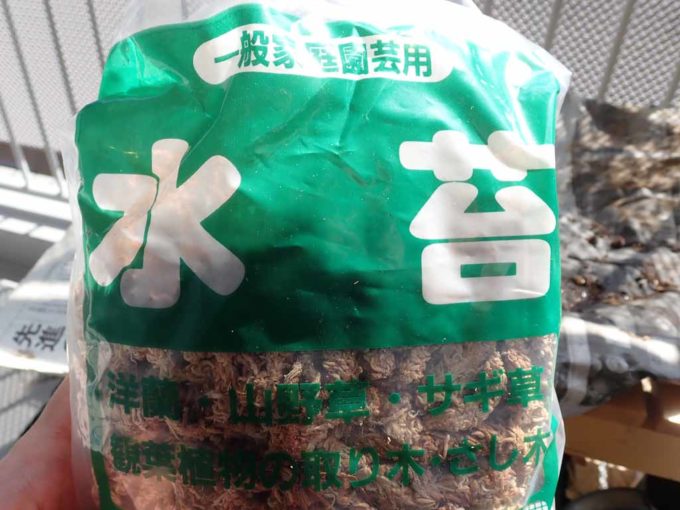 Sphagnum Moss..
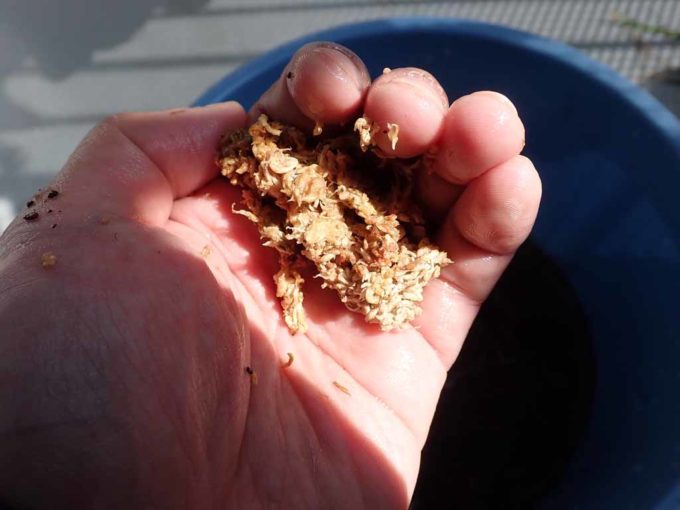 Grab it in your hand, soak it in the water like sponge. In the beginning it doesn’t absorb the water, but do it few times so that it will be wet and keep water inside.
 Put the wet Sphagnum Moss on the pot. Try not to make space. I put a lot of them.
Now, the other ones. I prepared 500ml plastic bottle. I cut off upper part of it and made small holes to drain the water.
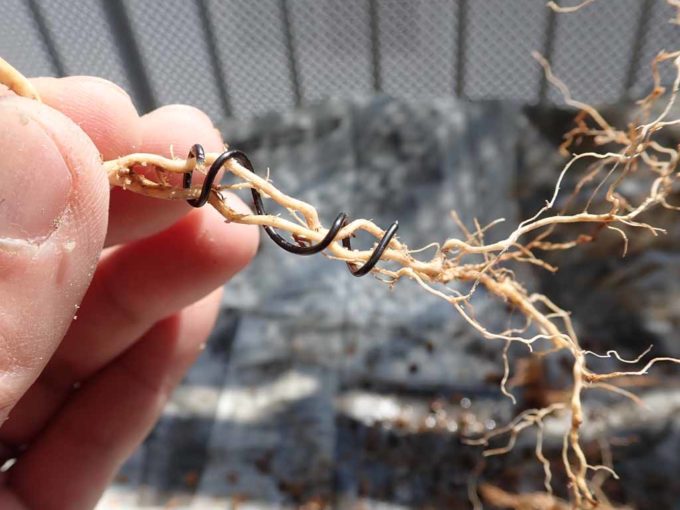
For some roots, I used wire to shape a little bit.
 This root has nice shape, doesn’t it?
 Same as the plastic pot, put a little bit of soil first, and put roots and soil as adjusting position.

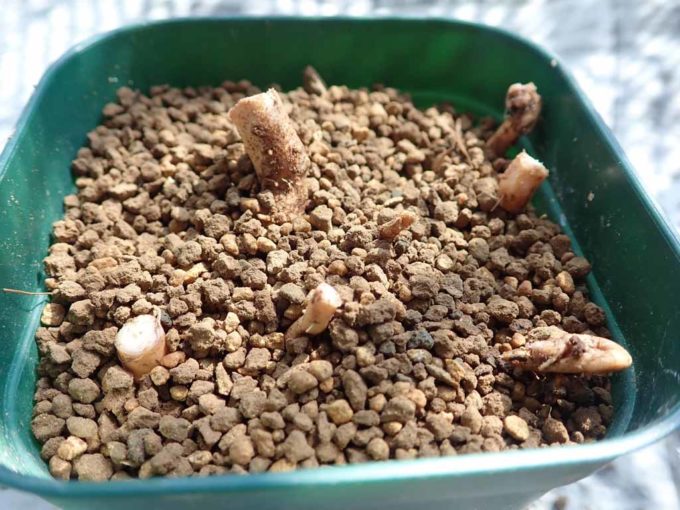
Finished.
View from the side. You need to expose the head above the soil. It looks good. Then, put the Sphagnum Moss soared in the water on it without any space.
 Like this.
 Done!
Done!
Watering and care
After doing this, I gave A LOT OF water until the water comes out from the bottom gets clean and transparent. Leave the pots in bright place without direct sunshine. Watch the Sphagnum Moss and water them when it looks dried.
One more tip is that do not touch the Sphagnum Moss. I well understand that you want to see that is happening under Sphagnum Moss. But the new buts are very fragile, so moving Sphagnum Moss may harm them. Be patient!!
I hope new buds will appear in few months. Let’s wait and see!!
コメント