
I’ll try to make “Ishitsuki” style bonsai of choujubai, using “Hikobae”, which I cut off when I replanted parent tree of choujubai. I’ve wanted to try “Ishitsuki” style for long time, but this is my first time. I tried to find how to make it in the internet but there’re few web pages which explain the how-to. I collected several information and combined them. So, this article is my own way and I’m not sure this is the correct answer.

Stuff
First, collect the stuff for Ishitsuki bonsai.
A seedling of choujubai
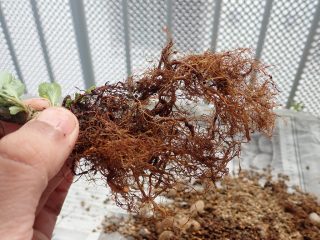
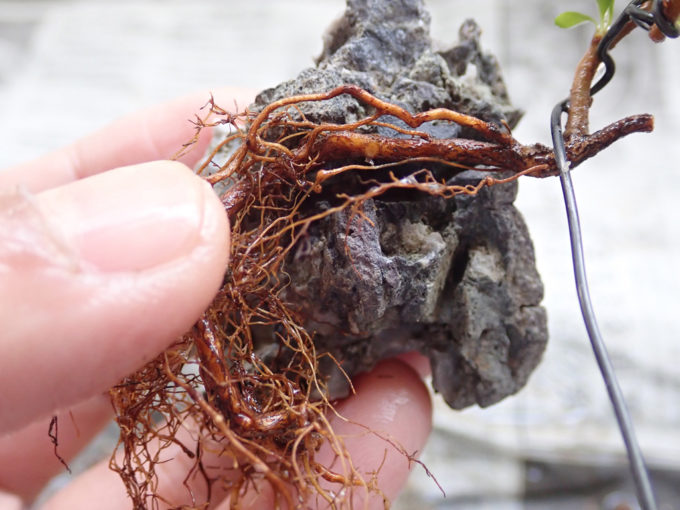
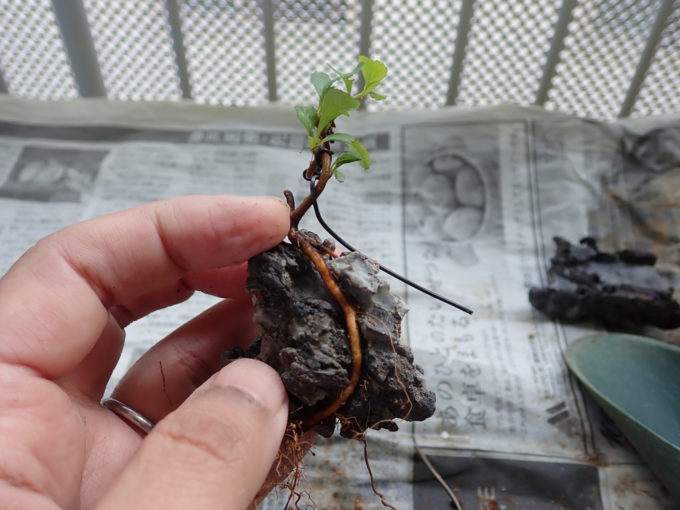
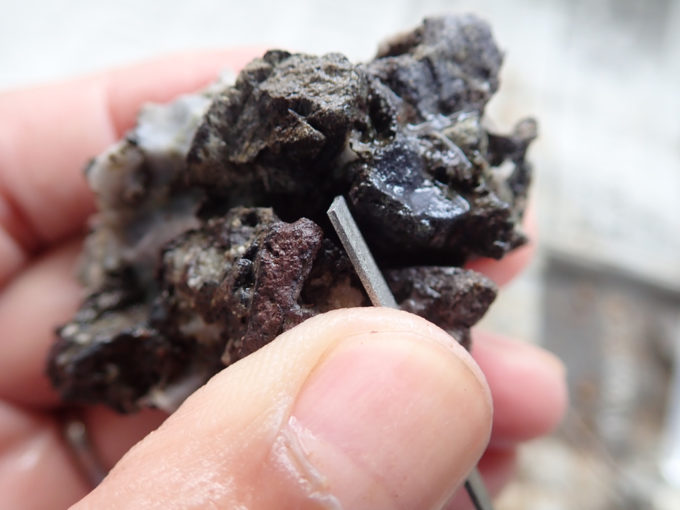
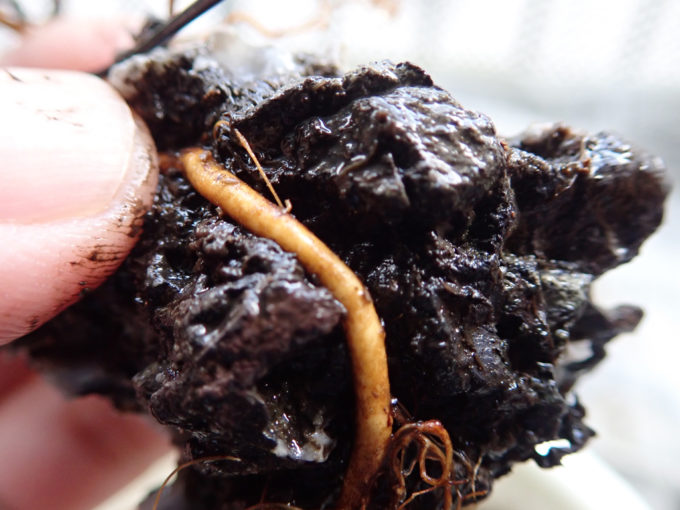
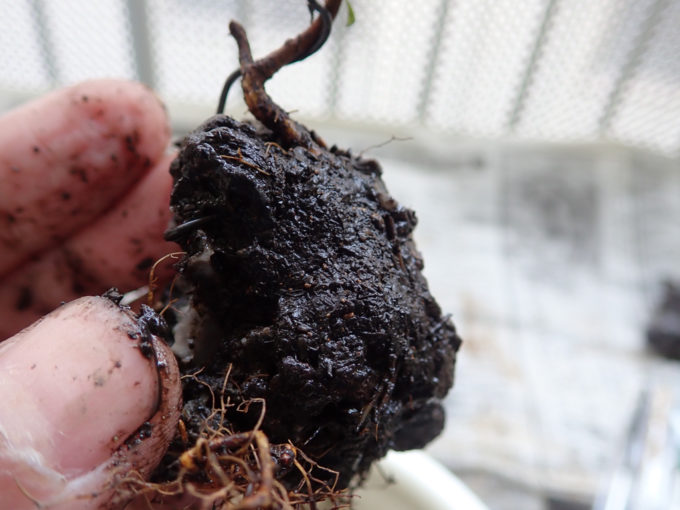
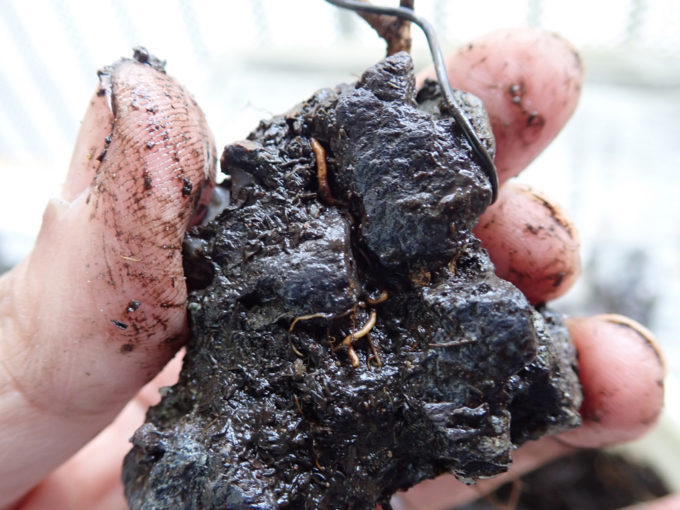
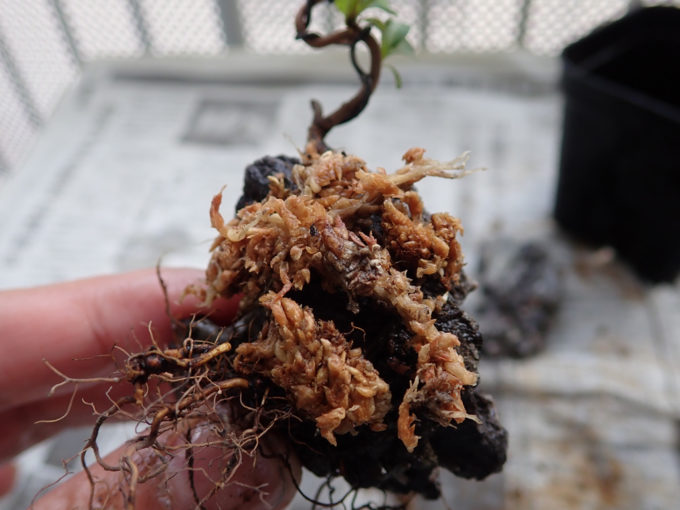
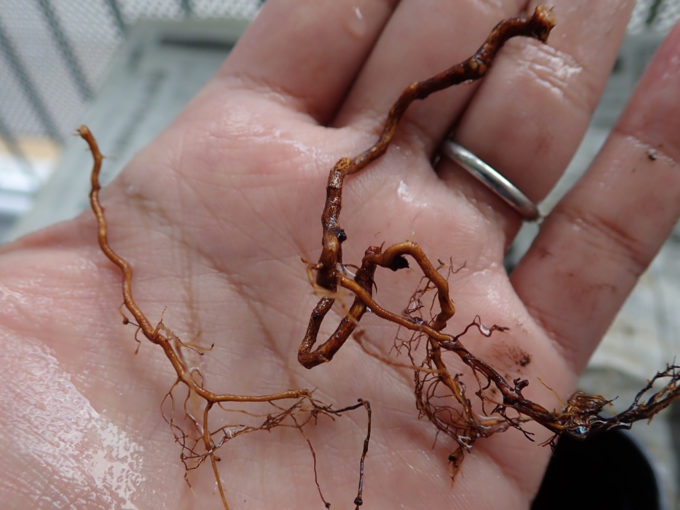
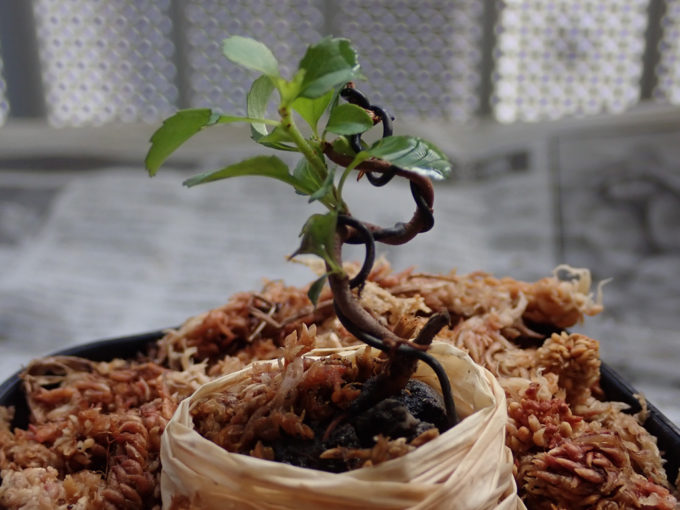
Actually it is a cut-off hikobae of choujubai, currently looks like this;
 I didn’t remove the wire to shape it. Frankly speaking, the shape of the root looks not interesting at all.
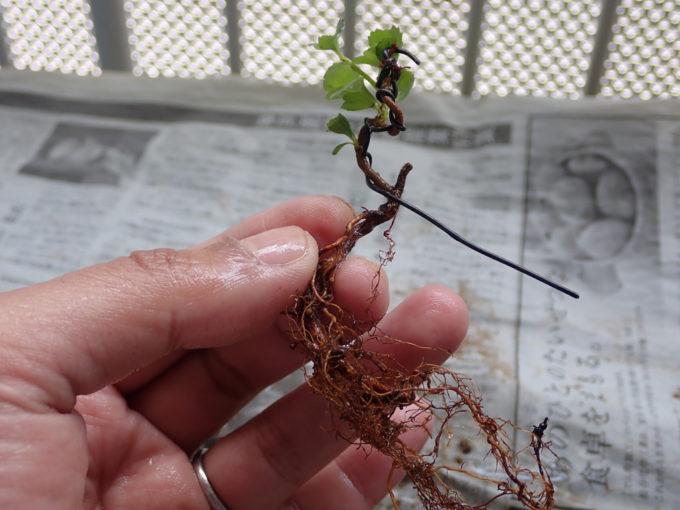
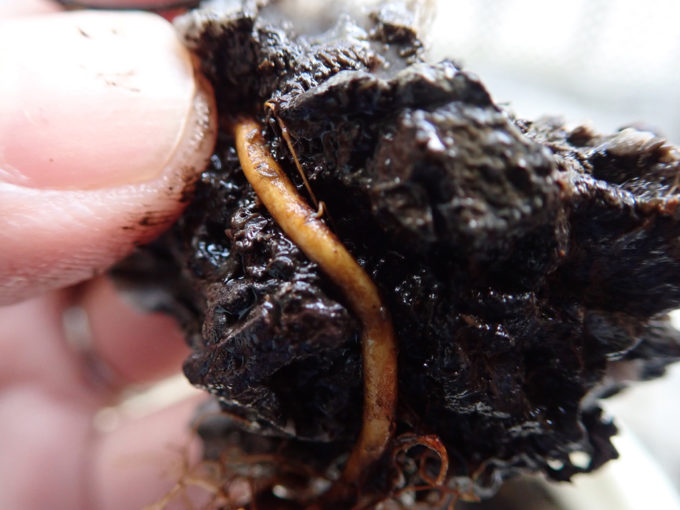
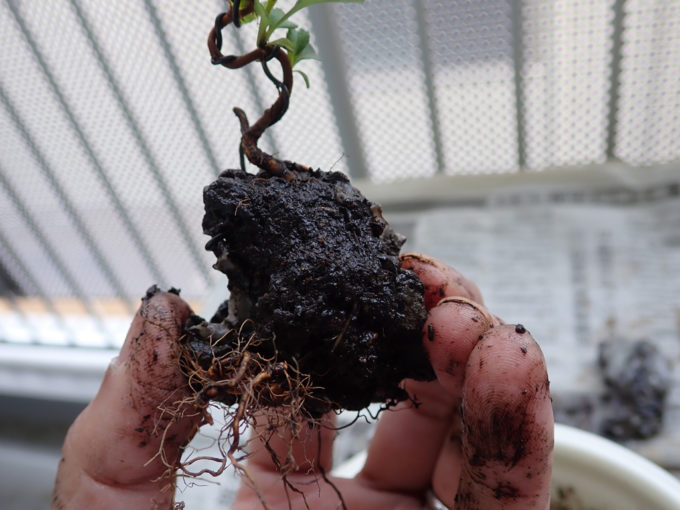
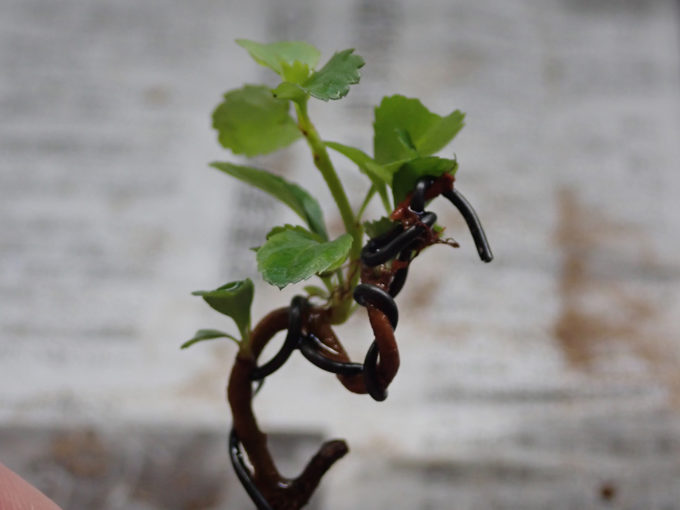 Look closer; one bud, shich will be a branch in the future, is growing. I thought the shape looks not good but maybe ok? The top of the hikobae is withered, but I don’t cut it off so far. I leave the wiring as well.
Stone
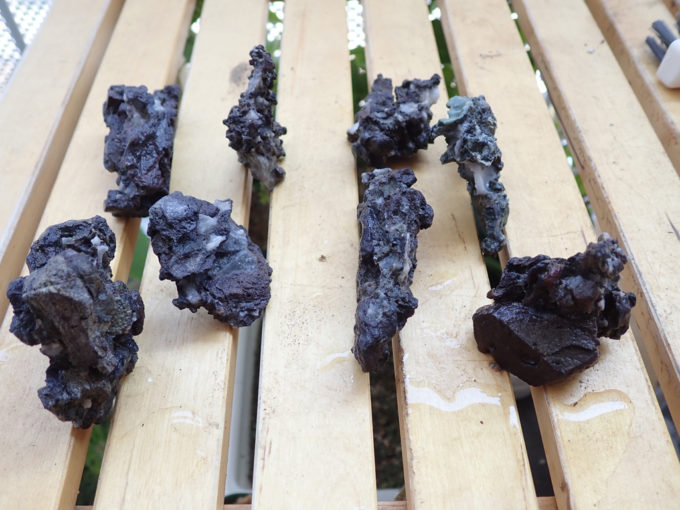
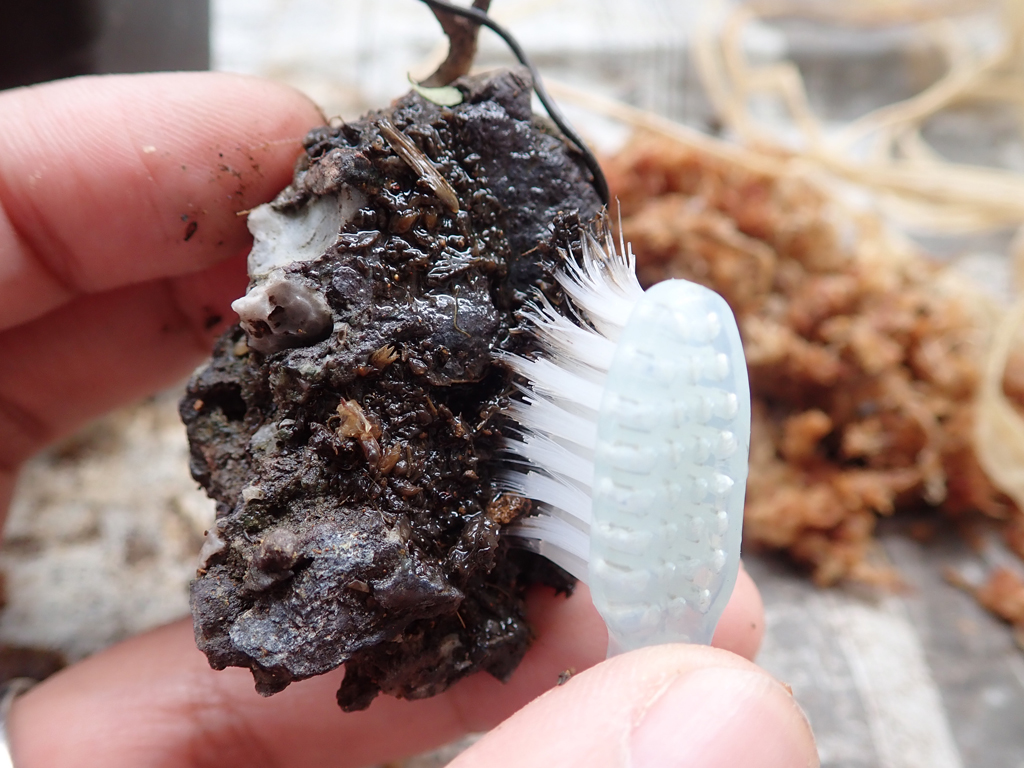
I use “Ryuuganseki” here; direct translation is “Dragon Eye Stone”. It is quite popular among Bonsai lovers. I found and bought the stones few years ago. They look like they have so many dusts and stones’ powder all around, so I just brushed and washed them. As washing the stones, I checked the shape of every stone to find good one.
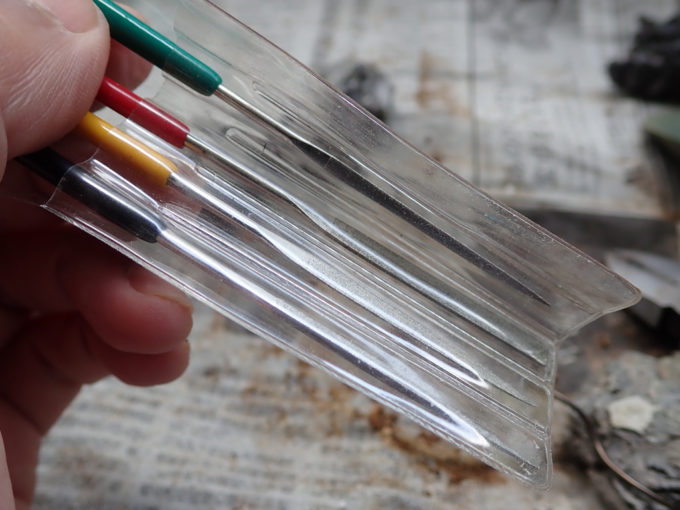
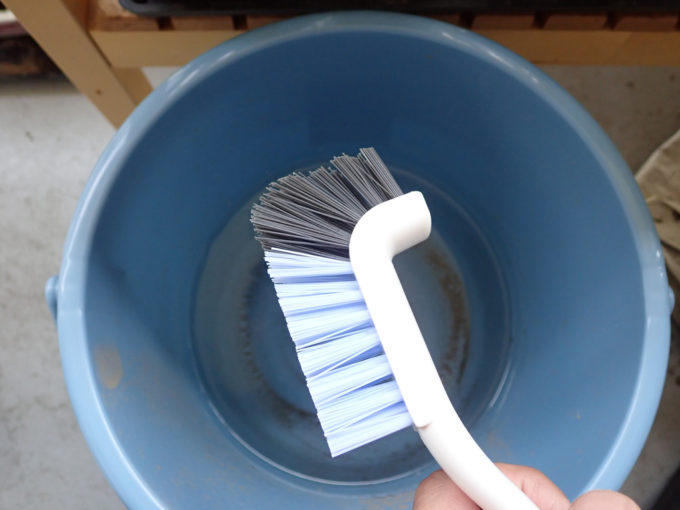 With this brush, I washed the stones in the water.
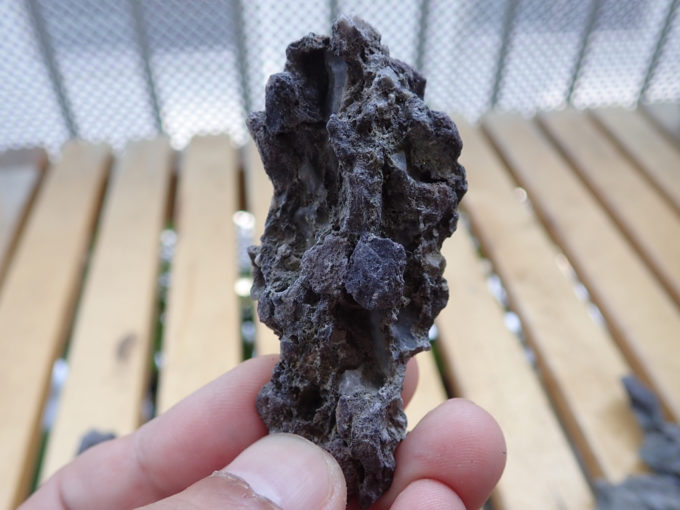 This one looks pritty nice. It looks like a clliff. It seems like I can plant something in the hollow at upper-left part. Maybe black pine?
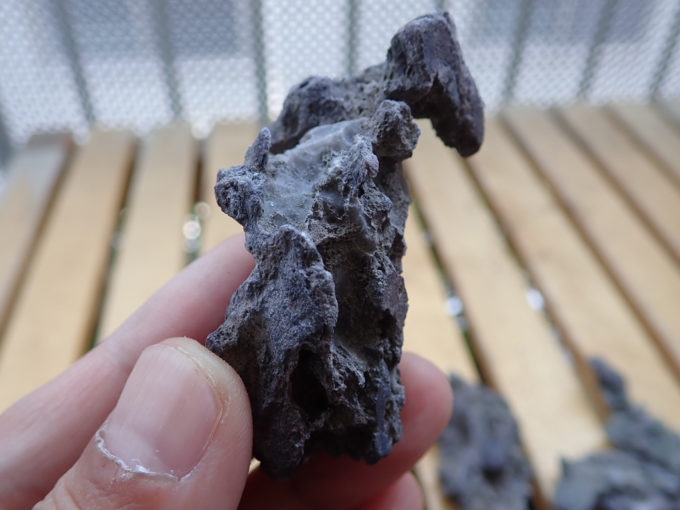 This one looks nice, too. Quite unique shape. There’s a hollow stretching from the top to bottom, so I feel like I can put the roots along the hollow.
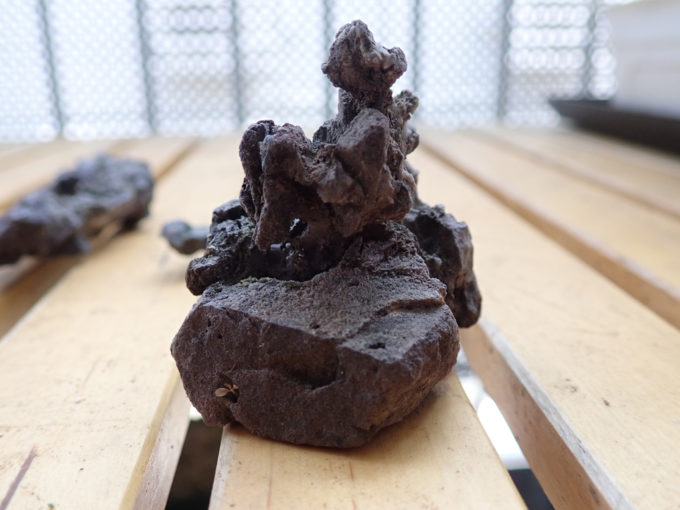
 This one has a hollow at the base. Maybe I can put the roots along it and make a “Kengai” shape black pine.

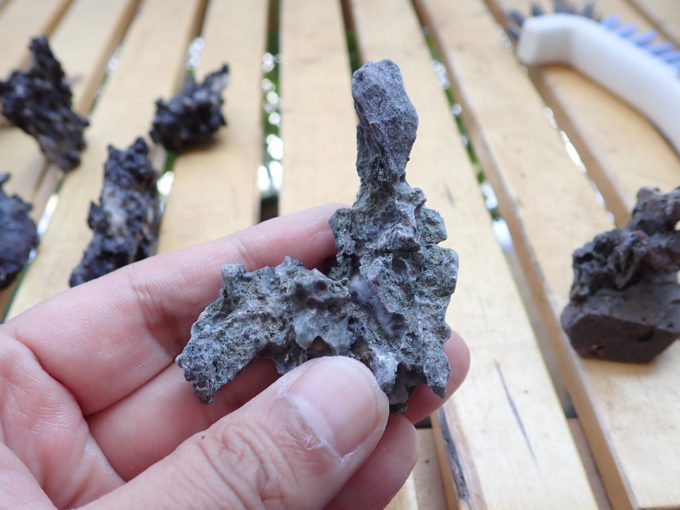
 This one has also unique shape. It looks like that a lady is sitting facing to the left, doesn’t it? The base seems not nice, but perhaps I can put roots and mosses here.
As I see each stone, some looks nice and easy to use, some are not.. But every stone has its own character, which I can use in some way. It is quite interesting to imagine like “put a tree here, roots like this..”
 Washed and drying. when the stone is wet, it looks darker color.
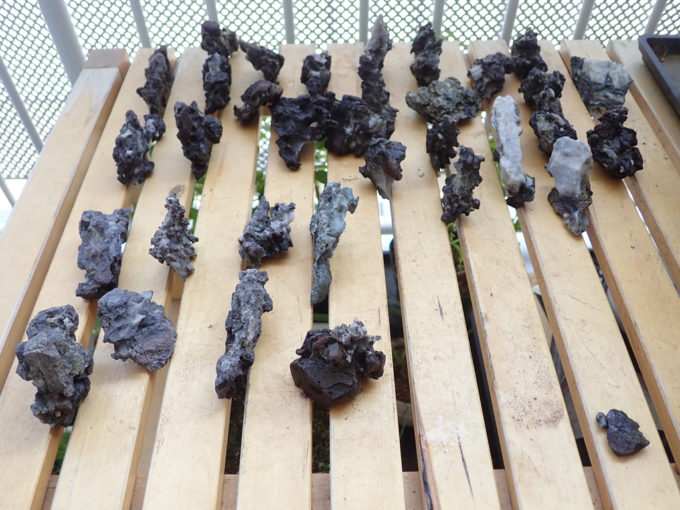 Finally, I washed more than 30 stones. 8 stones at lower left are “nice” ones.
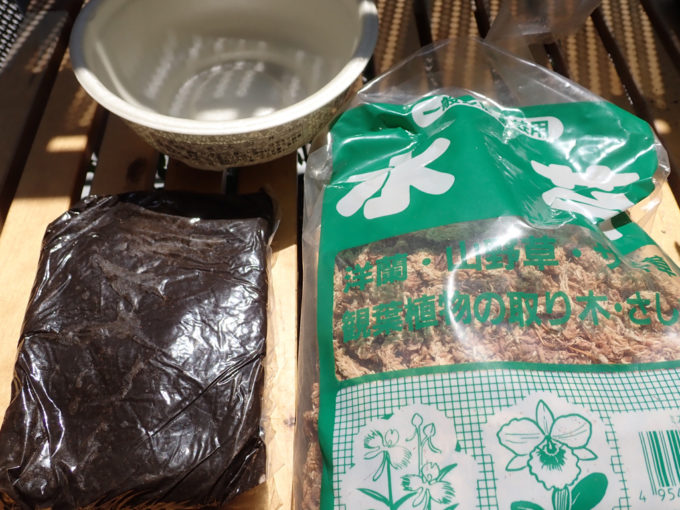
”Keto-tsuchi (peat) and sphagnum moss
The mix of keto-tsuchi and sphagnum moss is used to stich the tree to the stone. Most of it will be removed in the future, but so far, until the roots get thick and stable, it is important to stabilize the tree and retain the water.
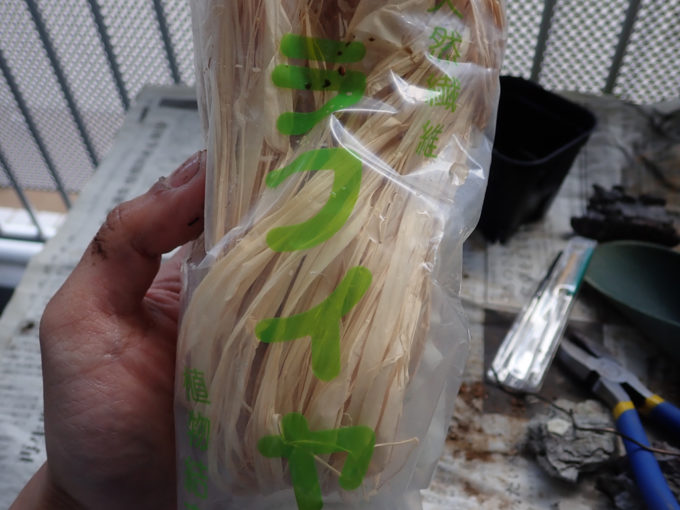
Raffia
The tree and stone will be covered by sphangnum moss at last, raffia is used to fix the moss. This is a dried leaf of raffia palm. It is quite popular among bonsai-lovers to fix something or cover the branch before wiring.
Others
Some soil (I usually use) and plastic pot. Nothing special.
Preparation
Preparation of Keto-tsuchi
Now, mix the Keto-tsuchi peat and sphagnim moss.
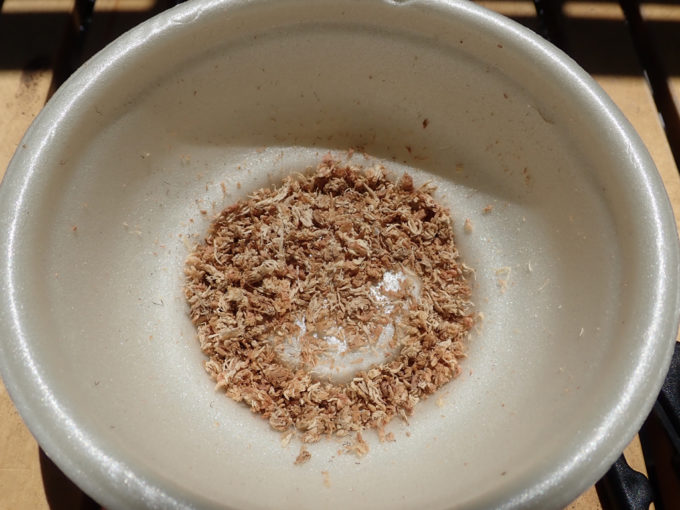 Cut the sphagnum moss into small pieces. I used scissors at the beginning, but finally I just teared them into small pieces by fingers.
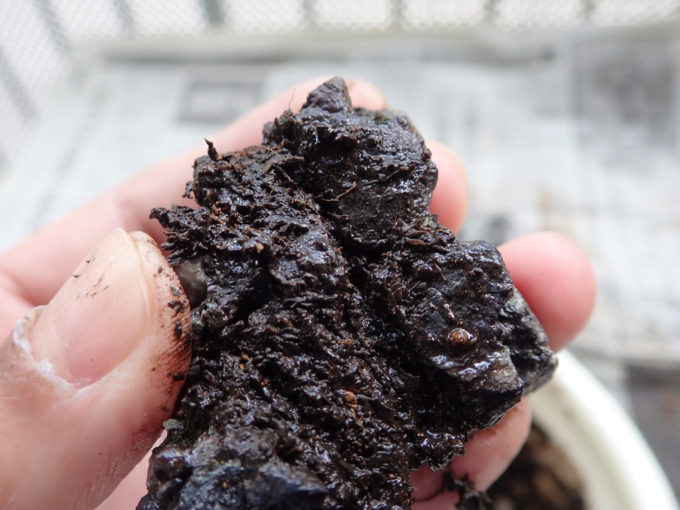
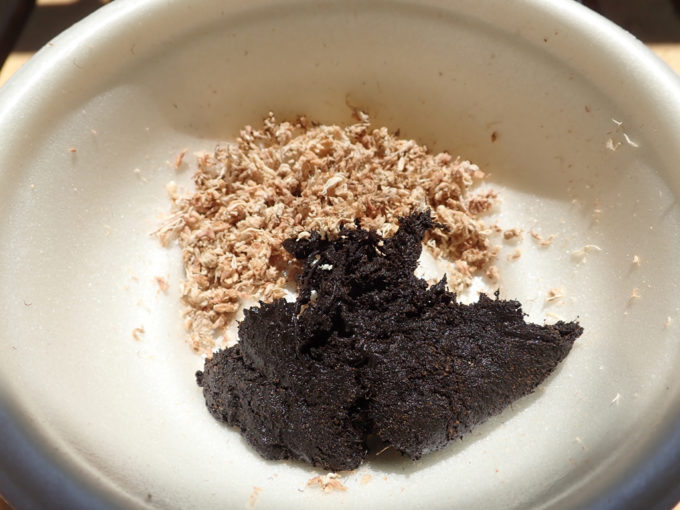 Add same amount of keto-tsuchi and mix them, adding a little bit of water.
 Do not add too much water. It makes Keto-tsuchi like mud. The shpagnum moss absorbs water more or less but anyway you see the situation and control the amount of water.
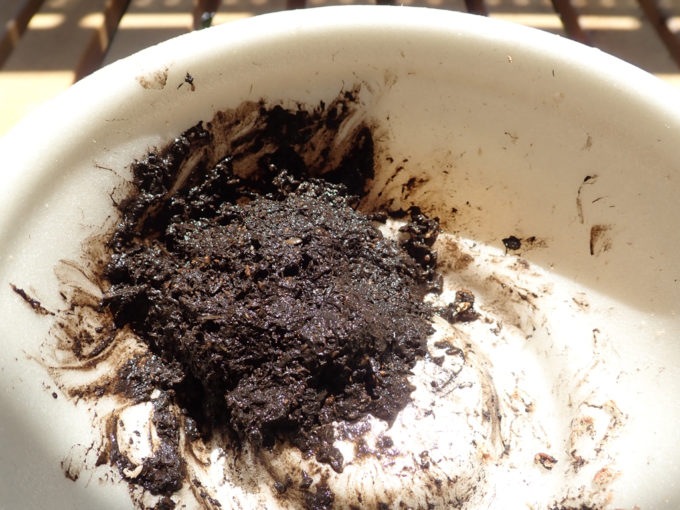 Looks ok. I replanted parent tree of choujubai after this, so I left it 20~30min.
Fitting the stone
I tried to fit the tree (roots) and stone and decided how and to which stone to put the tree.
 I didn’t take photos… but I tried to fit the tree to several stones, looking for good shape of stone, which fits the roots.
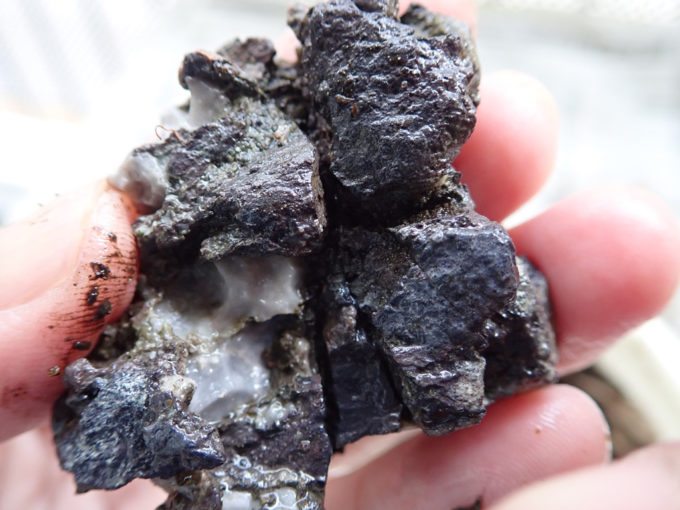
 Wow! I wrote that the shape of the root is not interesting, but by luck, I found a stone, which fits the root almost perfectly. The thick root is easily broken, but it looks like I don’t have to bend it too much to fit the crack of the stone.
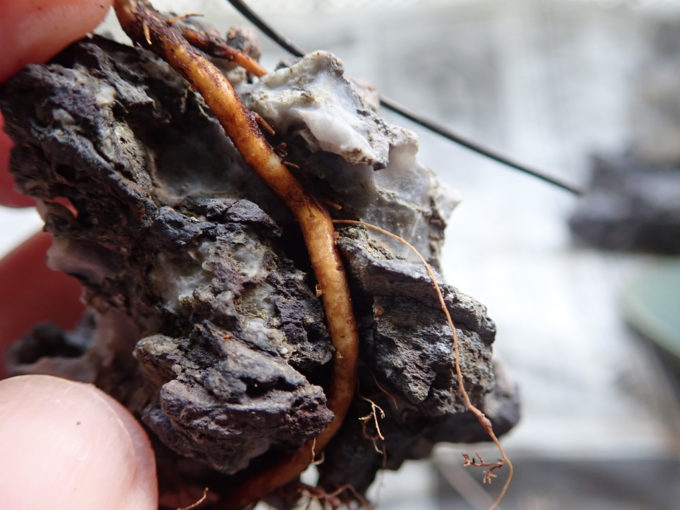 Looks good.. almost perfect. After fixing the root in the crack, it will look good when the roots get fatter and fit to the shape of the stone.
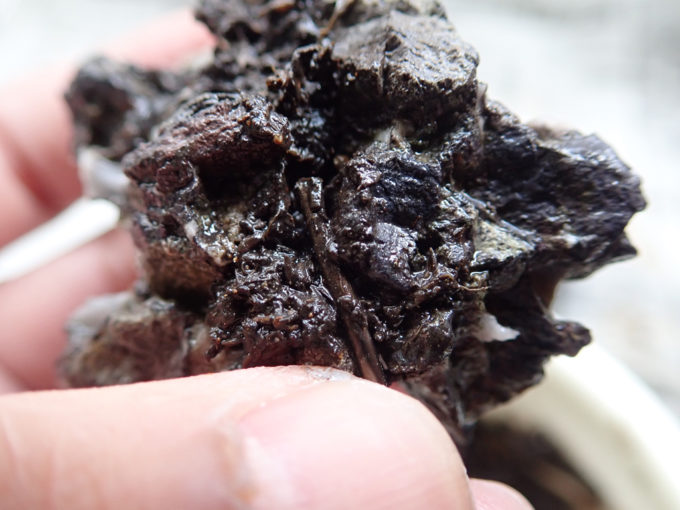
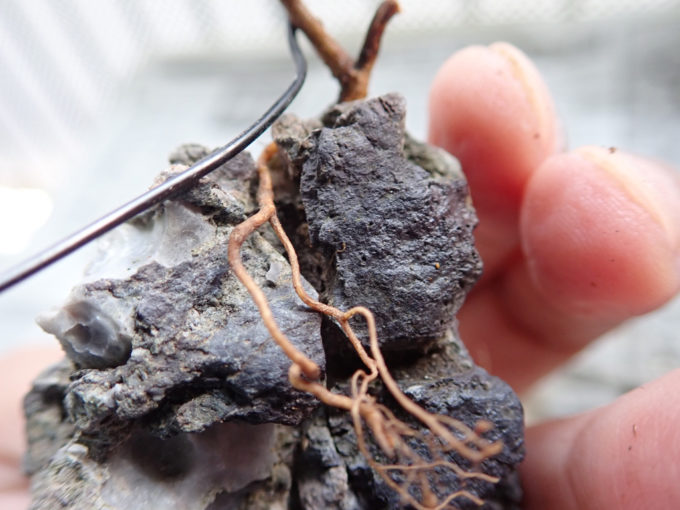 This is the other side. The tree has thin but good roots, so I decided to put them into the crack at the other side. These roots are not long enough to reach the bottom, but I just hope it will grow longer and reach to the soil at the bottom in the future.
 Here, I use tiny file to make the gap a bit bigger, so that the roots get into the crack. I filed the stone really a little bit.
 The stone was not too hard, so I filed it gently and patiently.
How to make Ishitsuki bonsai of choujubai
From now, I put the choujubai to the stone.
Put Keto-tsuchi to the stone
First of all I put Keto-tsuchi, which I prepared before, into the crack of the stone.
 Push the Keto-tsuchi into the crack, using a piece of wire, making a way, into which the roots will be fixed.
 Into the crack like this…
 Put the Keto-tsuchi like this. When you put the roots into the crack, extra Keto-tsuchi will be pushed out from the crack. I put more Keto-tsuchi around the crack for retaining water. I’m not sure it works or not, though.
Plant the choujubai to the stone
Now, fix the tree to the stone.
 This is the face side. It looks like not fixed well, but after this, I pushed the root into crack as deep as possible.
 This is the other side. The crack is quite deep, so I pushed the roots as deep as possible as well. The roots are not long enough to reach the bottom, so I put additional Keto-tsuchi below the roots, so that the roots can grow more in the future.
 This is the base of the tree.
 Face side. As you see a lot of small roots are out of the stone below. It looks more than enough to absorb the water.
 I put more Keto-tsuchi at the surface. I feel like it was too much; the Keto-tsuchi prevents the roots to breath..
 This is the other side.
 Also I added some keto-tsuchi on it.
 Done. The roots out of the stone will help the tree absorb the water.
 Put sphagnum moss, which absorbed water and cover the Keto-tsuchi.
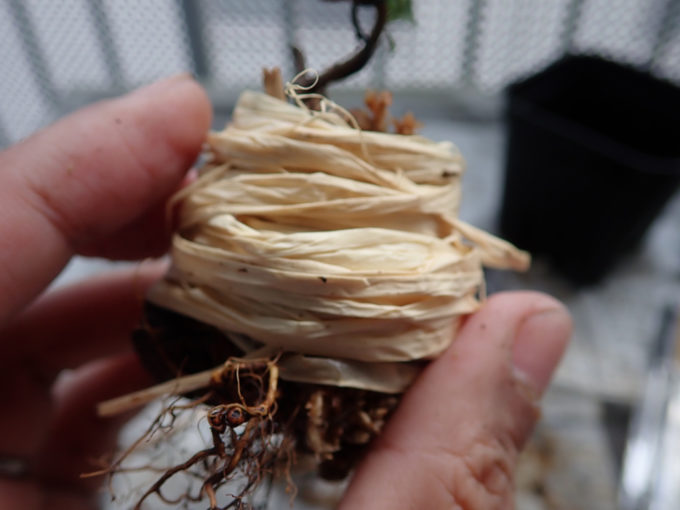 Fix the sphagnum moss by raffia. I tied it from bottom to top, so that I can untie the raffia from the top in the future.
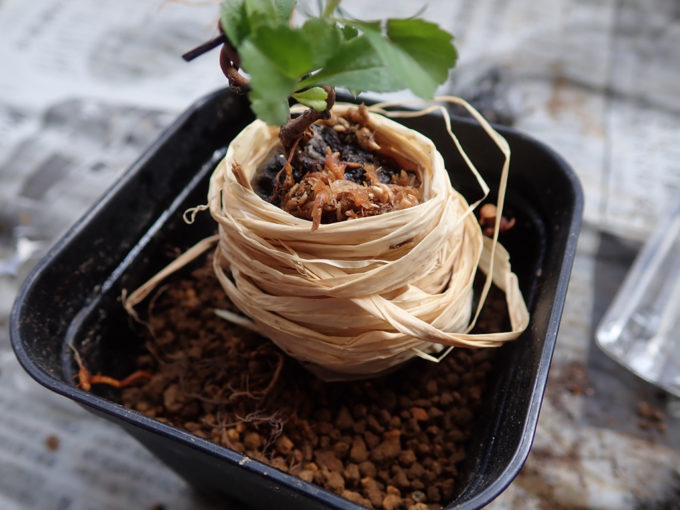
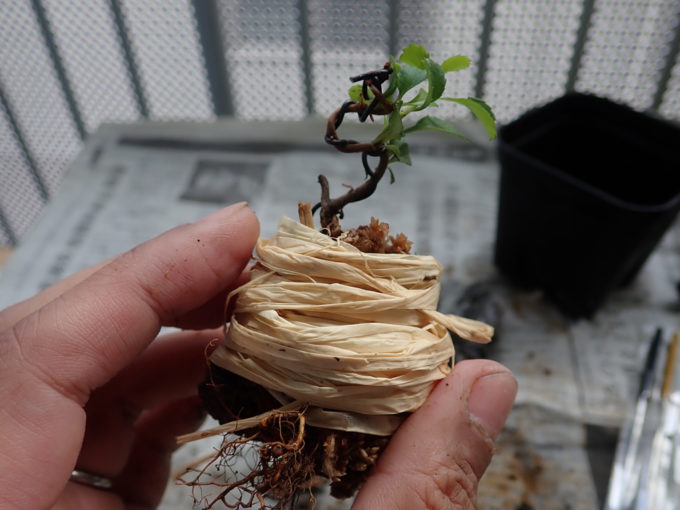 Done!
Done!
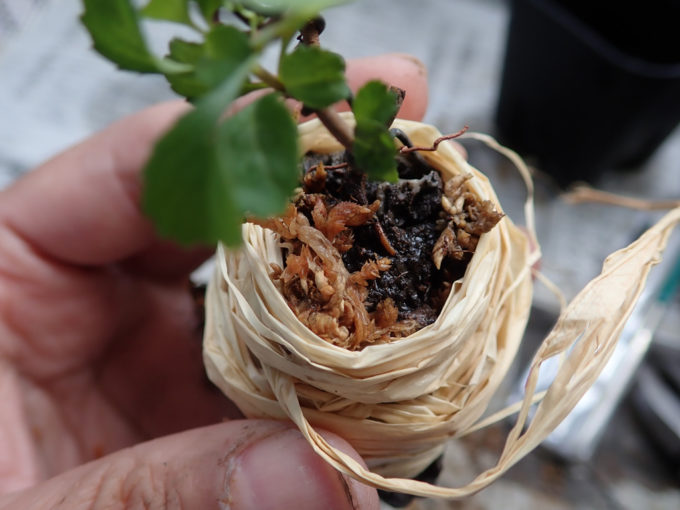 A photo from the top. There’s a water space made by raffia.
Plant the choujubai to the pot
Before planting the choujubai to the pot;
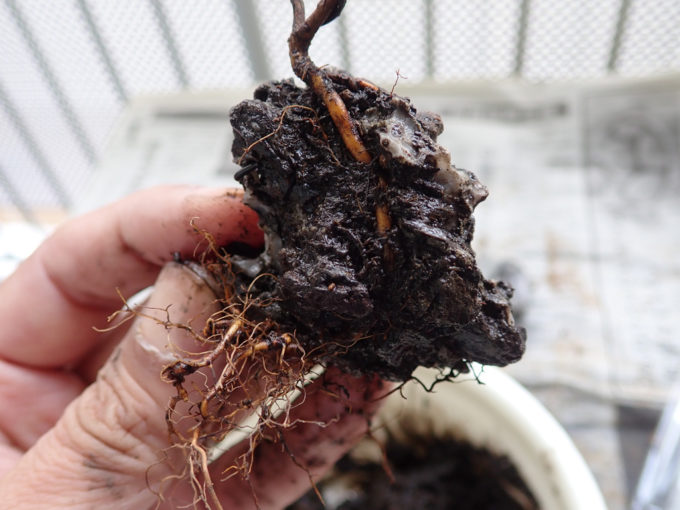
 These roots are the ones cut off when I replanted the parent choujubai tree, due to the cancer. It has unique shape and thick enough, so I plant them together to the pot, aiming “Nebuse”.

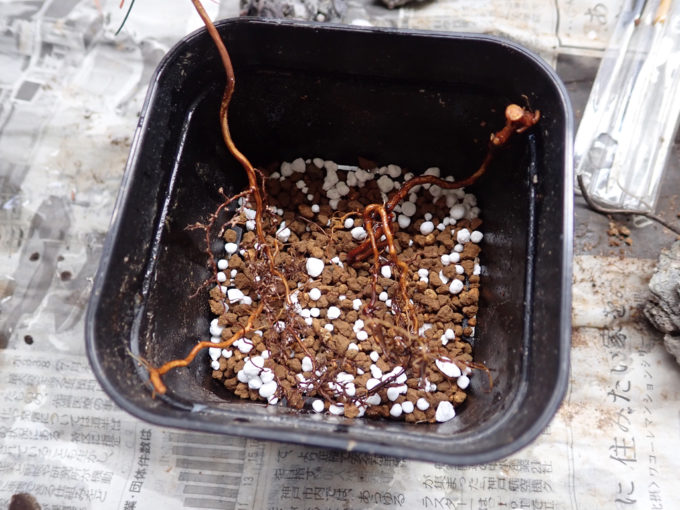 Put some soil and fertilizer and put the root for Nebuse first. Upper left is a seedling of black pine, which unexpectedly grew to the pot of parent tree.
 Add some soil and fix the roots for Nebuse. And then, set the stone in the center.
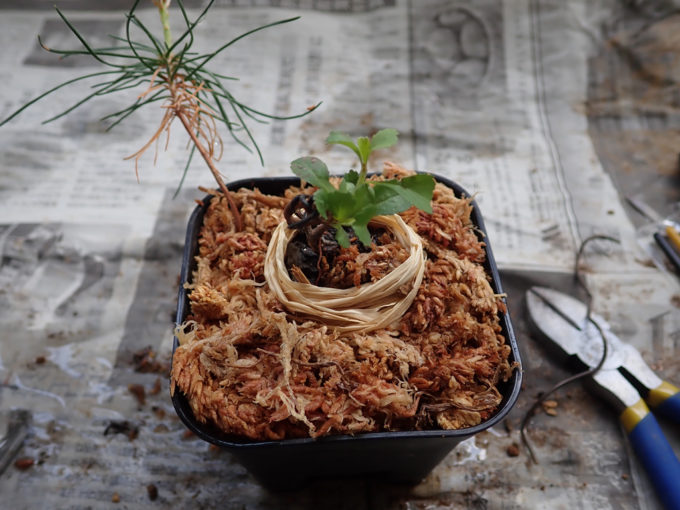 Add few more soil to cover the roots of choujubai on the stone. The soil covers half of the stone. After that, put sphagnum moss (absorbed a lot of water) on surface.
 Finished!! It looks cool!!
Actually, when I fixed the tree to the stone, I adjusted the direction of the tree.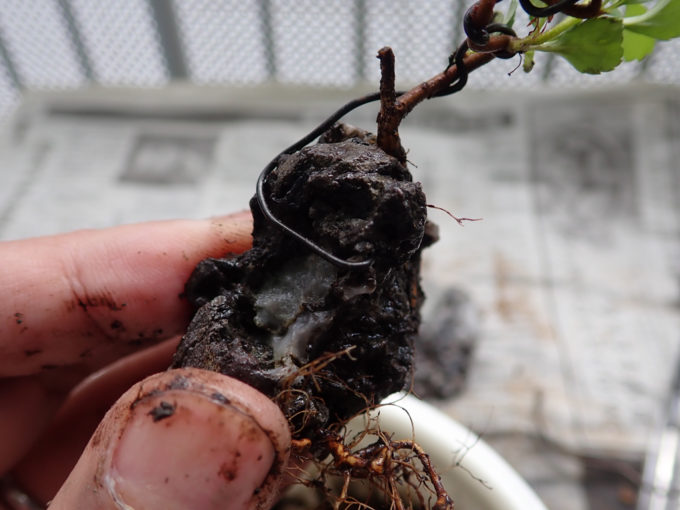
Using the remaining wire for shaping, I just twisted the tree so that it faces to this side. When the tree gets stable, I’ll shape it by wire again. The tree is still young and easy to shape, but it will be hard quite soon. I have to check and consider when I shape it by wire.
Now, put the pot in the shade for a while and keep watering. In few weeks, I’ll move the pot to the place where the sunshine comes.
About “Ishitsuki”
As this was forst time for me to make Ishitsuki bonsai, I studied a lot about it in the internet and books. I found that there’re several style called “ishitsuki”

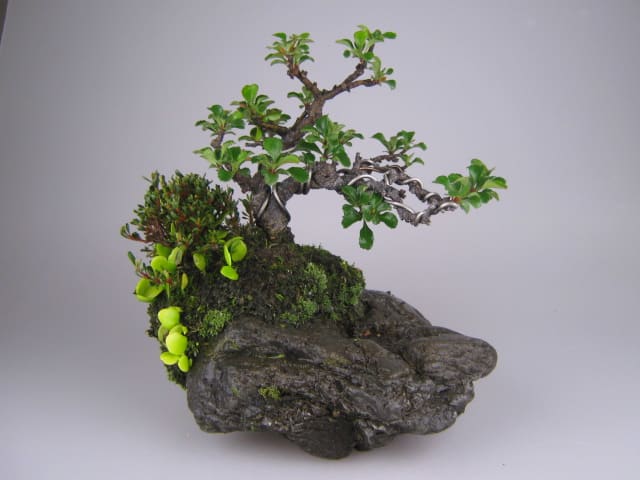
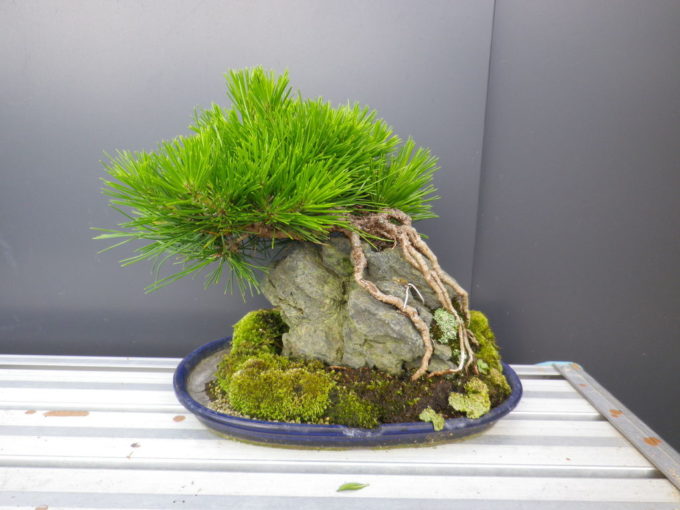
This one is “On the rock” style. The rock (not stone anymore) is used as a pot to keep the soil and tree. In this case you need big rock for it.
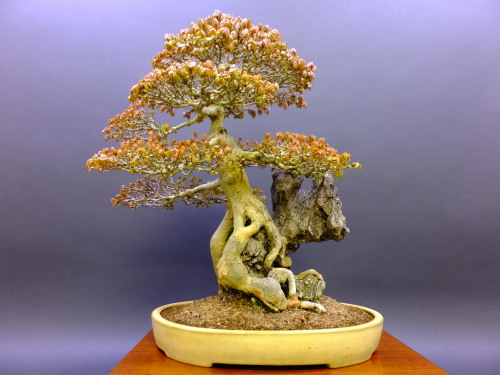

This one is made by professional. The one I’m aiming to make is closer to this? It looks like the tree grabs the stone. I wonder how many years does it take the roots grow this thick?
http://blog.livedoor.jp/mxgc382/tag/黒松
And this! A pine tree grabbing the rock. I feel like the pine tree fits to the sharp and steep rock like this.
Stuff used this time
After making Ishitsuki, it seems easier than I expected. If you are interested in, I really recommend to try it.
Choujubai
Choujubai is strong tree and it has red cute flowers as well, quite recommended for bigginers. It can be grown as “Nebuse”, “Neagari” and many other styles.
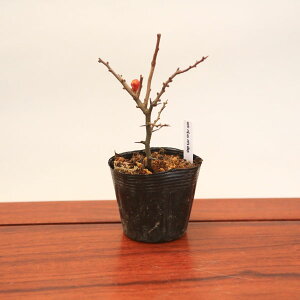
A seedling of choujubai. Nobody knows the shape of the roots, so you’ll see it by yourself. This size is more than enough for Ishitsuki bonsai.
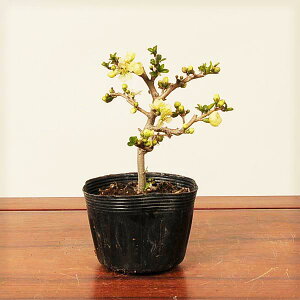
Usually choujubai has red flowers, but some have white flowers.
Ryuuganseki (Dragon Eye Stone)
It is difficult to find this; Sometimes you’ll see big ones, but the price is also surprising.

I bought the stones few years ago. I luckily found the stones, but when I wanted to buy some extra, it was sold out for years.. But is now back in stock. Actually I feel like this shop is only the choice
The soil
I always use this soil for bonsai.
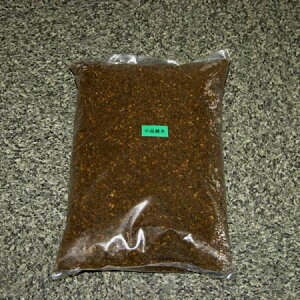
I use the one “For Mini-Bonsai”. The pieces of the soil is smallest, but it can keep the water and gives enough space for the roots breath.
Keto-tsuchi (Peat)

It is quite easy to find in Japan. I bought above one together with the soil.
Final note
Thank you very much for reading such long article. If you are interested in making bonsai, I strongly recommend to try it. It is not so difficult (but have to be patient), and you don’t have to spend big money.
I’ve been preparing to make “Neagari” form, but Ishitsuki is not as difficult as I expected. I’ll make some more Ishitsuki bonsai as well from now.
コメント